Day 1 is here
Day 2:
This post has lots of pictures in it. You probably won't need them all, but I included them because I am a visual learner, and I figured that some of you are, too. If you have any questions, please ask. I'll come back to answer them. Feel free to post a pic of your completed block on this thread if you'd like. It's fun to see how it looks in very different colors.
First a few simple things to know about paper piecing. If you're a seasoned quilter but have never paper pieced before, it's probably going to seem a little odd and backwards at first. Just go with it.
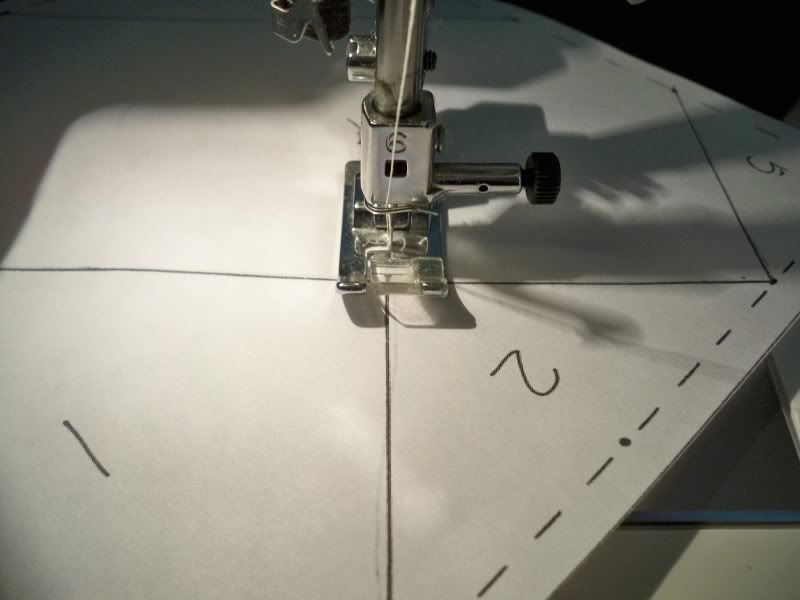
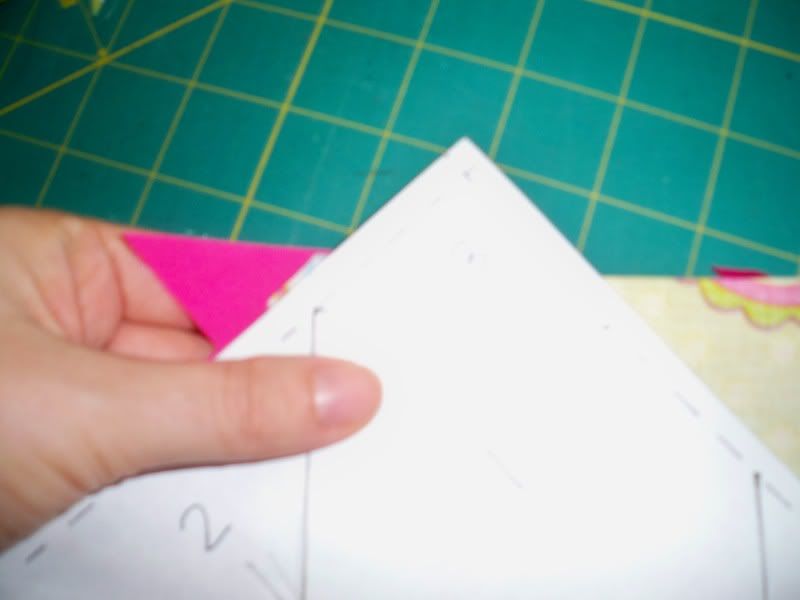
1) We'll be sewing with the fabric underneath the paper. Yes, we sew through the paper.
2) Always set your stitch length really short because this makes it much easier to tear the paper away at the end without ripping out stitches.
3) Pressing is really important, and you'll need to do it after each seam. It will make or break your project. Some people finger press or use a bone folder. I get up and use the iron. I like to move around, and I think it gives better results.
4) It's pretty much sewing by numbers. It's easy once you get the hang of it, and it allows for great precision. The project we're doing is extremely forgiving, so just have fun with it.
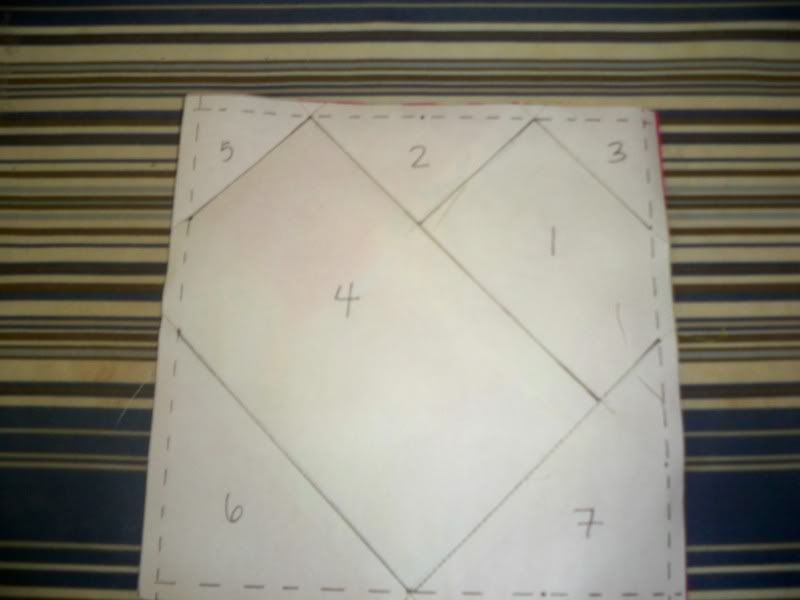
5) The finished block is always the reverse of the printed image.That doesn't matter much for our project but it's important for things like letters so you want to keep it in mind.
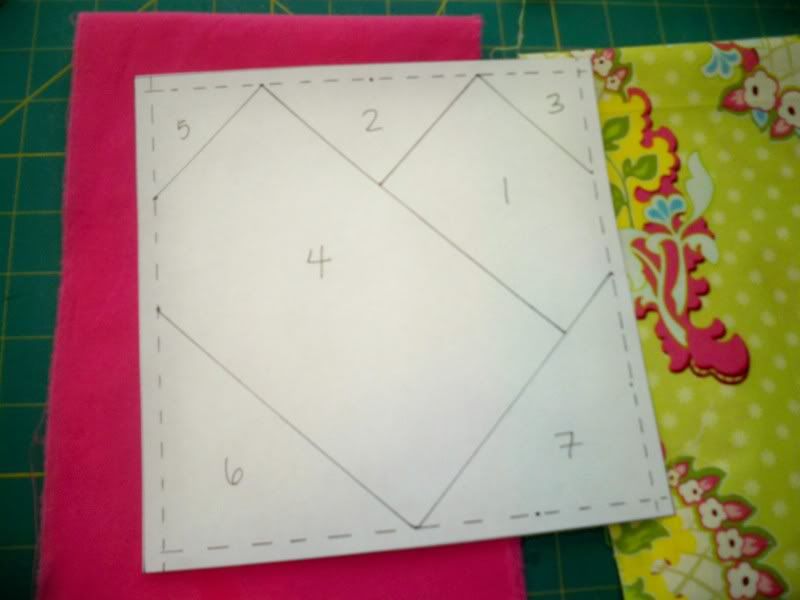
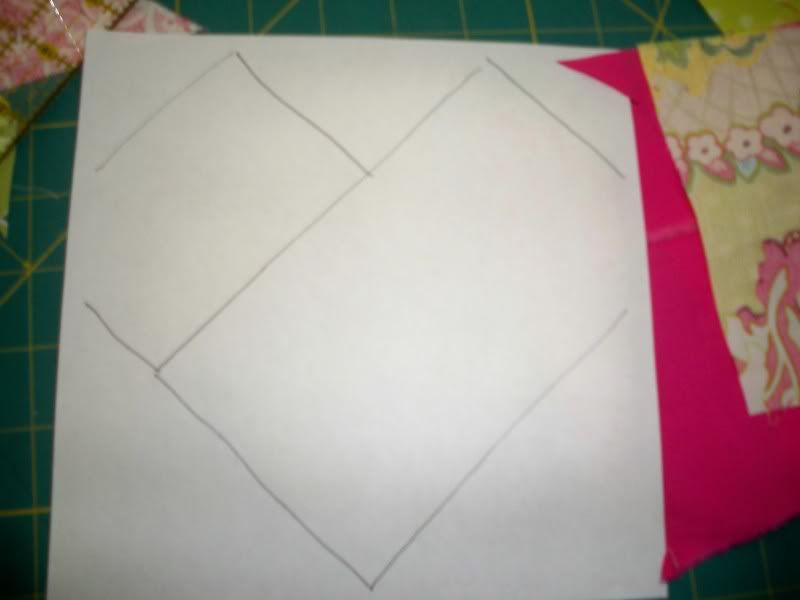
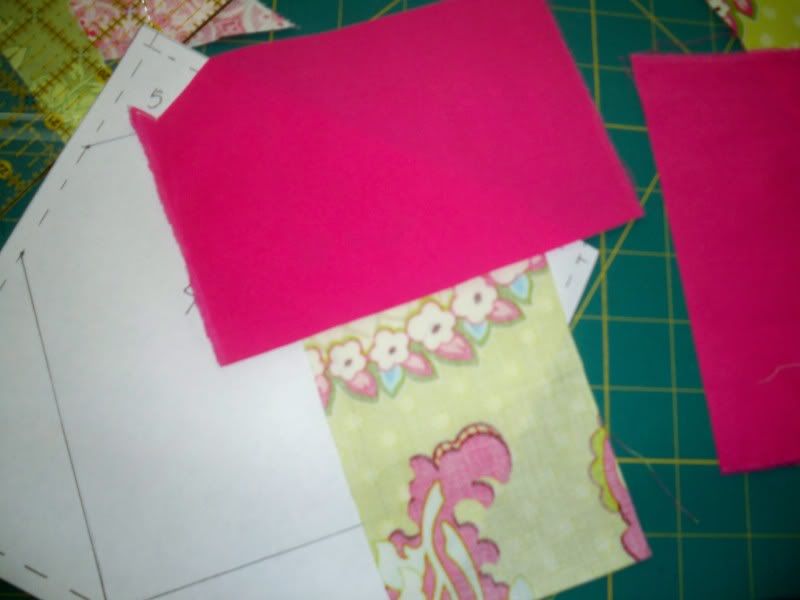
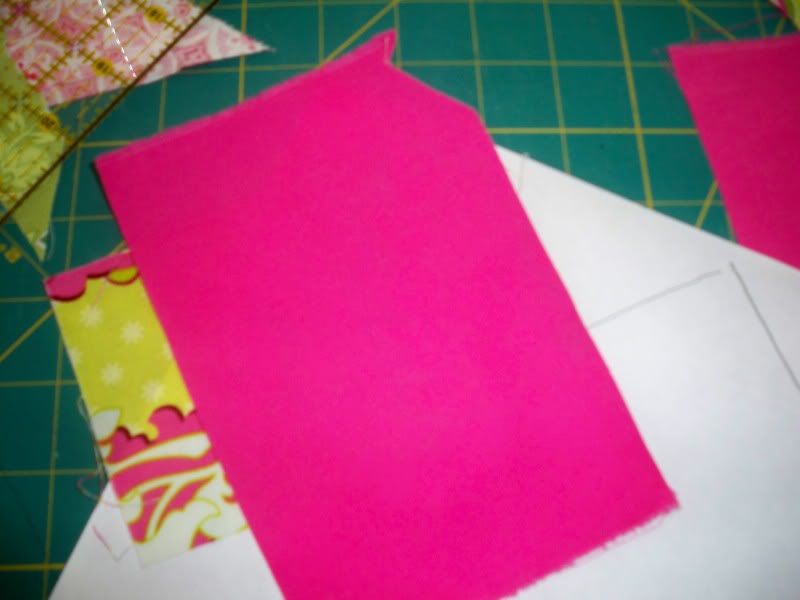
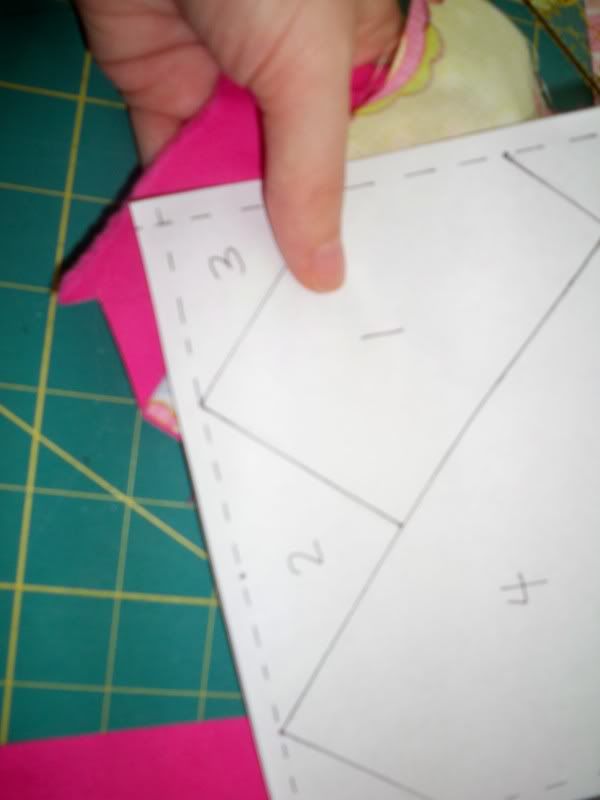
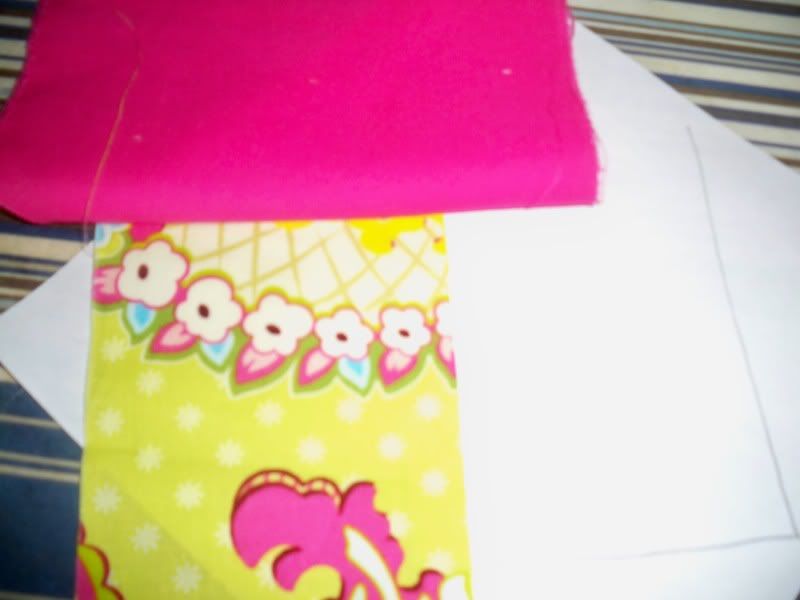
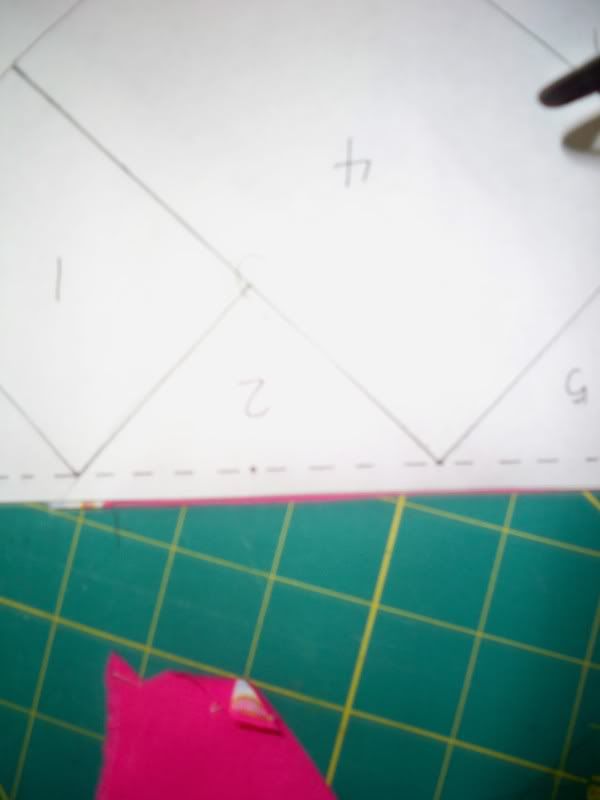
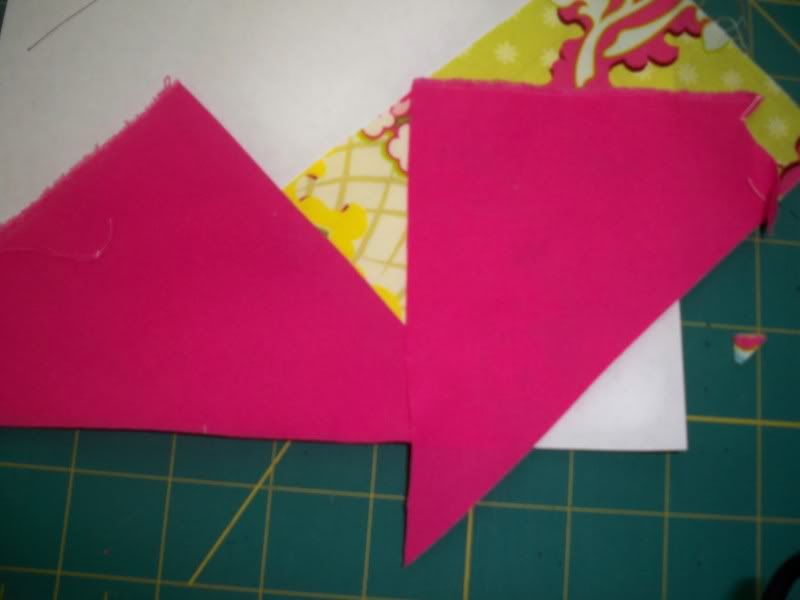
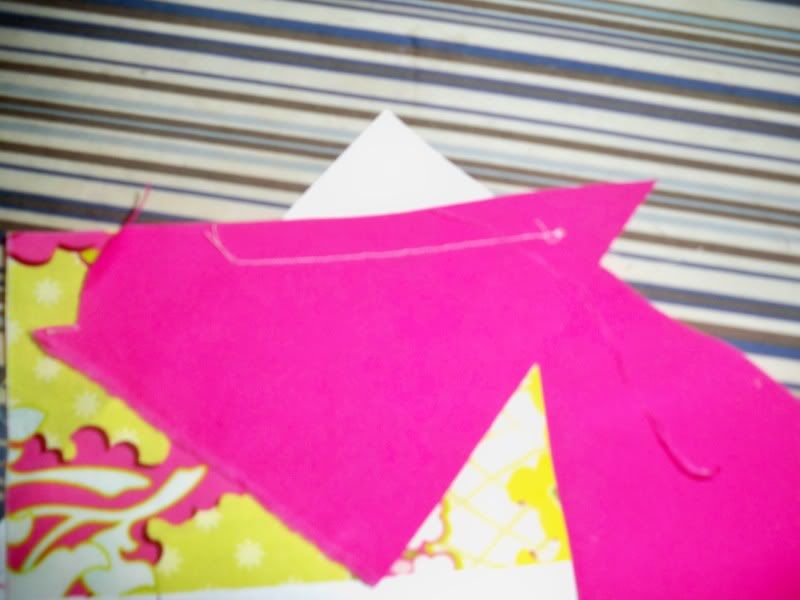
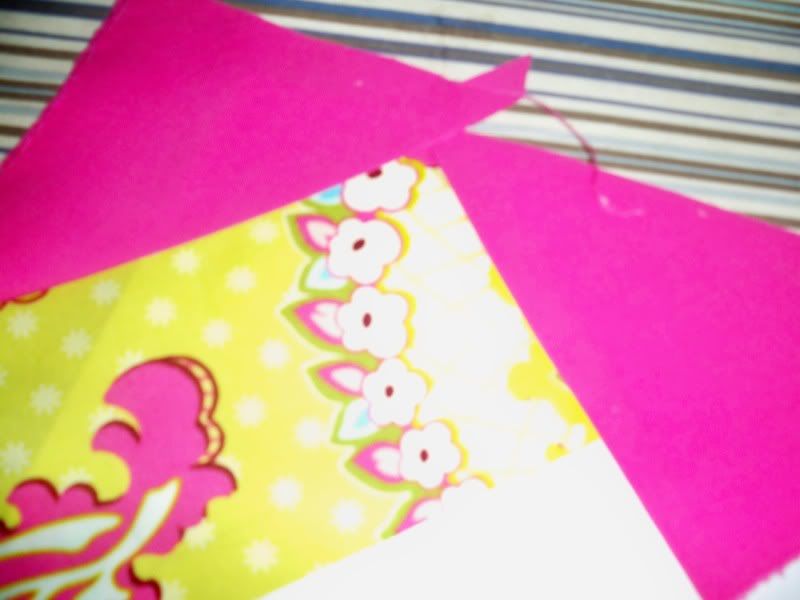
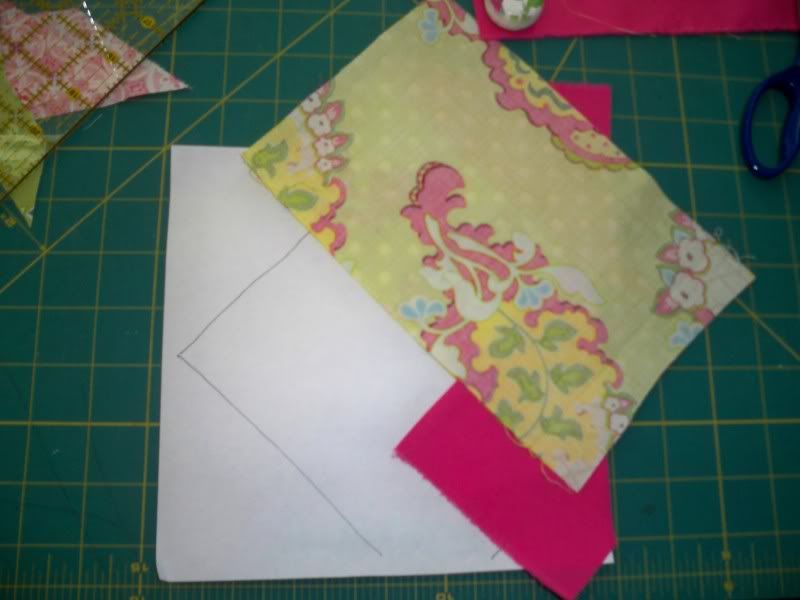
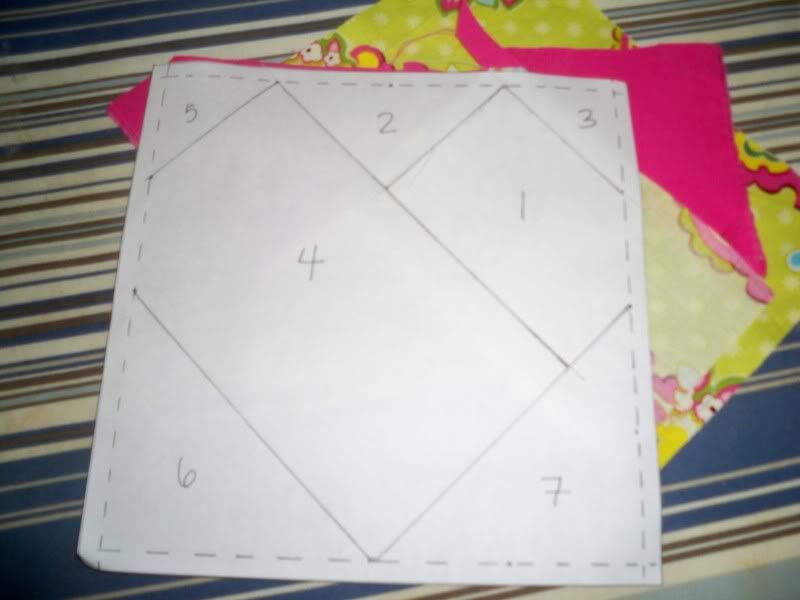
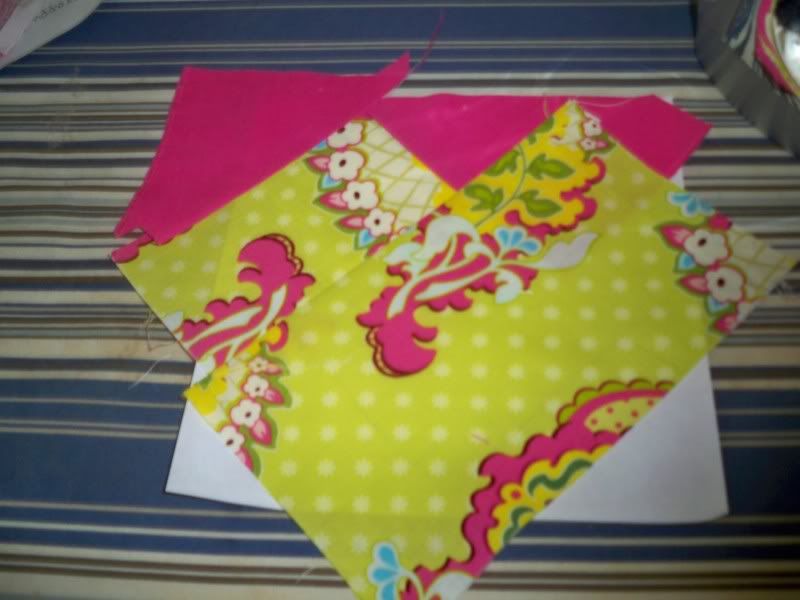
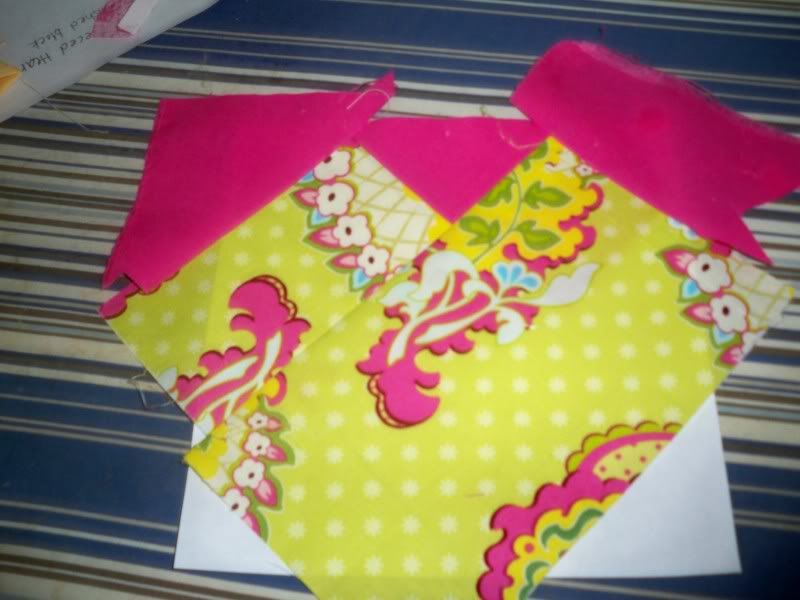
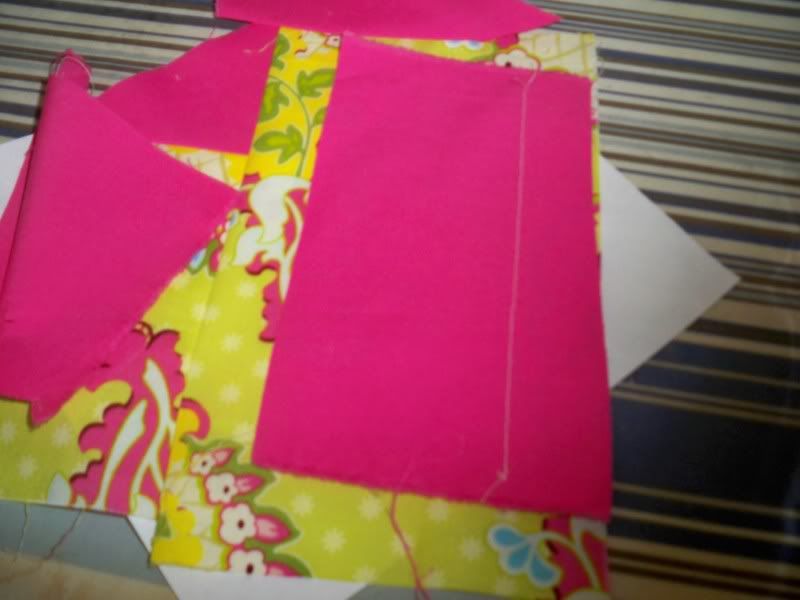
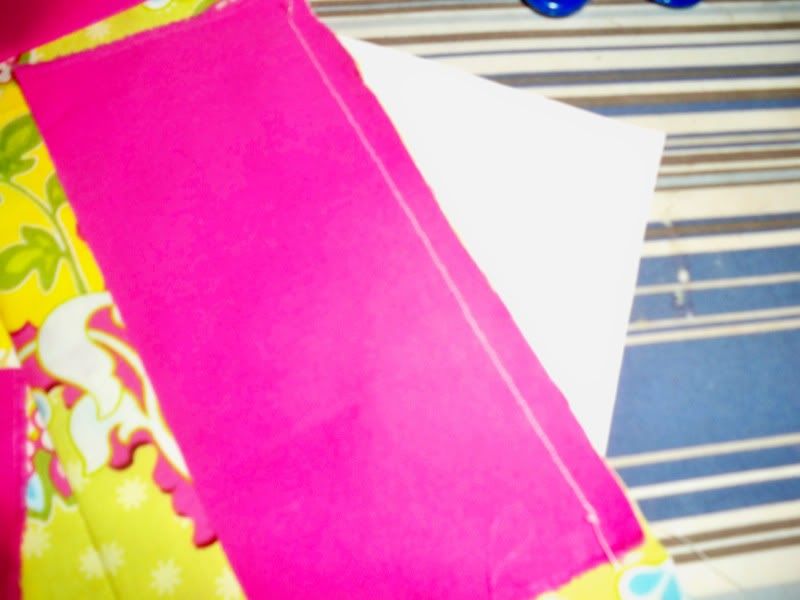
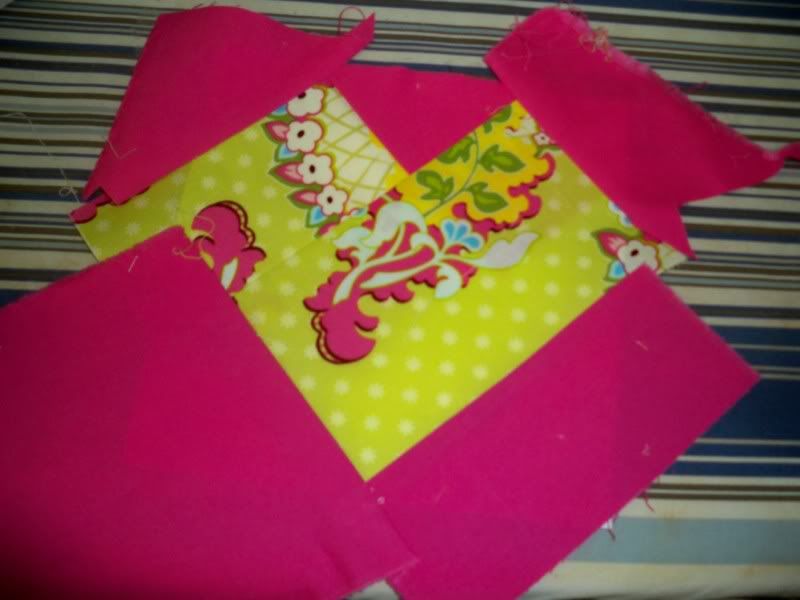
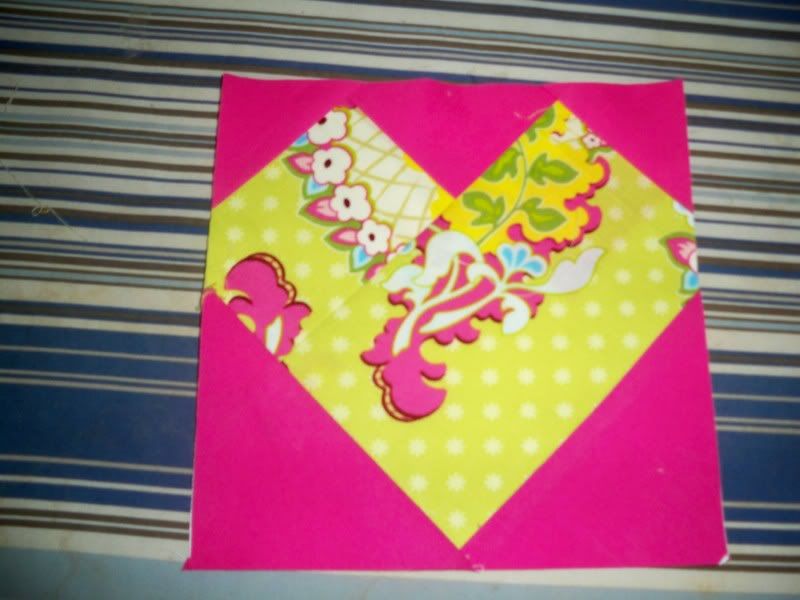
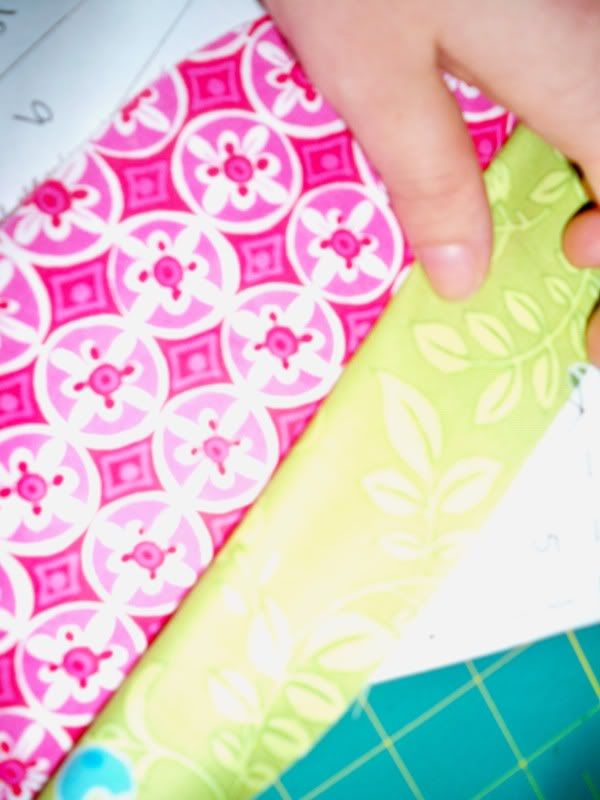
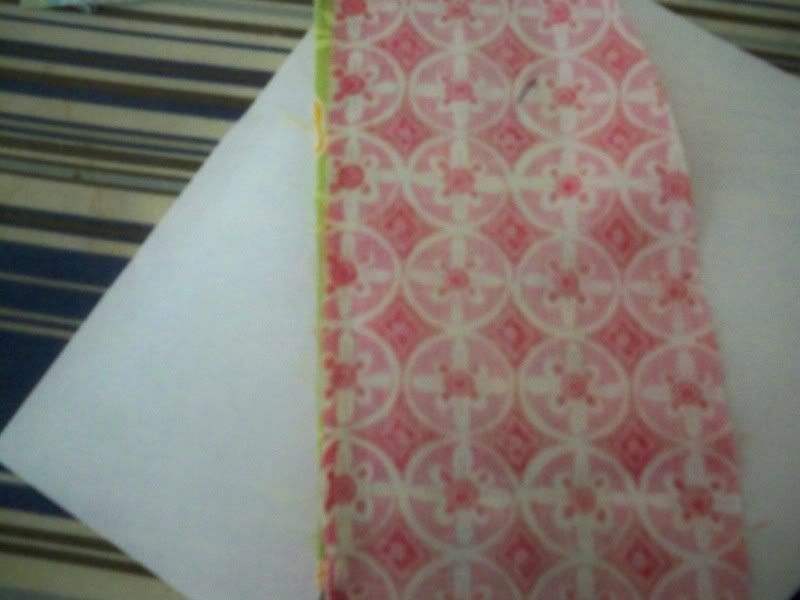
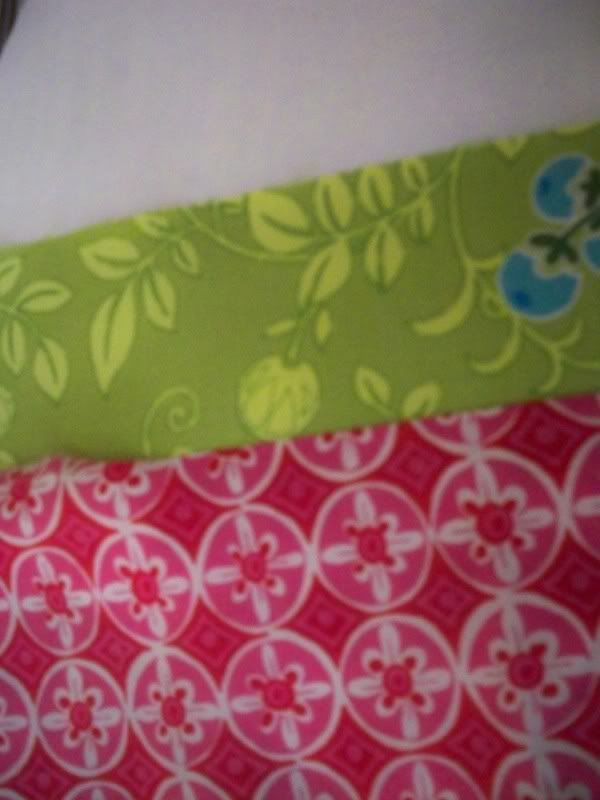
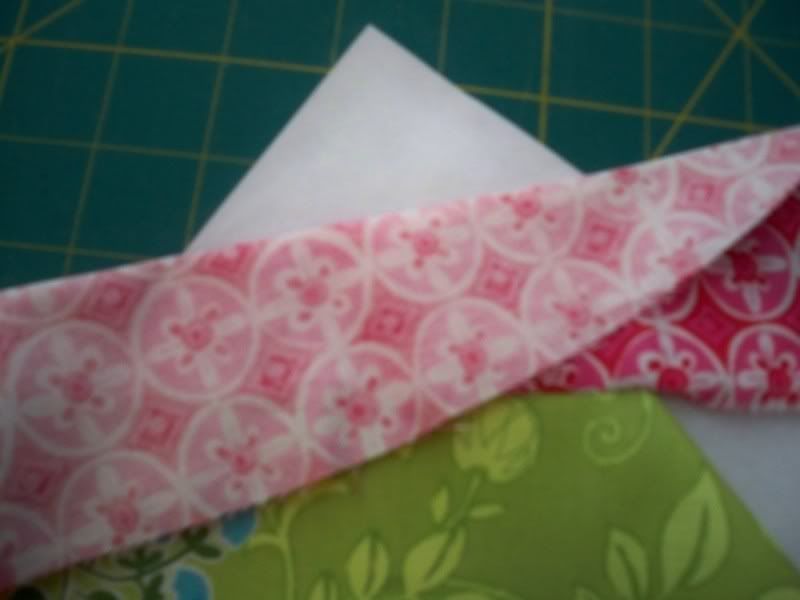
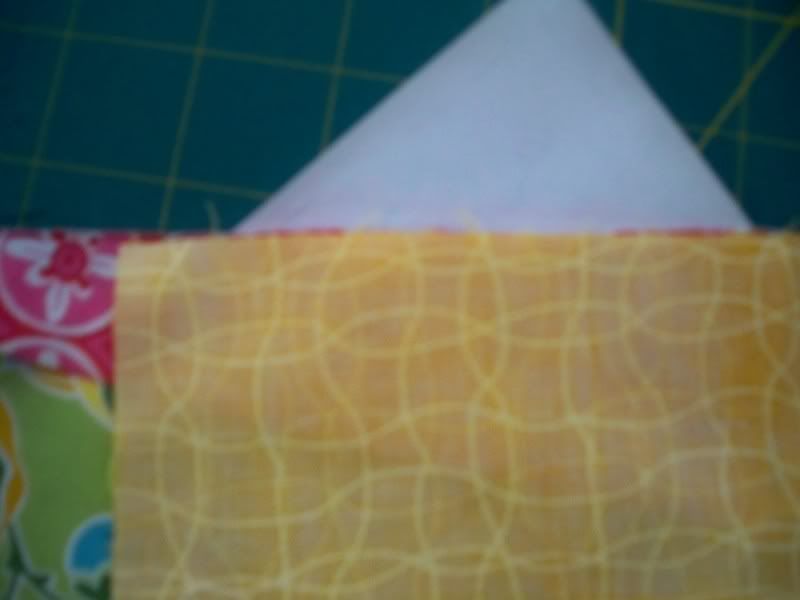
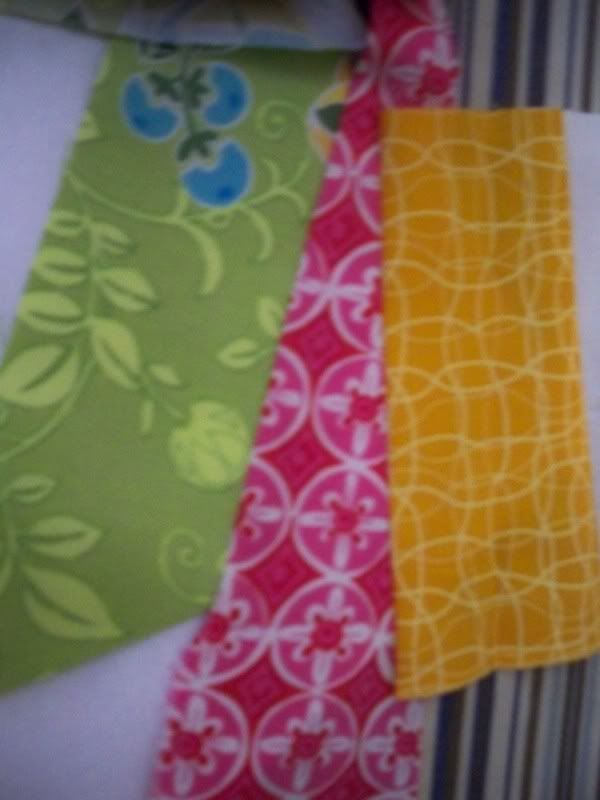
Okay, let's get started. I'm going to be working with the simple version just to cut down on the number of pictures. If you're doing the scrappy version, you just follow the numbers. (I'll also post pictures of the first couple of steps of the scrappy version.)


 Reply With Quote

.gif) I'm glad they make sense to someone other than me.
I'm glad they make sense to someone other than me.

.gif)
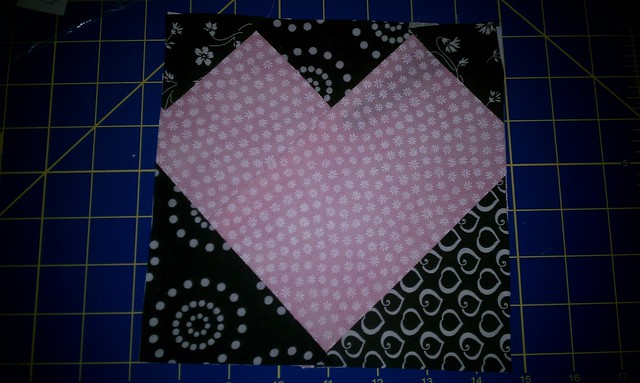
.gif) Be sure to show it off on the Runway when you get it done.
Be sure to show it off on the Runway when you get it done.

Bookmarks