How to sew an easy bubble skirt, any size!
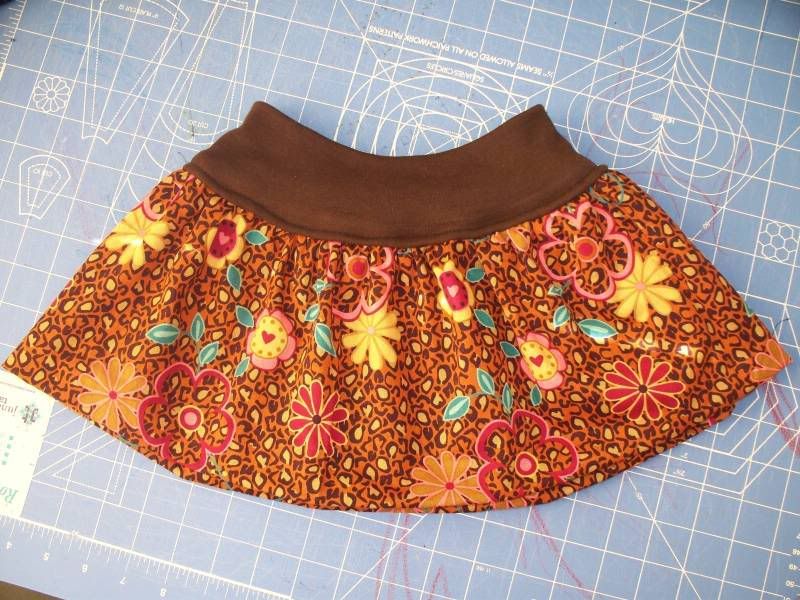
Here is what we are making......
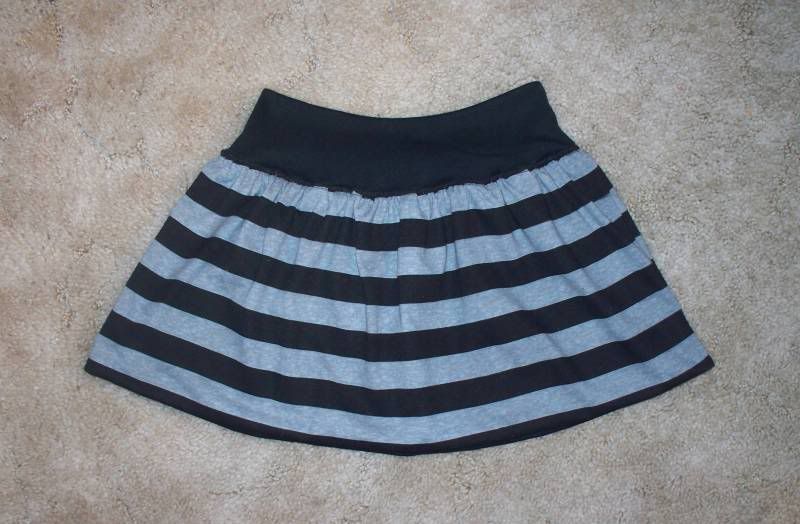
This is my first tutorial, so I know it is not perfect. I will try to clarify as needed. Let me know if a part does not make sense, or if there is a better way to do a step--I am far from a pro at sewing!! I appreciate any tips!! Lovely decorated cutting board courtesy of Mariah!
This is an easy skirt, but SOOO cute! Will look great paired with leggings, or you can make a longer skirt to wear alone.
.gif) Step 1: Take your measurements. You will need a waist measurement and the length you want the final skirt to be. For Jennah's skirt pictured above, I had a 23 inch waist, and I wanted the skirt to be 12 inches long.
Step 1: Take your measurements. You will need a waist measurement and the length you want the final skirt to be. For Jennah's skirt pictured above, I had a 23 inch waist, and I wanted the skirt to be 12 inches long.
.gif) Step 2: Multiply your waist measure by 2. That will be the width of your rectangle. My width will be 46 inches.
Step 2: Multiply your waist measure by 2. That will be the width of your rectangle. My width will be 46 inches.
.gif) Step 3: Take your length measurement and subtract 3 inches for the width of the waistband. If you want a fatter waistband, subtract more, thinner subtract less. I want a 3 inch one, so I take 12 inches-3 to get 9. My skirt panel will end up 9 inches. I need to double this and add an inch for seams. I get 19 inches.
Step 3: Take your length measurement and subtract 3 inches for the width of the waistband. If you want a fatter waistband, subtract more, thinner subtract less. I want a 3 inch one, so I take 12 inches-3 to get 9. My skirt panel will end up 9 inches. I need to double this and add an inch for seams. I get 19 inches.
.gif) Step 4: Cut your rectangle of skirt fabric. You can choose knit or woven for this part. I chose a knit. My rectangle is 19 inches long and 46 inches wide.
Step 4: Cut your rectangle of skirt fabric. You can choose knit or woven for this part. I chose a knit. My rectangle is 19 inches long and 46 inches wide.
.gif) Step 5: Cut a rectangle for your waistband. I want mine to be 3 inches wide, so I double that and add an inch for seams. 7 inches wide. My waist measurement was 23 inches, I subtract about 4 inches and use that for the length of the strip. (I originally subtracted 2 inches, but found it came out a bit too loose, 4 seems to work well.) So my waistband piece will be 7 inches wide and 19 inches long. You will need a knit for this piece.
Step 5: Cut a rectangle for your waistband. I want mine to be 3 inches wide, so I double that and add an inch for seams. 7 inches wide. My waist measurement was 23 inches, I subtract about 4 inches and use that for the length of the strip. (I originally subtracted 2 inches, but found it came out a bit too loose, 4 seems to work well.) So my waistband piece will be 7 inches wide and 19 inches long. You will need a knit for this piece.
Here are my rectangles::
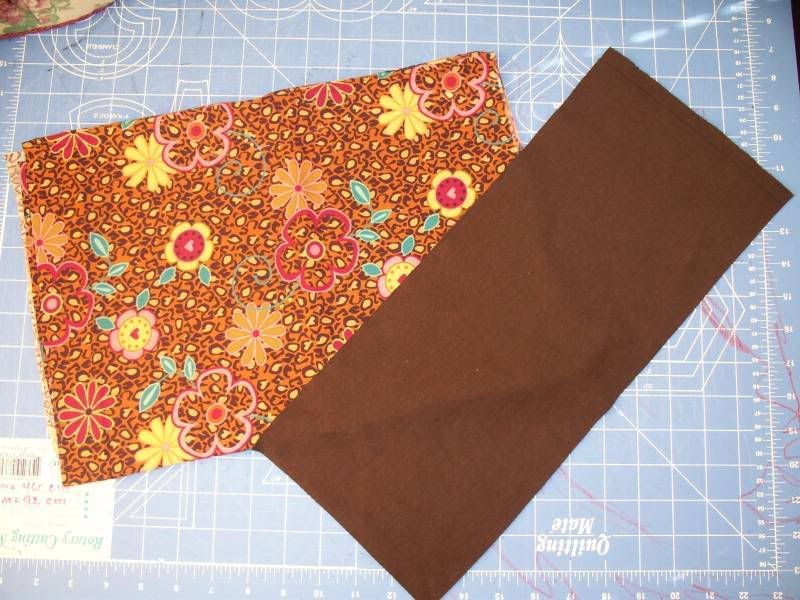
.gif) Step 6: Sew your skirt rectangle ends together (short ends) right sides together. Then fold it wrong sides together into a "bubble" with all raw edges at the top. The bubble part will be the bottom of the skirt. (Might be confusing....I will add pics). You can baste the two layers together at this point, I didn't.
Step 6: Sew your skirt rectangle ends together (short ends) right sides together. Then fold it wrong sides together into a "bubble" with all raw edges at the top. The bubble part will be the bottom of the skirt. (Might be confusing....I will add pics). You can baste the two layers together at this point, I didn't.
Put right sides together...
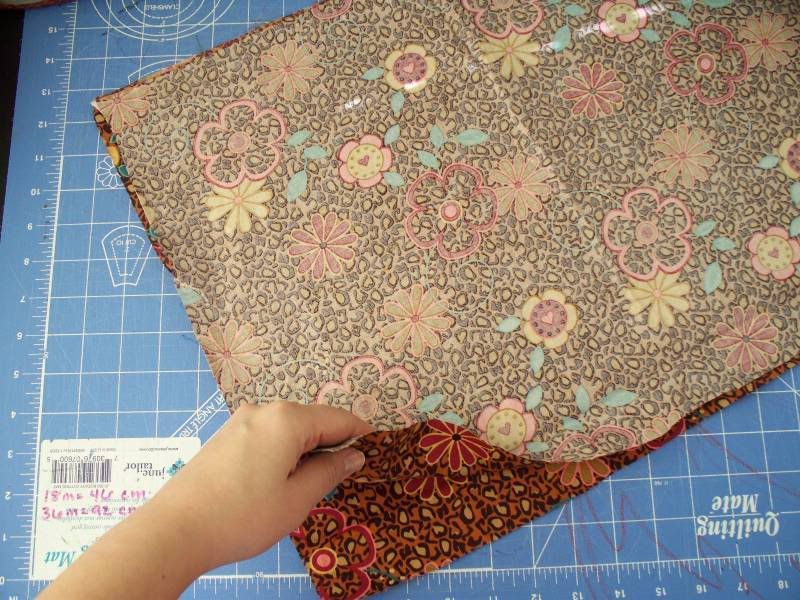
Stitch...
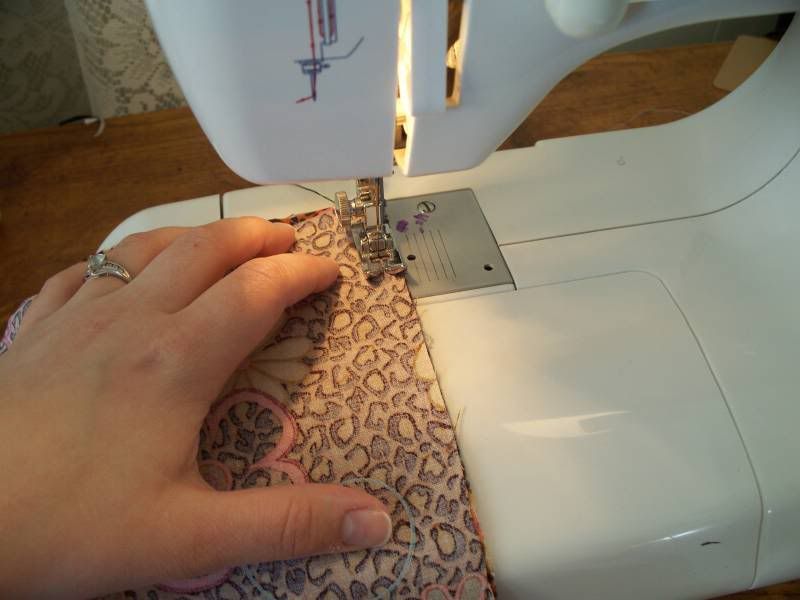
.gif) Step 7: Cut a piece of lastin (clear elastic) or regular elastic the length of the waist measurement. You want to zigzag this onto the waist edge to gather the skirt. Mark the gathered skirt into quarters. (You can sew gathering stitches and pull the threads, I hate doing that--I love the clear elastic!!
Step 7: Cut a piece of lastin (clear elastic) or regular elastic the length of the waist measurement. You want to zigzag this onto the waist edge to gather the skirt. Mark the gathered skirt into quarters. (You can sew gathering stitches and pull the threads, I hate doing that--I love the clear elastic!!
Sewing on elastic, you want to grab it, then stretch it out double...1st pic grab, 2nd stretched out...
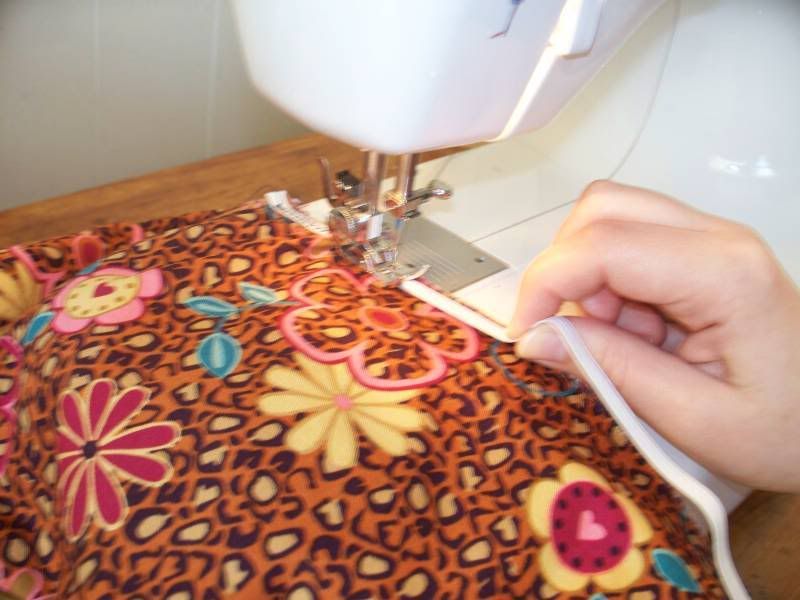
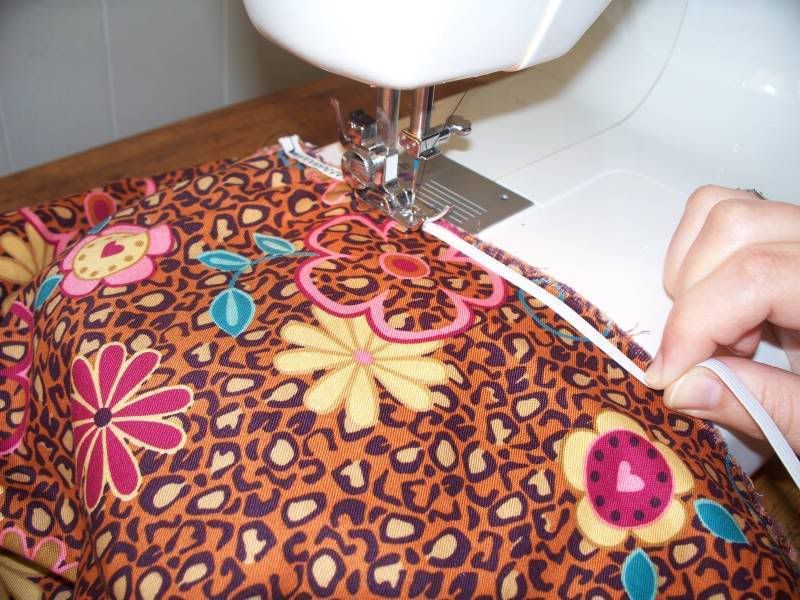
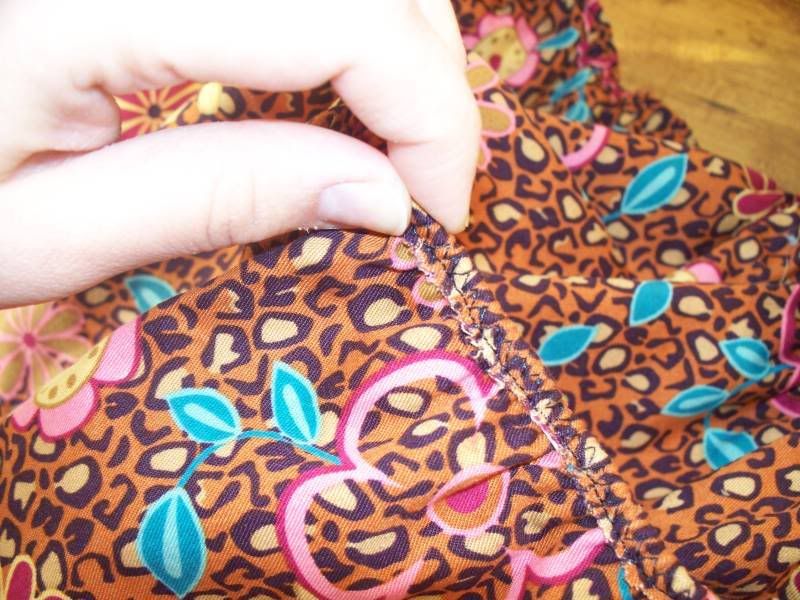
Here's what you will have so far.
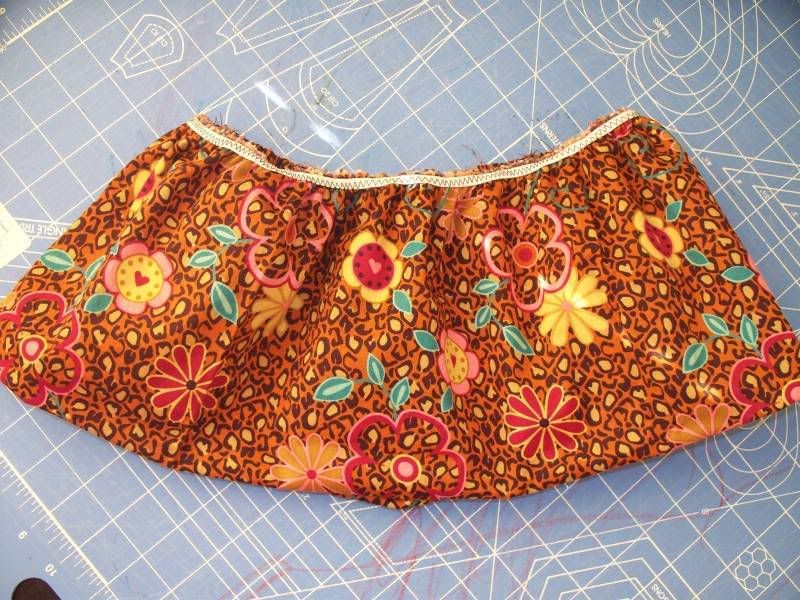 Now if you are using a woven like I am on this one, you will want to trim your edges right by the elastic. Then you will fold over and stitch it down so the elastic is turned under. If using knits, you won't have to do this, you can go right on to attatching it to the skirt.
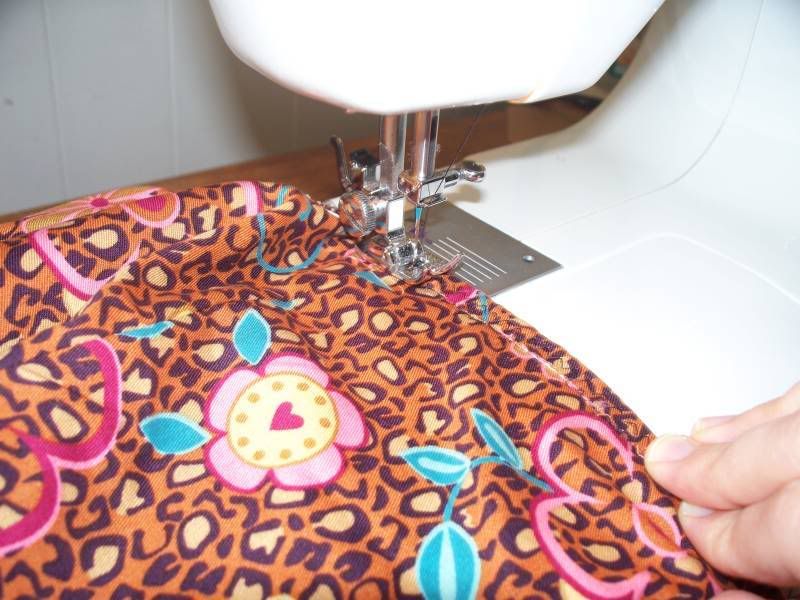
Here's what you have....
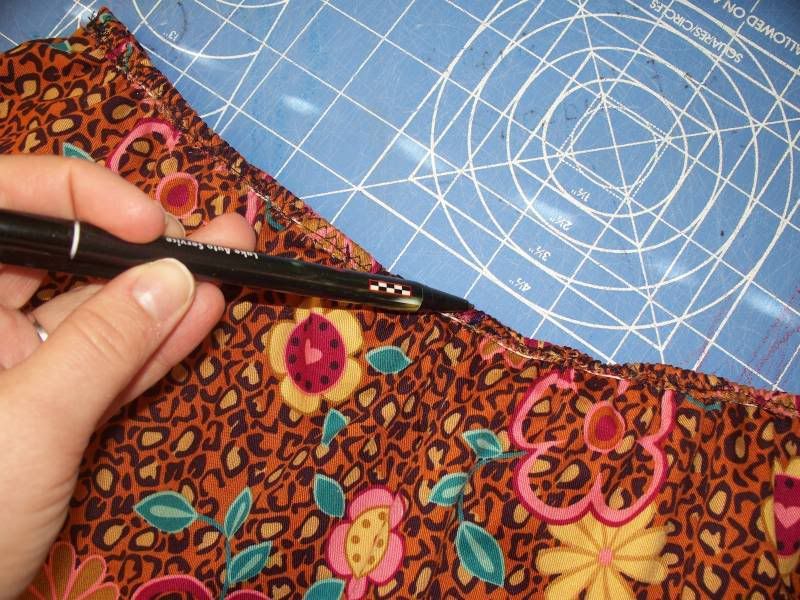
Mark your quarter points on the skirt:
.gif) Step 8: Same thing for the waist piece, sew short ends right sides together. Then fold in half wrong sides together and mark in quarter points.
Step 8: Same thing for the waist piece, sew short ends right sides together. Then fold in half wrong sides together and mark in quarter points.
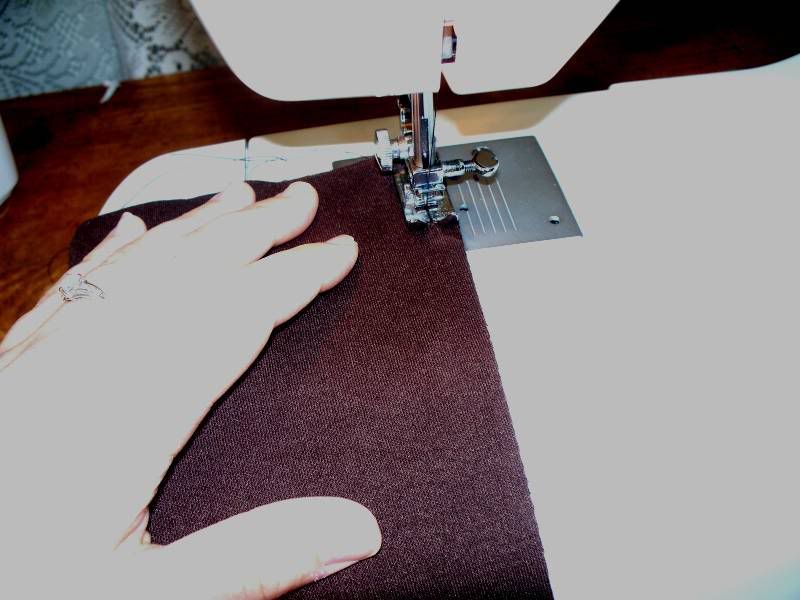
Stitching right sides together at ends:
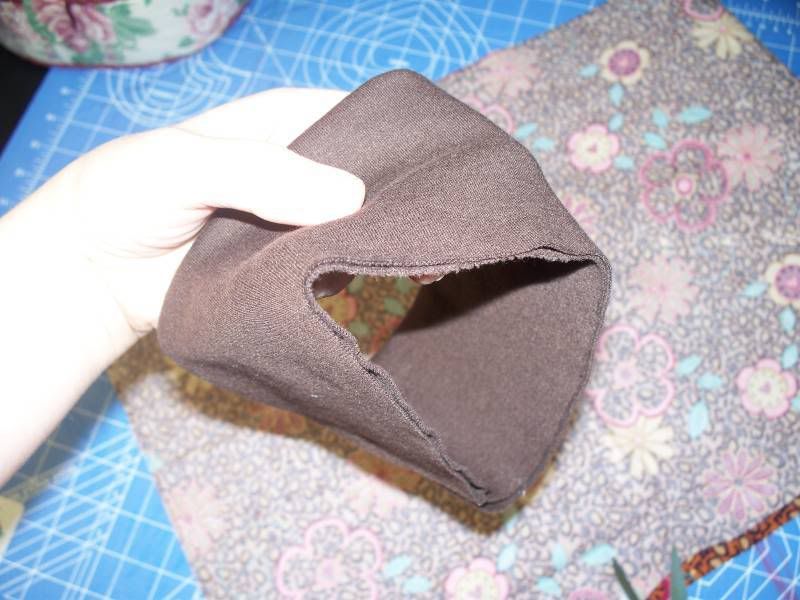
Folded into bubble with raw edges together, right sides out...
And finally, marked the quarter points:
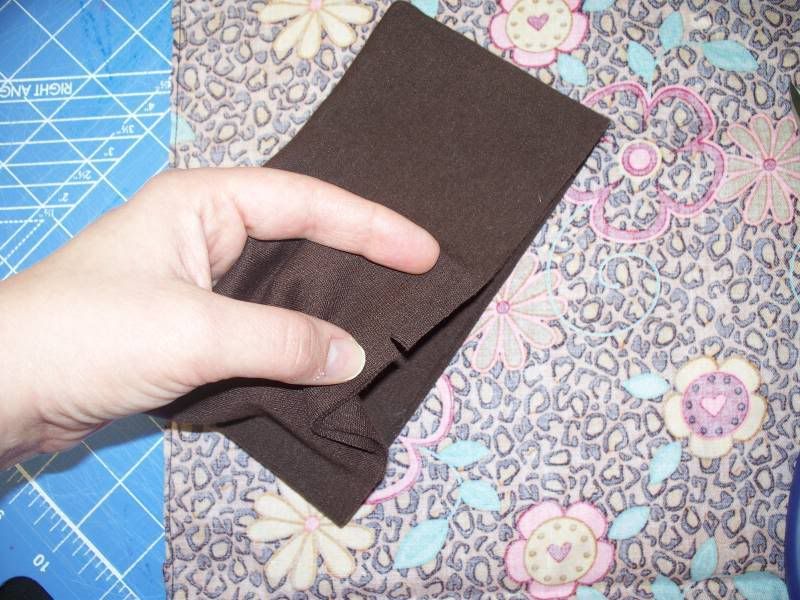
.gif) Step 9: This is where you will join the waistband to the skirt piece. You will line up your seams on the waistband and skirt with right sides together. If you use a woven, you want the turned under elastic part to be facing up, that will be the right side. You will be encasing this edge inside your seam so it will not show any raw edges. (If you are a serger owner, you could serge edges and just do it without the extra step to encase the edge!) Start stitching band onto skirt, making sure to stretch the waistband to line up with your quarter marks. If using woven, make sure your seam allowance completely encases the elastic seam on the skirt part. If using knits, you can just use the presser foot edge as a guide.
Step 9: This is where you will join the waistband to the skirt piece. You will line up your seams on the waistband and skirt with right sides together. If you use a woven, you want the turned under elastic part to be facing up, that will be the right side. You will be encasing this edge inside your seam so it will not show any raw edges. (If you are a serger owner, you could serge edges and just do it without the extra step to encase the edge!) Start stitching band onto skirt, making sure to stretch the waistband to line up with your quarter marks. If using woven, make sure your seam allowance completely encases the elastic seam on the skirt part. If using knits, you can just use the presser foot edge as a guide.
Beginning to stitch on waistband...note the elastic edge is facing up and sandwiched between the skirt and waistband....
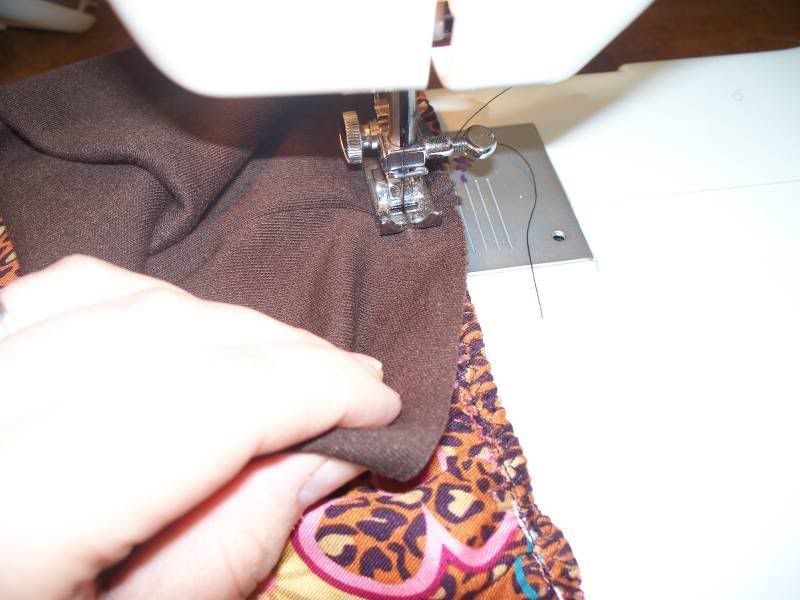
Stretching waistband to match quarter points during sewing....
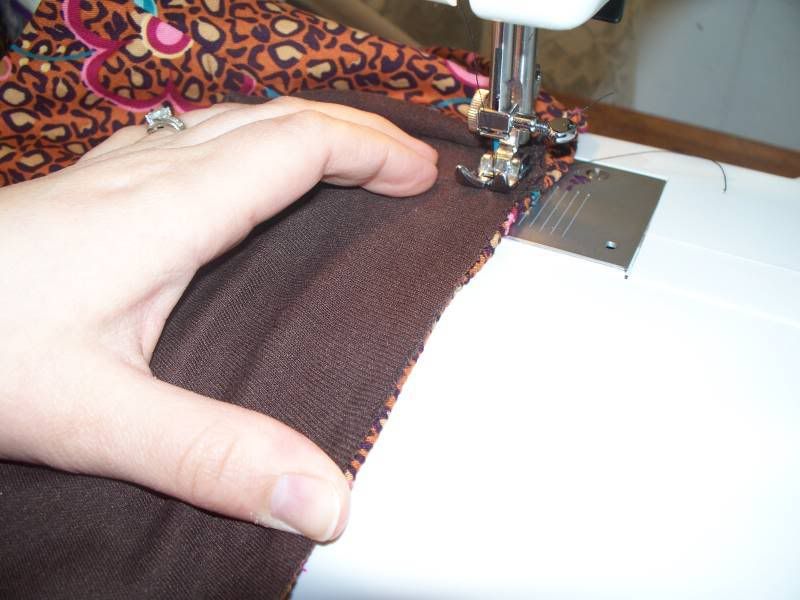
.gif) Step 10: Topstitch. I prefer to toptitch this seam toward the waistband, to avoid topstitching on the gathers which looks a tad messy.
Step 10: Topstitch. I prefer to toptitch this seam toward the waistband, to avoid topstitching on the gathers which looks a tad messy.
here is your final product....
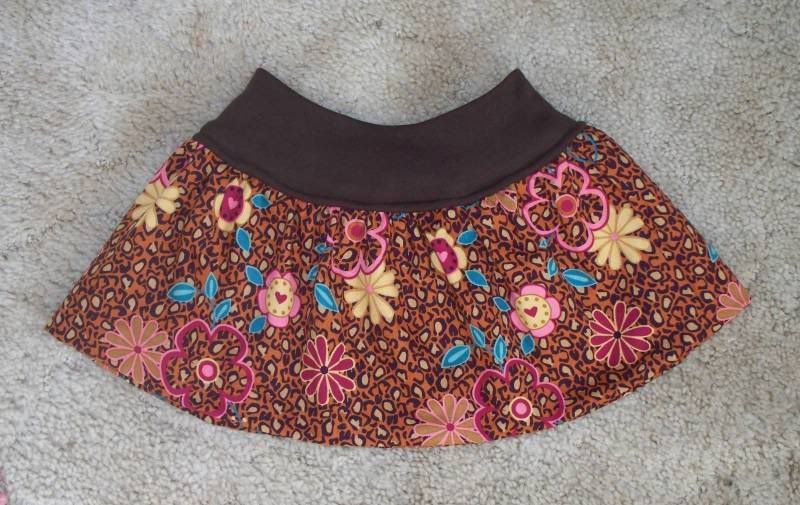
If you have any questions let me know!
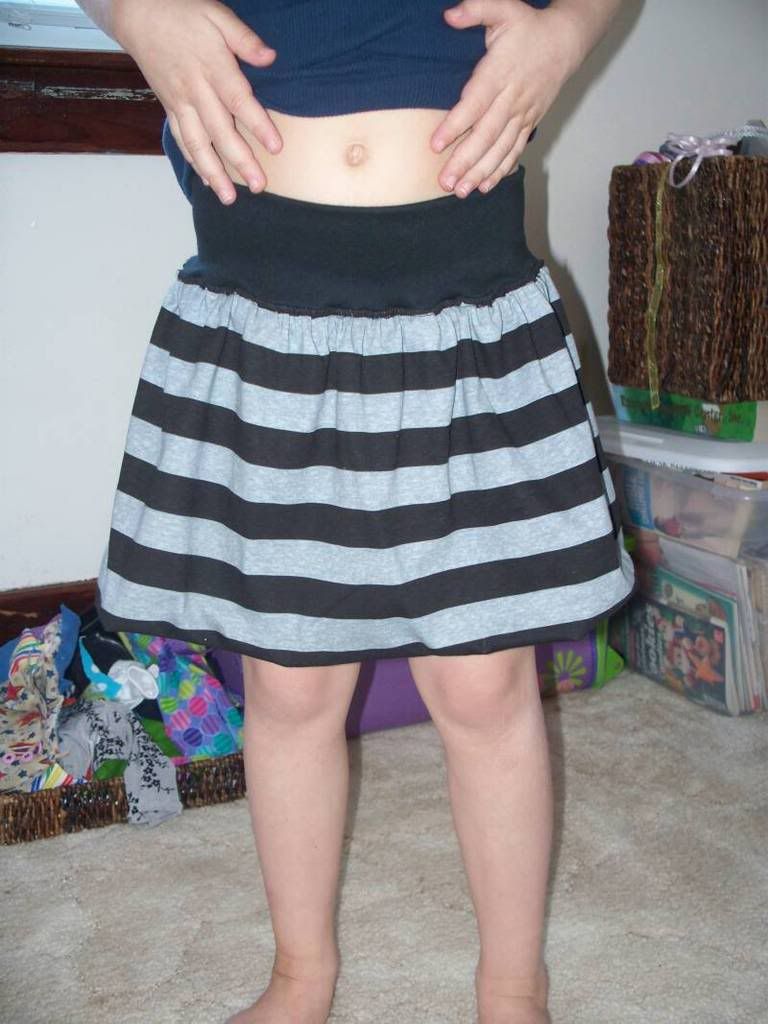
Modeled shot: (Not a very good shot!) This was my first one--I topstitched the seam down and over the gathers and that looks bad.
Last edited by Chrisnkelley; 01-15-2009 at 02:16 PM.
To view links or images in signatures your post count must be 0 or greater. You currently have 0 posts.
My Blog:
To view links or images in signatures your post count must be 0 or greater. You currently have 0 posts.
To view links or images in signatures your post count must be 0 or greater. You currently have 0 posts.
Kelley Homeschooling mama to Jennah - 14, Gavin - 13, Braden - 11, Mariah - 9, and Carter - 8.
Check out this page with awesome info on notebooking for homeschoolers!
To view links or images in signatures your post count must be 0 or greater. You currently have 0 posts.
Step 1: Take your measurements. You will need a waist measurement and the length you want the final skirt to be. For Jennah's skirt pictured above, I had a 23 inch waist, and I wanted the skirt to be 12 inches long.
Step 2: Multiply your waist measure by 2. That will be the width of your rectangle. My width will be 46 inches.
Step 3: Take your length measurement and subtract 3 inches for the width of the waistband. If you want a fatter waistband, subtract more, thinner subtract less. I want a 3 inch one, so I take 12 inches-3 to get 9. My skirt panel will end up 9 inches. I need to double this and add an inch for seams. I get 19 inches.
Step 4: Cut your rectangle of skirt fabric. You can choose knit or woven for this part. I chose a knit. My rectangle is 19 inches long and 46 inches wide.
Step 5: Cut a rectangle for your waistband. I want mine to be 3 inches wide, so I double that and add an inch for seams. 7 inches wide. My waist measurement was 23 inches, I subtract about 4 inches and use that for the length of the strip. (I originally subtracted 2 inches, but found it came out a bit too loose, 4 seems to work well.) So my waistband piece will be 7 inches wide and 19 inches long. You will need a knit for this piece.
Step 6: Sew your skirt rectangle ends together (short ends) right sides together. Then fold it wrong sides together into a "bubble" with all raw edges at the top. The bubble part will be the bottom of the skirt. (Might be confusing....I will add pics). You can baste the two layers together at this point, I didn't.
Step 7: Cut a piece of lastin (clear elastic) or regular elastic the length of the waist measurement. You want to zigzag this onto the waist edge to gather the skirt. Mark the gathered skirt into quarters. (You can sew gathering stitches and pull the threads, I hate doing that--I love the clear elastic!!
Now if you are using a woven like I am on this one, you will want to trim your edges right by the elastic. Then you will fold over and stitch it down so the elastic is turned under. If using knits, you won't have to do this, you can go right on to attatching it to the skirt.
Step 8: Same thing for the waist piece, sew short ends right sides together. Then fold in half wrong sides together and mark in quarter points.
Step 9: This is where you will join the waistband to the skirt piece. You will line up your seams on the waistband and skirt with right sides together. If you use a woven, you want the turned under elastic part to be facing up, that will be the right side. You will be encasing this edge inside your seam so it will not show any raw edges. (If you are a serger owner, you could serge edges and just do it without the extra step to encase the edge!) Start stitching band onto skirt, making sure to stretch the waistband to line up with your quarter marks. If using woven, make sure your seam allowance completely encases the elastic seam on the skirt part. If using knits, you can just use the presser foot edge as a guide.
Step 10: Topstitch. I prefer to toptitch this seam toward the waistband, to avoid topstitching on the gathers which looks a tad messy.


 Reply With Quote
.gif) my rainbow resource catalog!! Like my mess?? Now looking at that pic, the skirt REALLY needed to be pressed b4 I posted the pic
my rainbow resource catalog!! Like my mess?? Now looking at that pic, the skirt REALLY needed to be pressed b4 I posted the pic ![Shakinghead[1]](images/smilies/shakinghead[1].gif) Will have to take some new ones!
Will have to take some new ones!

Bookmarks