Wrap shirt or sweater for you!
This tutorial will walk you through the process of using a standard t-shirt pattern to make a full-length ballet wrap shirt or sweater for you. (I'm sure that you can use the same techniques for a child-size version as well, but the one pictured will be my size.)
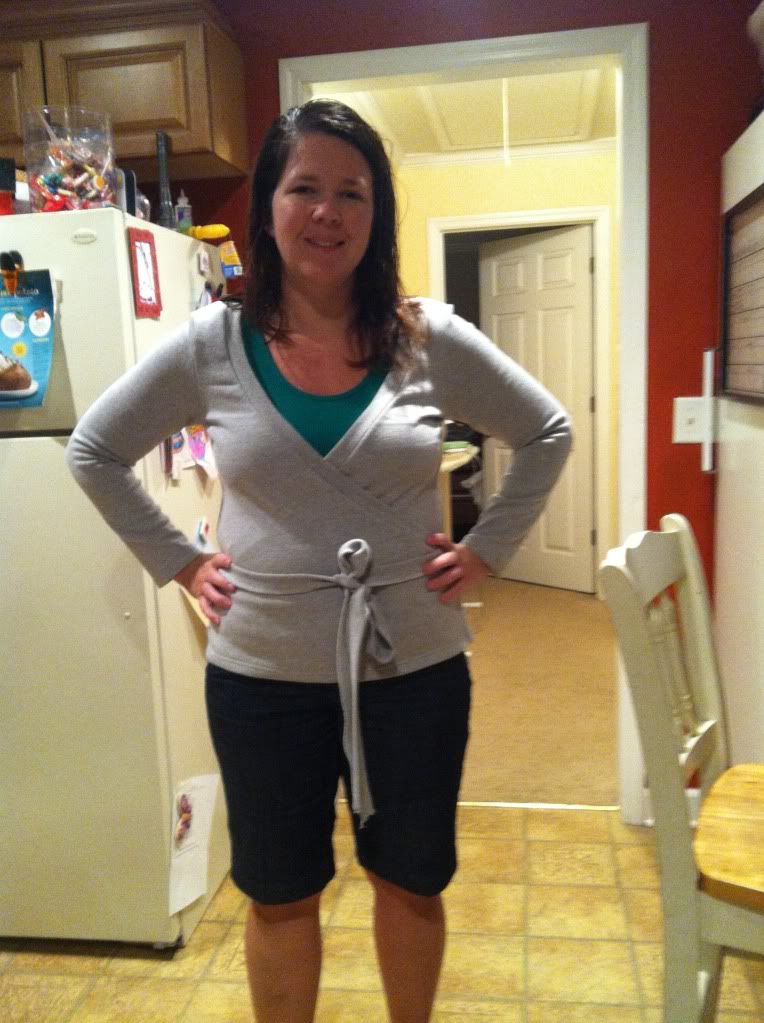
Here is the first version I made.
1. Start with a well-fitting long-sleeved t-shirt pattern. I'm guessing you have one that you've already traced, but if not, trace the front, back and sleeves as usual. I'm using the Ottobre Creative Workshop t-shirt pattern. Note: I will use the pattern as is and make the alterations as I cut my fabric, but you can certainly follow the instructions to create a pattern.
2. Cut the back and sleeves of your pattern as usual.
3. You will cut your fronts with your fabric folded wrong sides together--by doing this, you will cut both the right and left sides of your wrap front at the same time.
4. Lay your pattern down on your fabric paying attention to the straight grain and leaving enough room to flip it over and cut the other half of the shirt front out. Mark directly on your fabric the center front at the top and bottom of the pattern piece. Make your marks look like T's. The idea is that you will be able to flip the pattern piece over and align it correctly on the other side of your fabric.
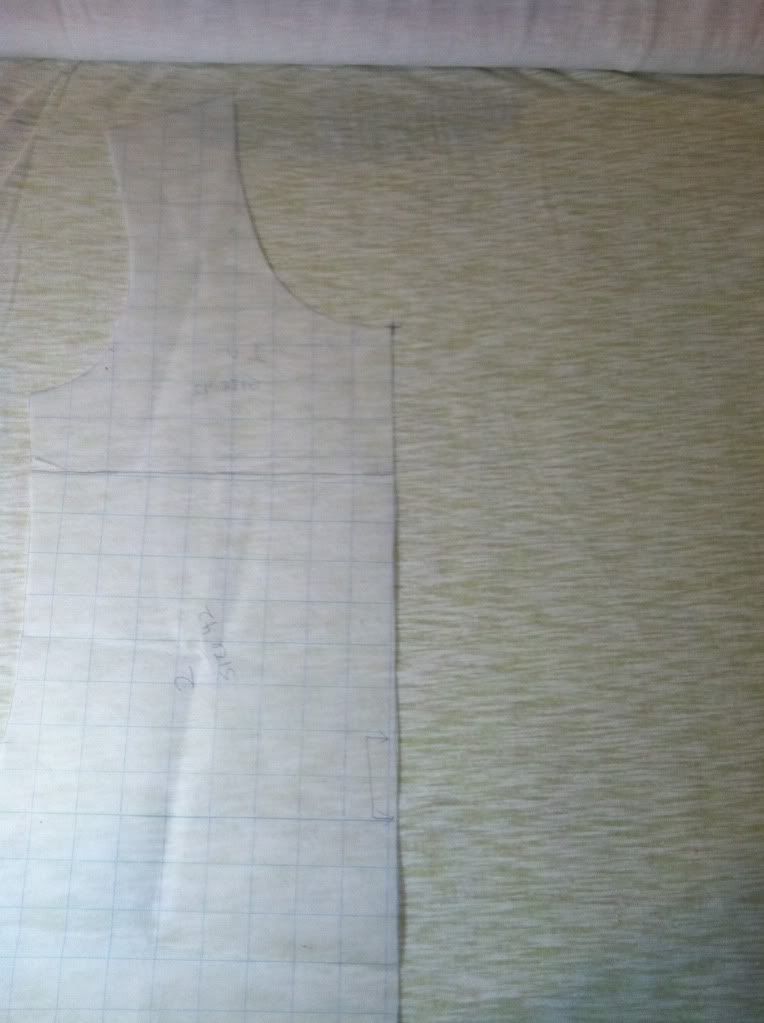
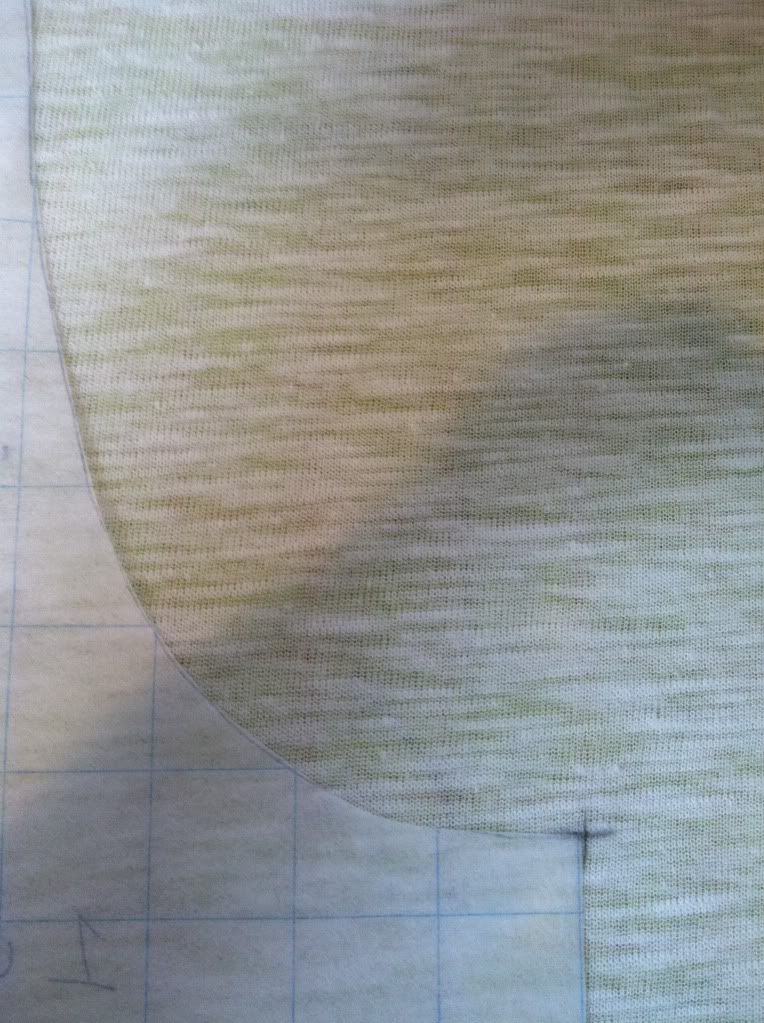
5. Cut or trace around your pattern piece along your cutting line as shown. Now, flip the pattern piece over to do the other side of the shirt.
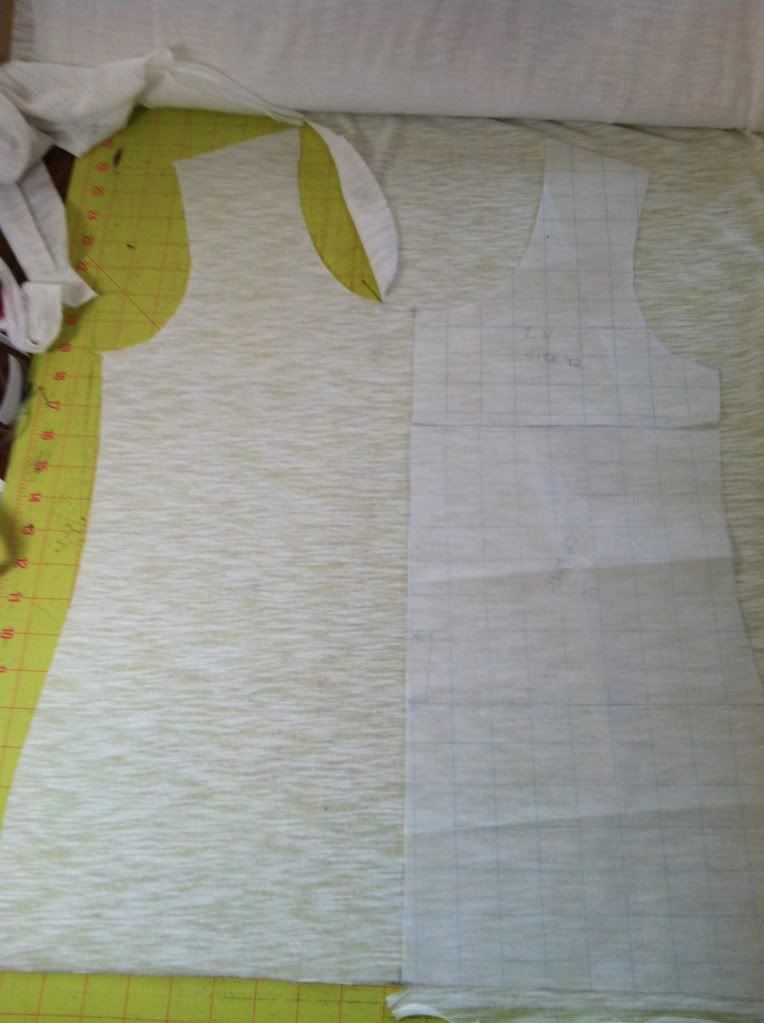
6. Wearing a shirt that fits, measure from the underarm seam down the side seam of your shirt to your waist. Use this measurement to mark the waistline on this side of your pattern. Trace or cut around the bottom hem and up the side seam to the mark.
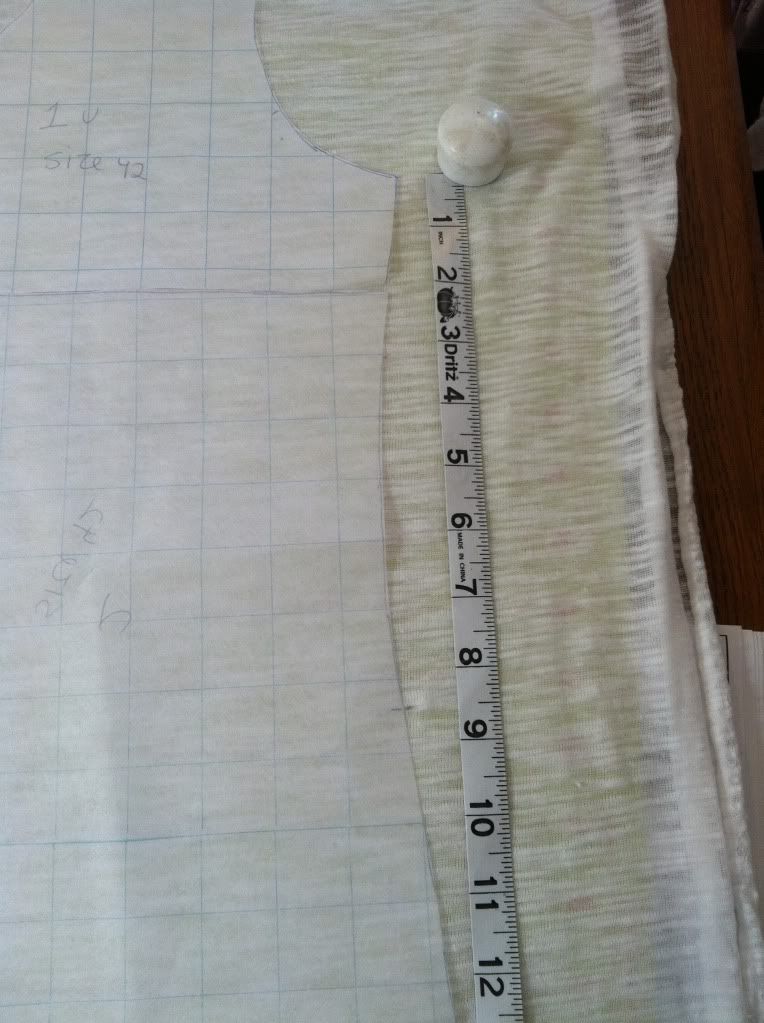
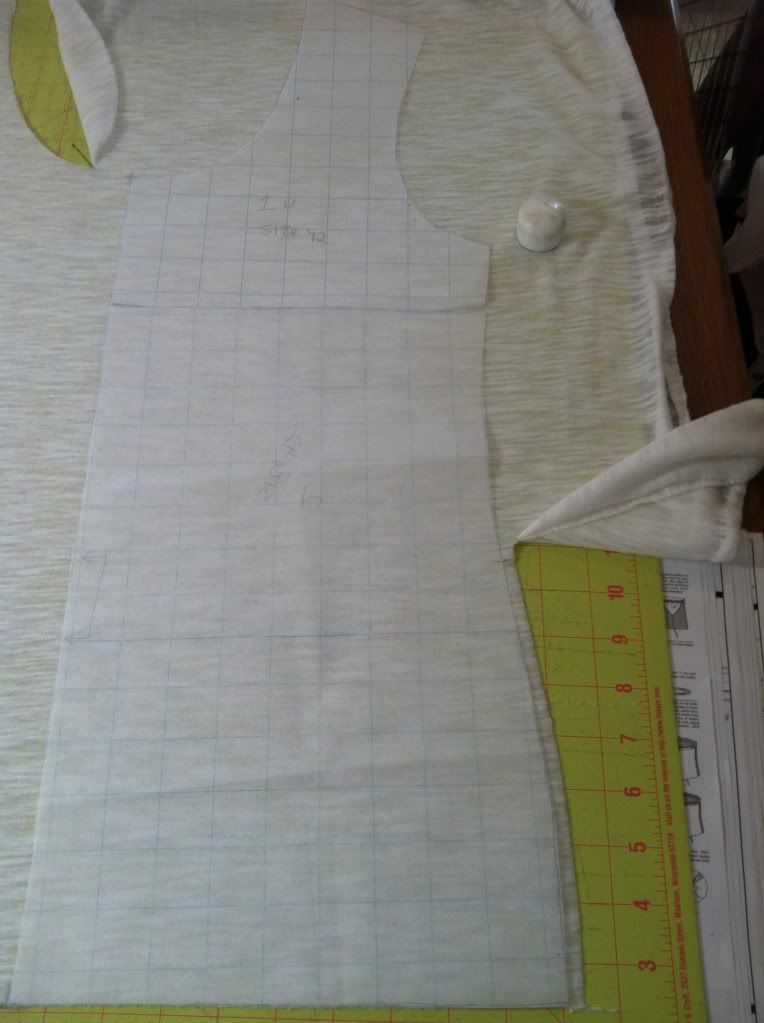
7. Make a mark on the shoulder seam (opposite your waistline mark) about 1.5 inch from the neckline edge. Draw a slightly curved line from the waistline mark across the center line of the shirt front and up to the shoulder seam mark you just made.
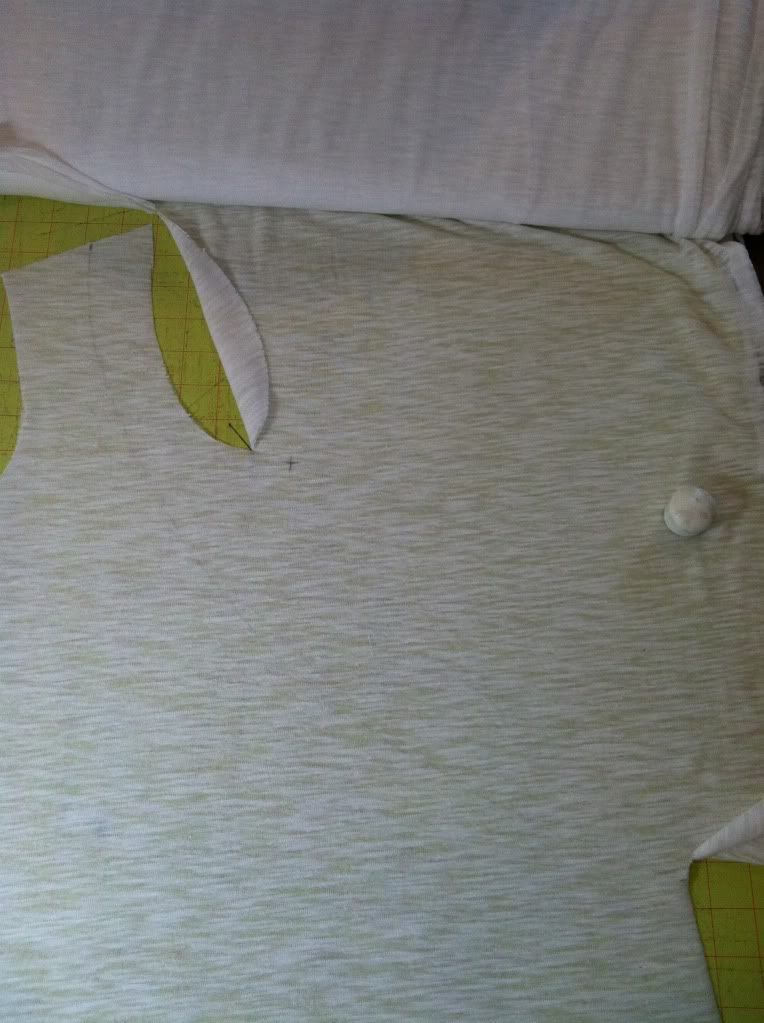
8. Finish cutting out your shirt fronts.
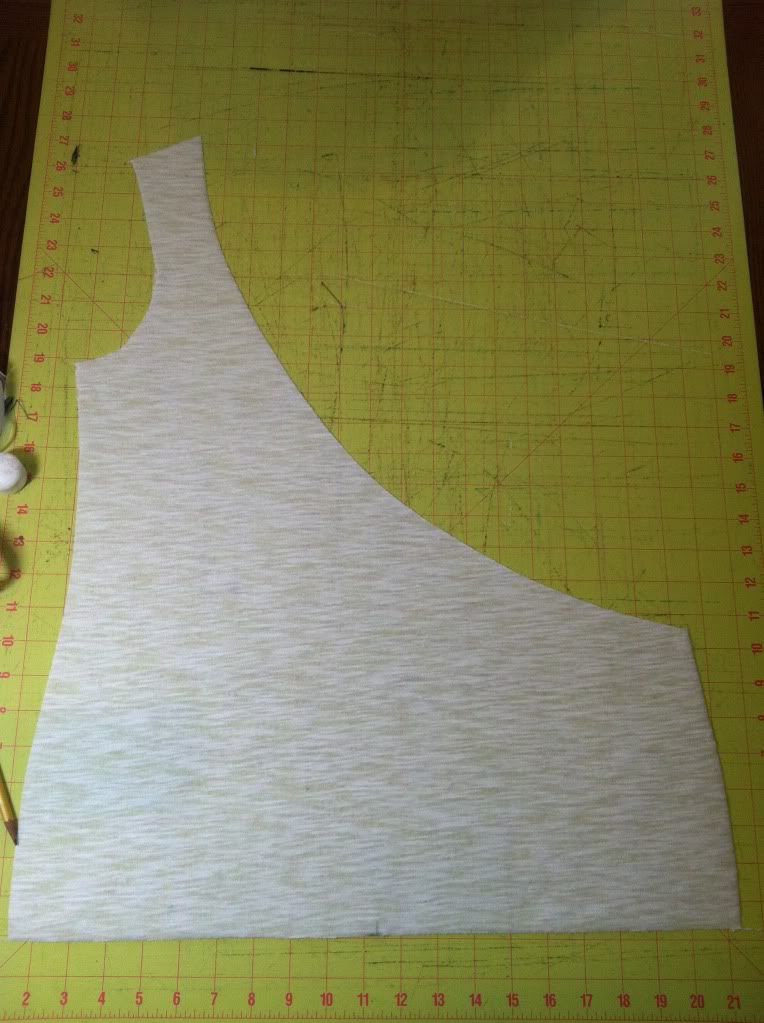
9. Lay your shirt fronts on top of your shirt back that you cut out to begin with. Line up the sleeve side of the front and back shoulder seams.
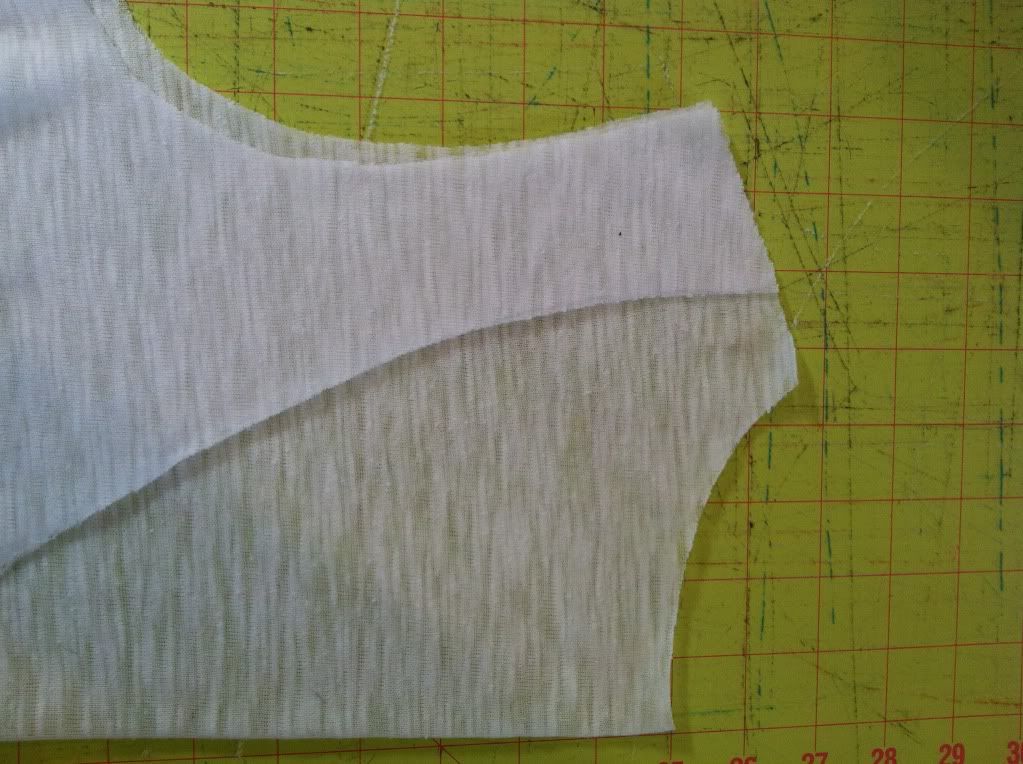
10. Trim the neckline edge of the back piece to make the shoulder seams the same width.
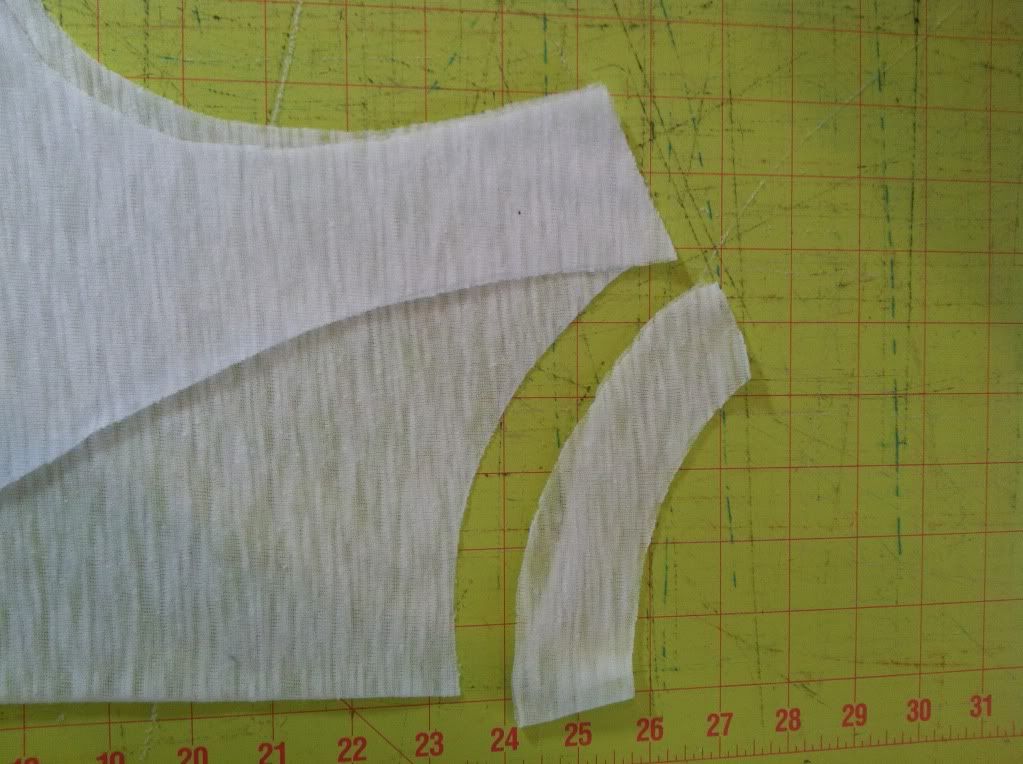
11. Cut two strips of 2.5" X width of your fabric.
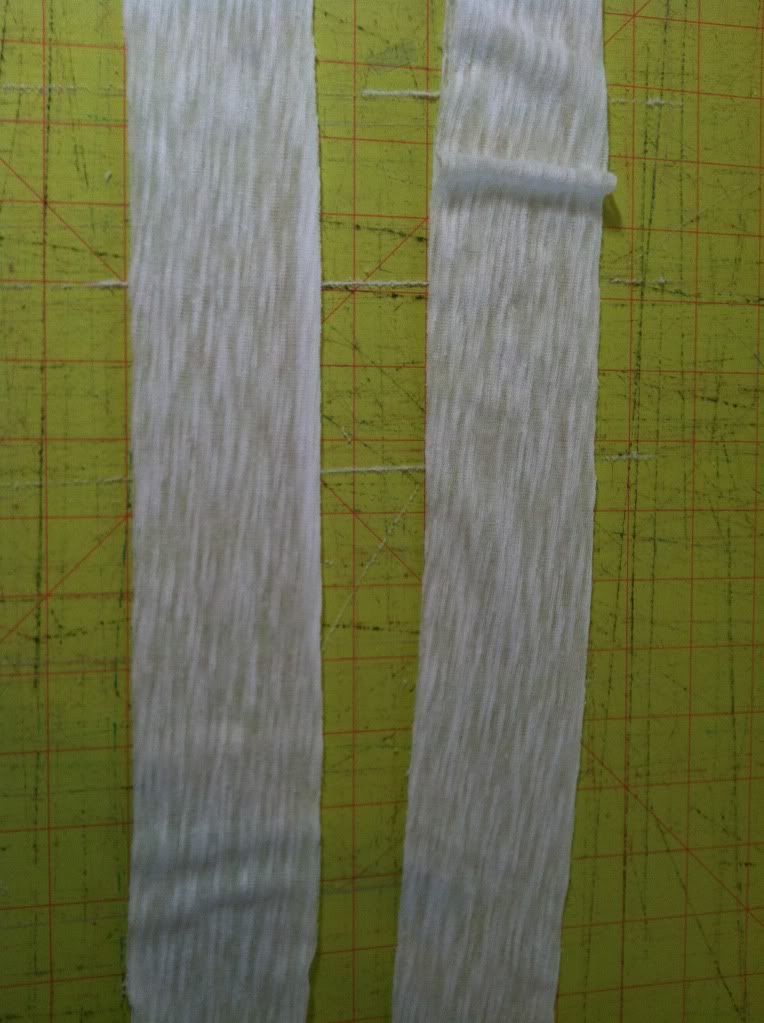
Now, it's time to put it together.
12. Stabilize your shoulder seams if you want to and depending on your fabric choice. Sew both shoulder seams.
13. Attach sleeves.
14. Sew one side seam from the bottom hem to sleeve hem. Sew the other side seam, leaving a 1.5-inch opening on the other side seam. The bottom of the opening should be the same distance from the underarm seam where you marked to cut your pattern.
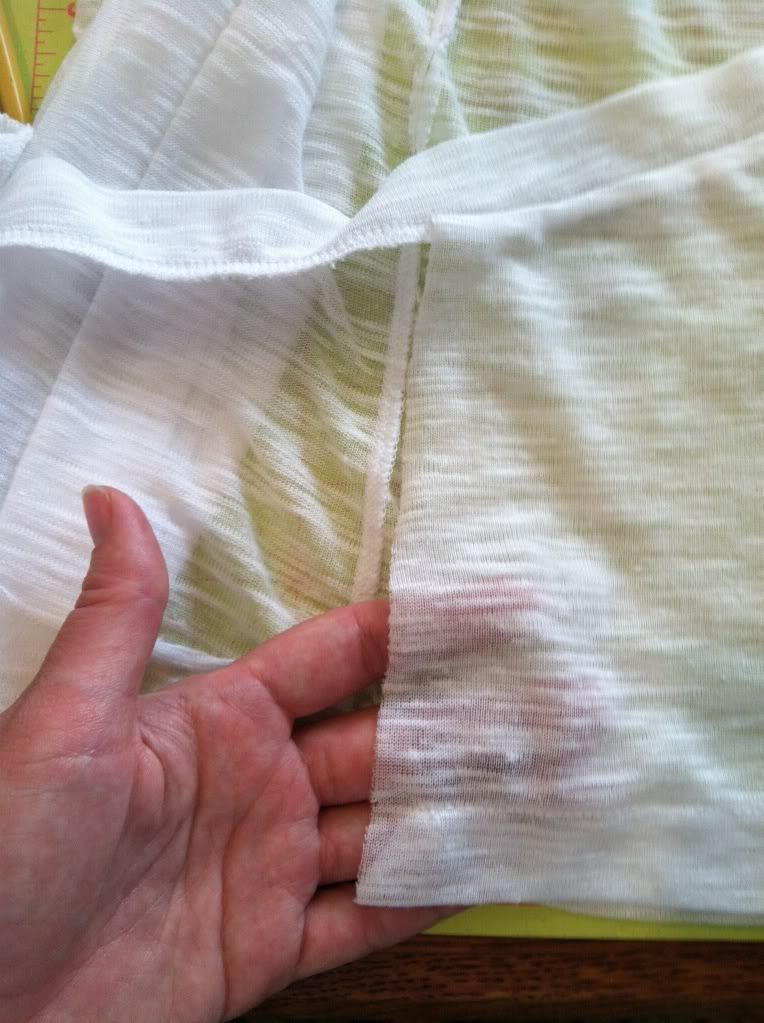
14.5. I forgot this step when making this version, so let me show you what you should have done. See this side-seam edge of the pieces? You should finish that edge somehow. Fold it under and hem is probably the best option.
15. Join your two long binding strips together along the narrow edge, so you end up with a VERY long binding strip. Fold it in half and press wrong sides together, so you end up with a long strip that is 1.25" wide.
16. Align the center seam on your binding strip with the center back of your shirt neckline. Apply your binding to your neckline, stretching it slightly as you apply. I do this with my serger, starting at one end of the binding (which won't be attached to the shirt) and sewing up around the shirt front edge, around the back neckline, down the other front edge and to the other end of the binding.
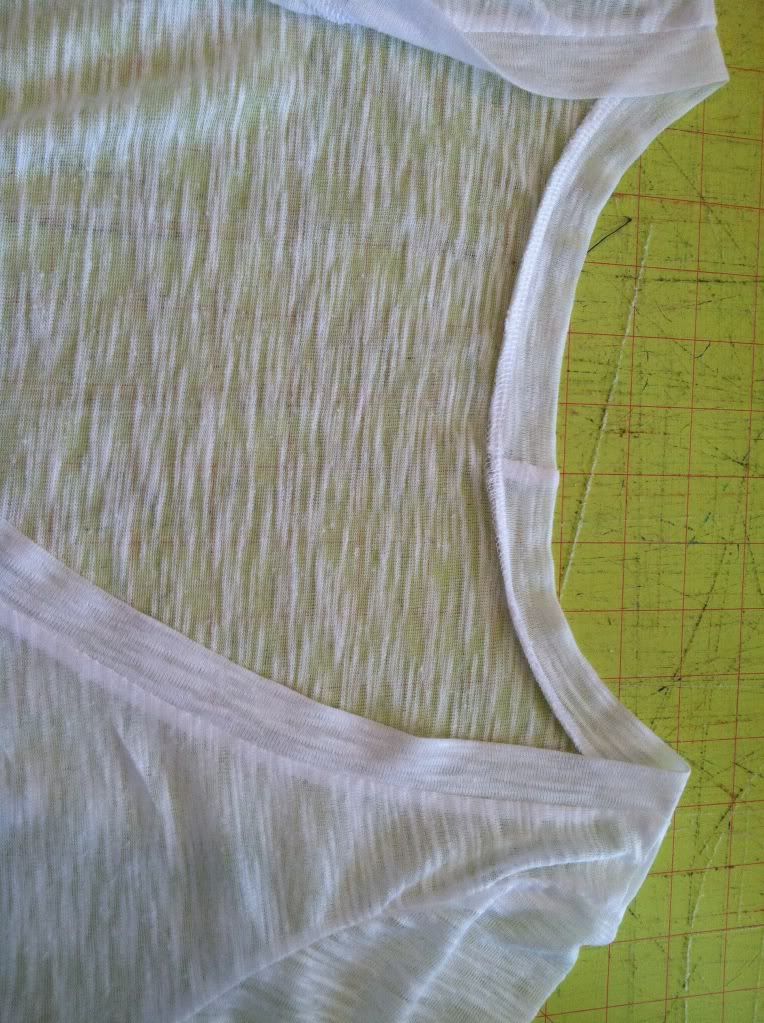
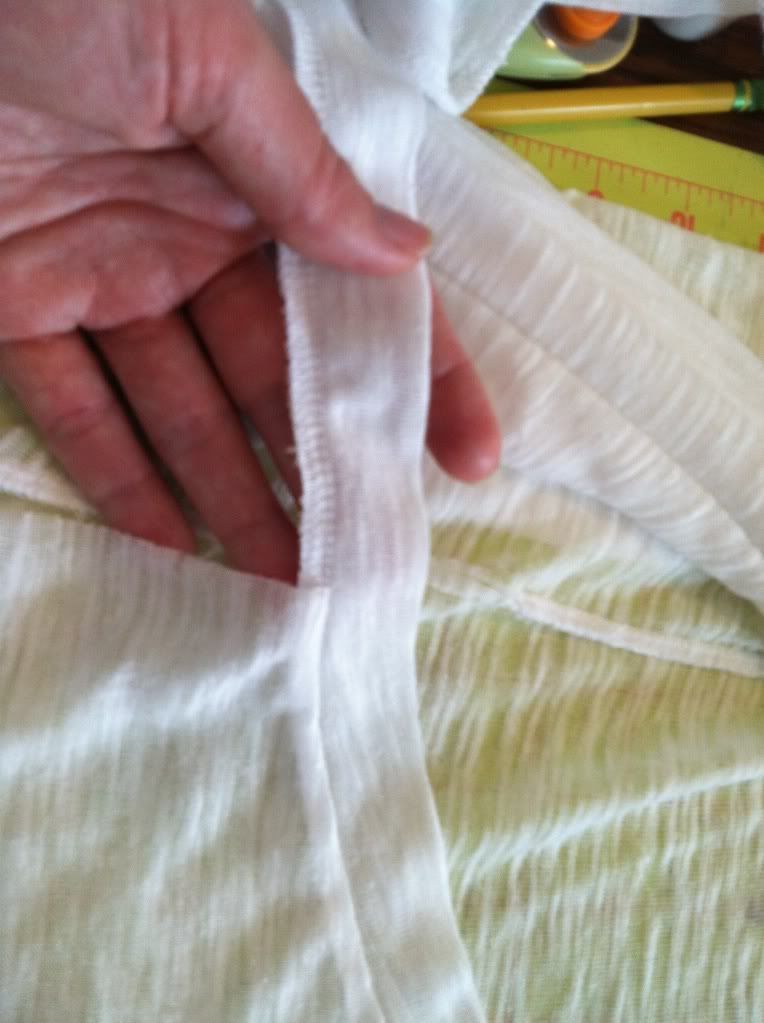
17. At this point, you can choose to fold under the serged edge of the binding and secure it to the back of the binding strip or leave it with the serged edge visible.
18. Hem your shirt bottom and your sleeves.
And here's a terrible picture of the one I made during the tutorial. This knit doesn't have as much stretch as the previous version, so it is a wee bit small. I'll shrink into it ;)

Last edited by sandrahd; 09-14-2013 at 03:45 PM.
Sandra
DH (Love of my Life)
DD#1 (Allie, 8)
DD#2 (Jenna, 5)
My machines: Janome TB30, Juki Pearl MO-655 Serger, Brother 2340CV, Janome Memorycraft 350E
To view links or images in signatures your post count must be 0 or greater. You currently have 0 posts.
To view links or images in signatures your post count must be 0 or greater. You currently have 0 posts.
To view links or images in signatures your post count must be 0 or greater. You currently have 0 posts.
To view links or images in signatures your post count must be 0 or greater. You currently have 0 posts.


 Reply With Quote
Bookmarks