Slipcover Sew-along. . .Part 4
I decided to break this part into 2 days, mostly because I'm trying to do them after work.
It is time to get started on the seat cushion cover.
Start by taking your existing seat cushion and measuring from seam to seam in both directions. Be sure to really get your measuring tape down into that seam and measure accurately. (Couch/chair cushion covers fit very snugly, and we want ours to fit snugly as well.)
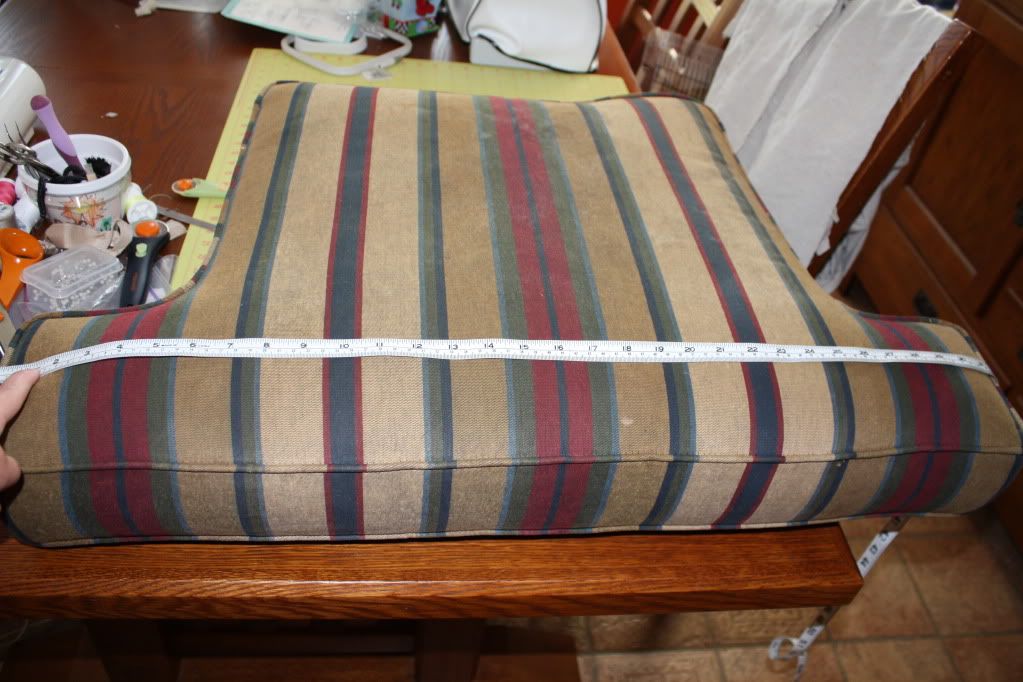
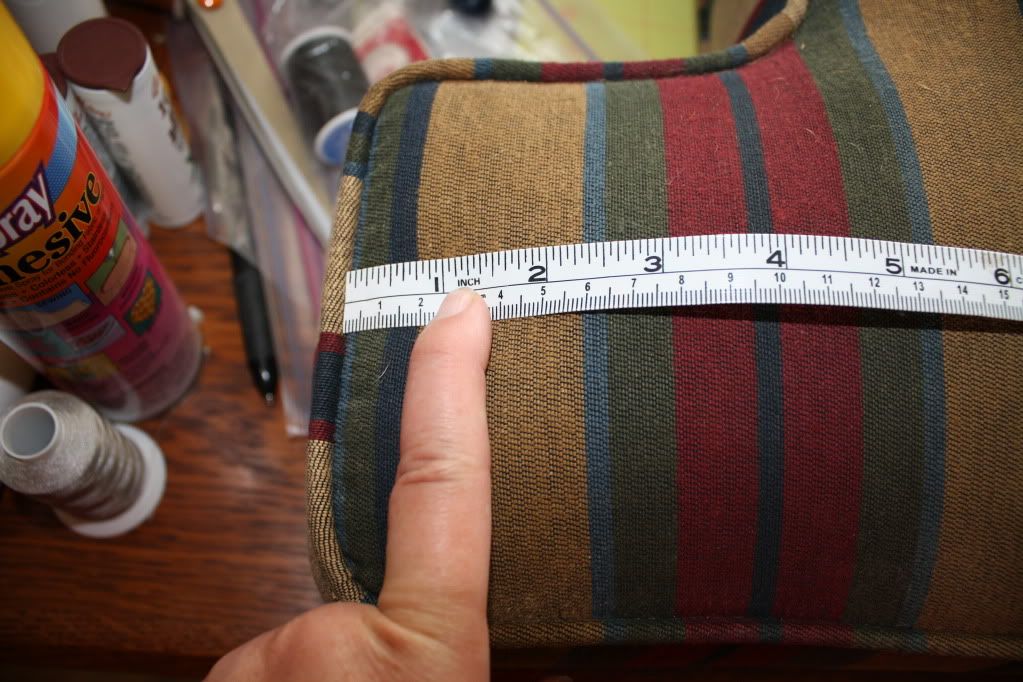
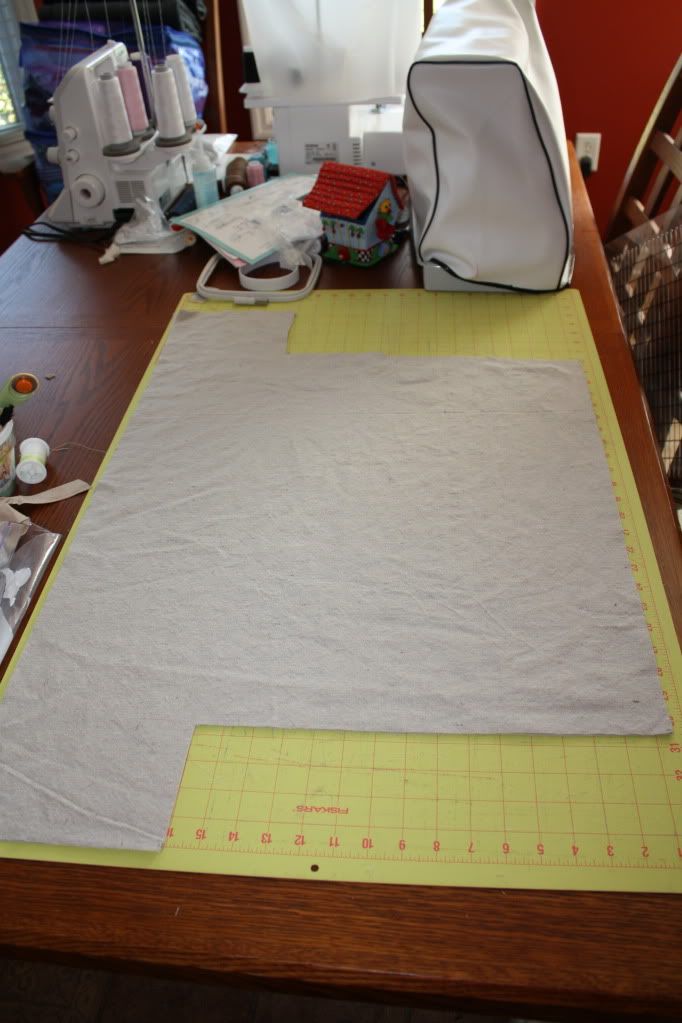
For a cushion with wings, I start by cutting 2 rectangles that are as long and as wide as the cushion at its widest points (i.e. including the wings) plus seam allowances. (Add 1 inch to the length and width measurements in order to add ½ inch seam allowance on both ends.)

Cur the rectangular pieces out if necessary to make the room for your cushion’s wings. Measure carefully and make sure you are leaving a seam allowance here. (This isn’t as intuitive as you would hope, but it is easier to measure the cushion rather than trying to account for the negative space—if that makes any sense at all.)
Measure the width of the piece that surrounds the sides of your cushion. Let's pretend mine is 4” wide.

Cut a strip of fabric that is the width of your cushion plus 1” to account for seam allowances (5”). Cut another strip of fabric that is 1” longer than your zipper and 1” wider (6”) than the strip you just cut. Cut this wider strip in half lengthwise (3”).

Take the 2nd set of strips (3”) you just cut. And press under the seam allowance on opposite long sides.
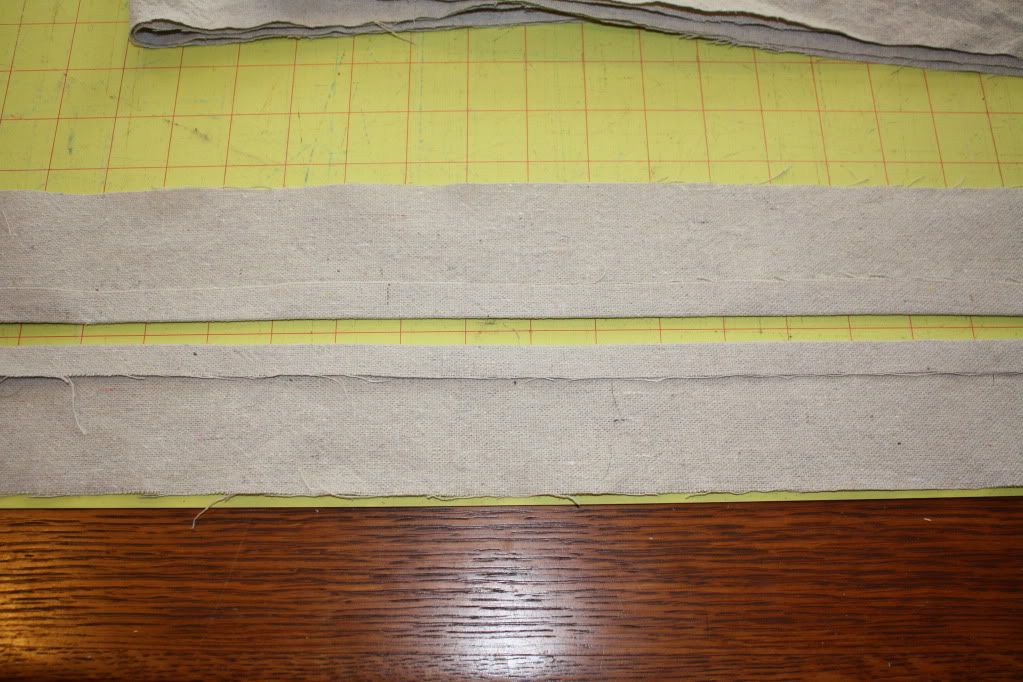
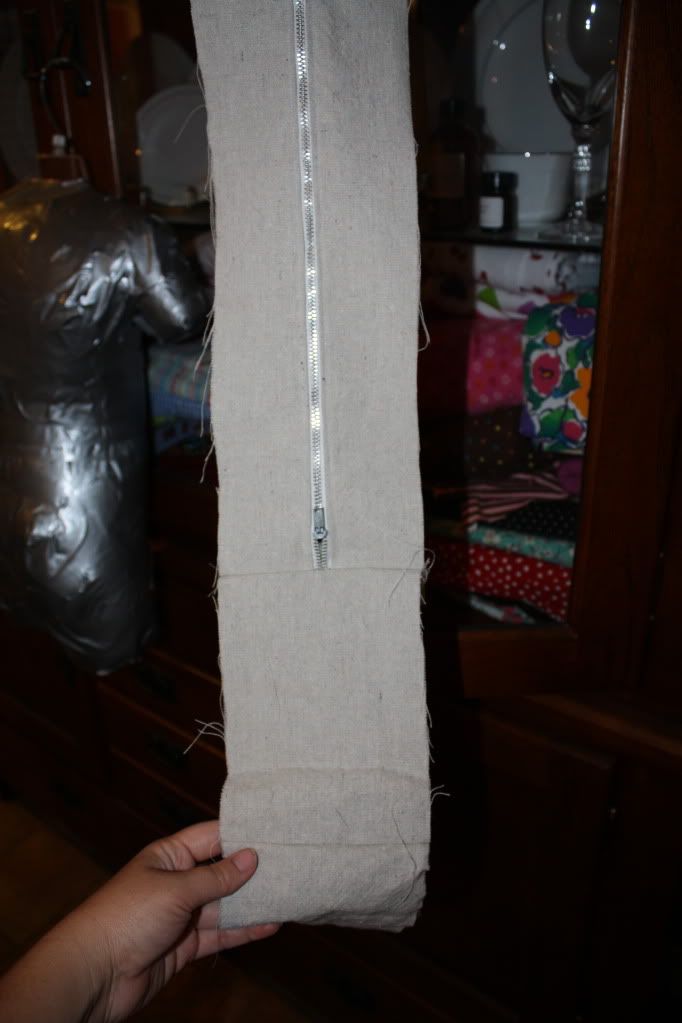
Align the pressed edges with the edges of your zipper teeth and top-stitch in place. Go ahead and make sure that your zipper piece and your other strip are the same width. If they aren't trim the edges of the zipper piece until they are.

Now, measure around the edges of your cushion to determine how long you need to cut your other strip. Be sure to account for the length of your zipper piece minus seam allowances and add seam allowances to the piece you are cutting. (Note: No matter how many times I do this or how carefully I measure, I end up with a few extra inches. I’ll show you what I do in the next step. I’m okay with that little imperfection that no one except me will ever see, but you’ll have to decide for yourself on that if you end up in the same boat.) Sew the short ends of your zipper strip and the other strip together to form a loop.
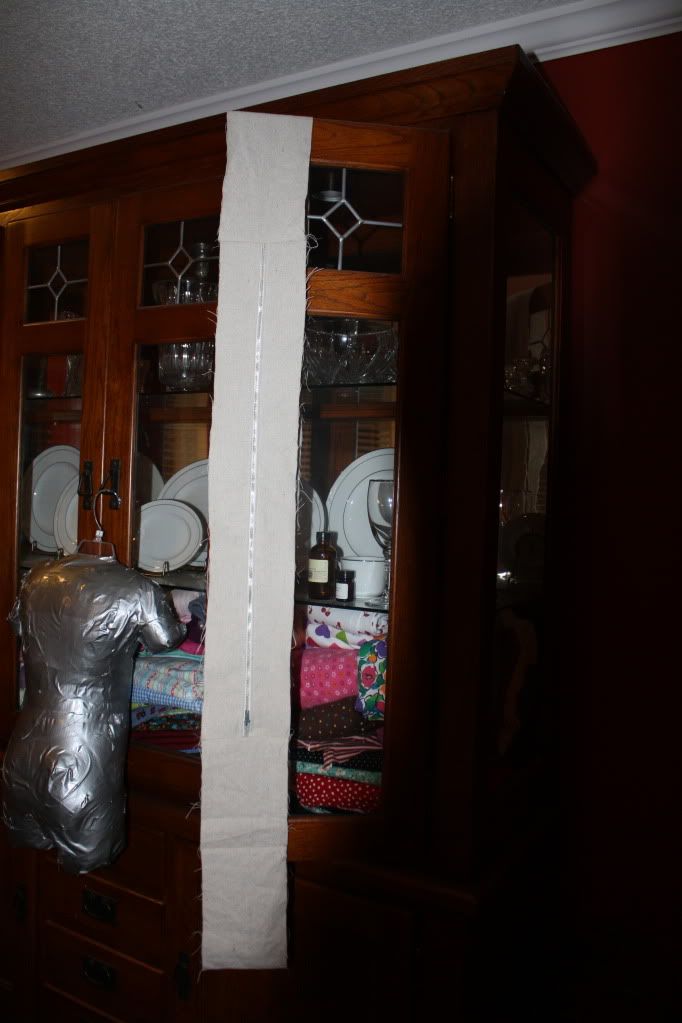
If you had to piece strips together to go around your cushion, make sure the seam is near the zipper—you don’t want a seam on the front of your cushion where it will face out.
Next, we'll do the final steps to put the cushion together!
Last edited by sandrahd; 05-29-2012 at 09:14 PM.
Sandra
DH (Love of my Life)
DD#1 (Allie, 8)
DD#2 (Jenna, 5)
My machines: Janome TB30, Juki Pearl MO-655 Serger, Brother 2340CV, Janome Memorycraft 350E
To view links or images in signatures your post count must be 0 or greater. You currently have 0 posts.
To view links or images in signatures your post count must be 0 or greater. You currently have 0 posts.
To view links or images in signatures your post count must be 0 or greater. You currently have 0 posts.
To view links or images in signatures your post count must be 0 or greater. You currently have 0 posts.


 Reply With Quote
Bookmarks