

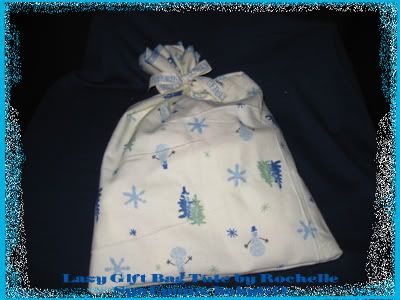
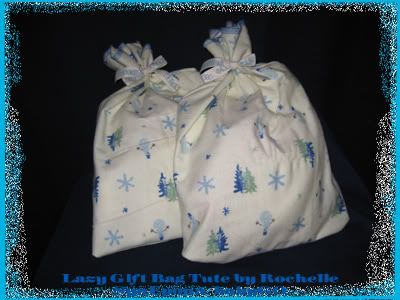
This is my standard giftwrap now, for every gift giving occasion.
I timed one of these, and it was three minutes, from cutting to complete.
Supplies Needed:
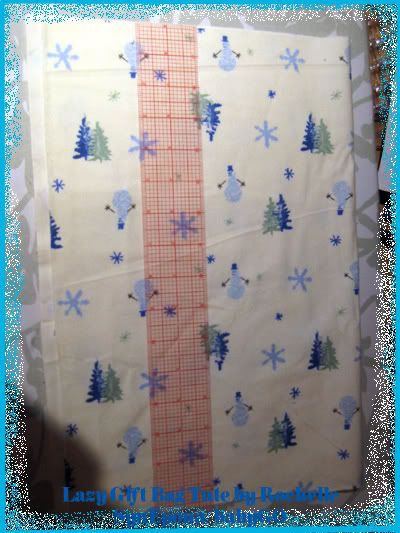
Fabric (approx. 15"tall x 18"wide in this example)
Ribbon (about 16" here)
Pretty/Coloured Thread
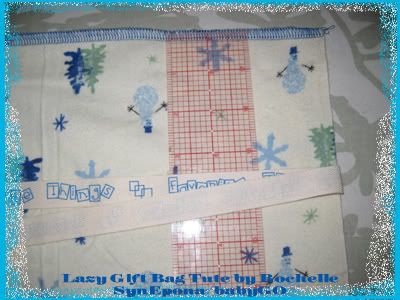
Step A
Cut a rectangle of fabric - if you have a specific gift in mind, cut the width of the fabric the size of the circumference of the gift plus some ease, and the height as tall as the height + depth of the gift, plus several inches for the section of the bag above the ribbon.
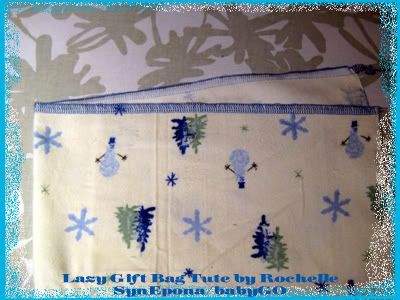
Step B
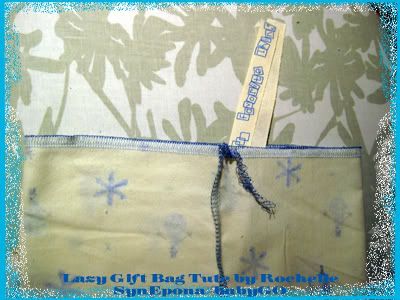
Finish one long (top) edge of fabric. You can do this anyway you like, I simply serge with a small stitch, unless the machine is already set for a rolled or picot edge.
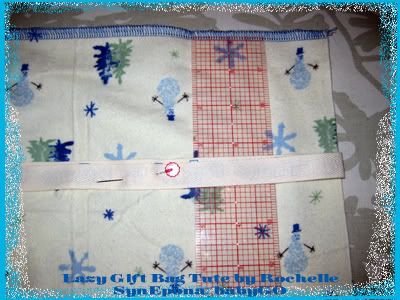
Step C
With Right side facing up, measure about 4" from top of bag (or more if you're making a larger bag!). Fold ribbon at center, rightsides together, and place fold at your measurement.
Step D (optional!)
Pin ribbon in place, far enough in to not interfere with your seam.
Step E
Fold left side of fabric over right side, around the ribbon, match top corners of your finished edge. (Red pin was moved so you'd know where the ribbon is now)
Step F
Stitch seam. I've simply lengthened the stitch and serged with the same blue thread. Re threading or doing a sewn & finished seam would make this not a 'lazy' project!
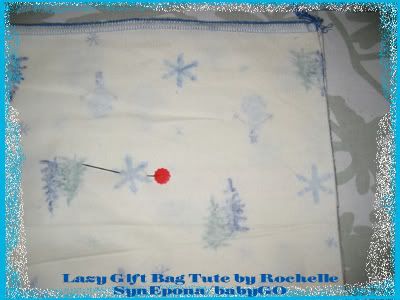
Step G
Unpin ribbon, and pull it out the top(finished) edge of the bag.
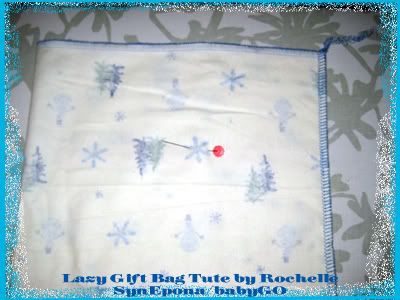
Step H
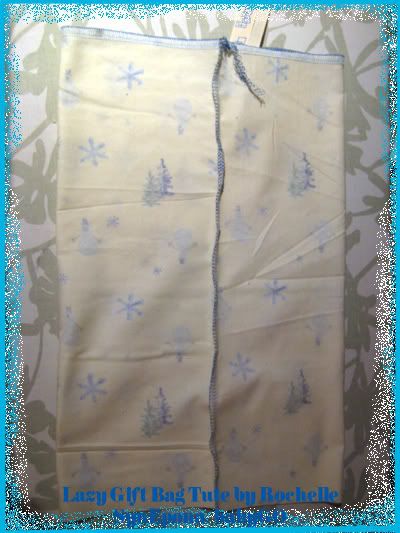
Lay bag flat with seam facing up, and make it centered.
Step I
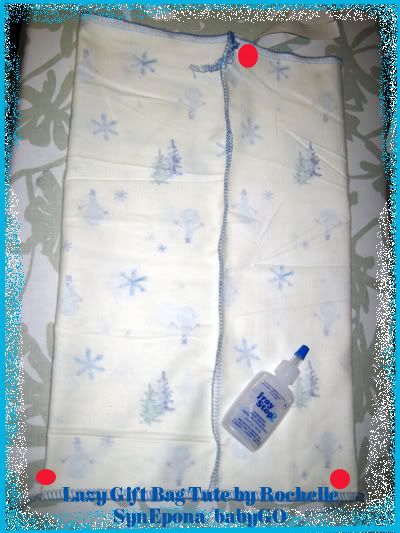
Stitch bottom seam.
Step J
In photo above, secure thread ends in your preferred manner - my way is to fray check & clip as these bags will not be laundered frequently.
Turn it right side out and you're finished. Put the gift in it, and this could be faster than finding the wrapping paper & tape! Plus - these bags are reuseable.

 Reply With Quote
Bookmarks