-
Sew Along: Strips and Nines Doll Quilt - in downld
This is a great project for learning how to strip-piece a quilt. This same block could also be assembled with many of them together to make a larger quilt as opposed to just one block to make the doll quilt size.
There might be a name for this block, but I don't know it. It was just an idea I had a few months ago as I was sketching out ideas for projects.
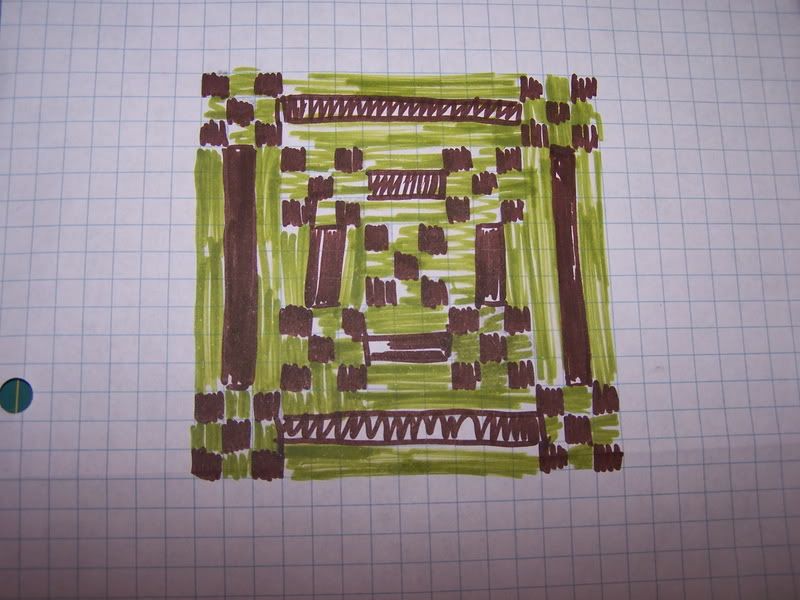
Here's a sketch of what I thought of:
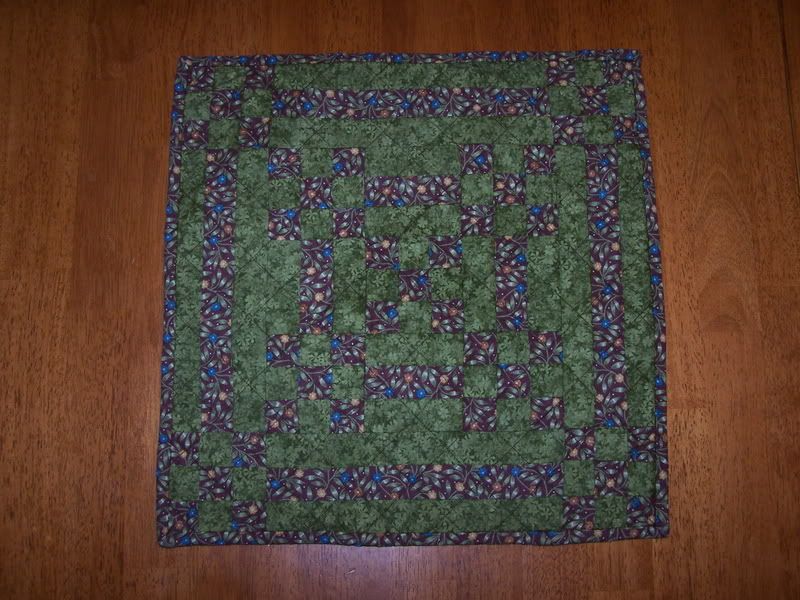
Here's the quilt in green/brown. This is hard to see the contrast in pictures.
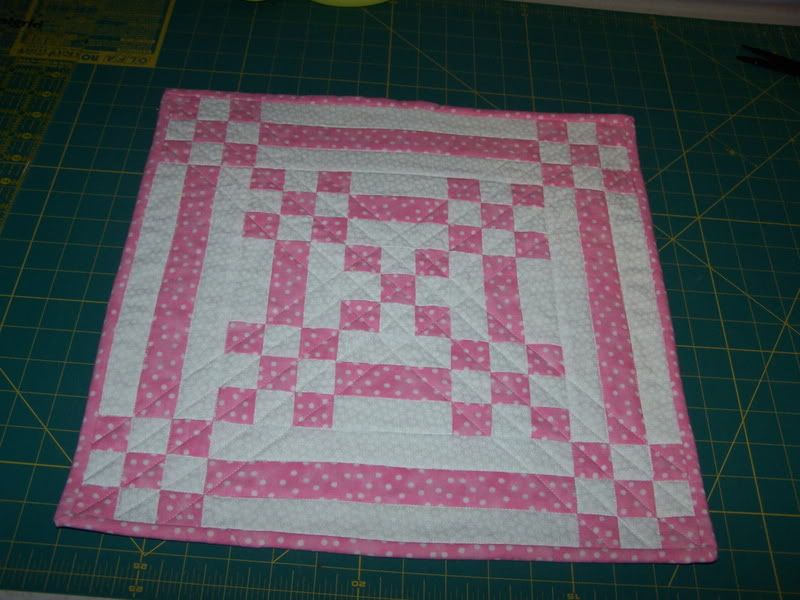
Here's the sample that I made for the sewalong so that it would be much easier to see:
Finished size is approx 15.5" square. If you were setting these in a quilt, your finished blocks would be 15". You'll need 1/4 yard each of fabrics A and B, a square at least 18" each for the backing (a fat quarter will work great) and batting, and about 5" of fabric for the binding (buy a quarter yard if you're shopping).
Step 1: Cut 5 strips of Fabric A (white in my example) and 4 strips of fabric B (pink in my example) that are 1.5" wide and the width of the fabric from selvage to selvage. A rotary cutter, mat, and good quilting ruler will definitely make this job easier.
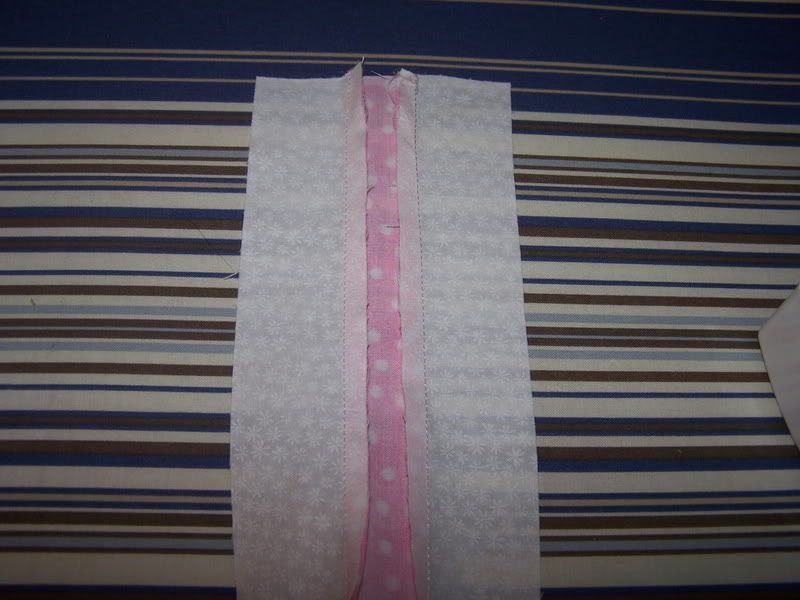
Step 2: Assemble two sets of strips ABA and one set BAB. Accurate 1/4" seams are very important for this.
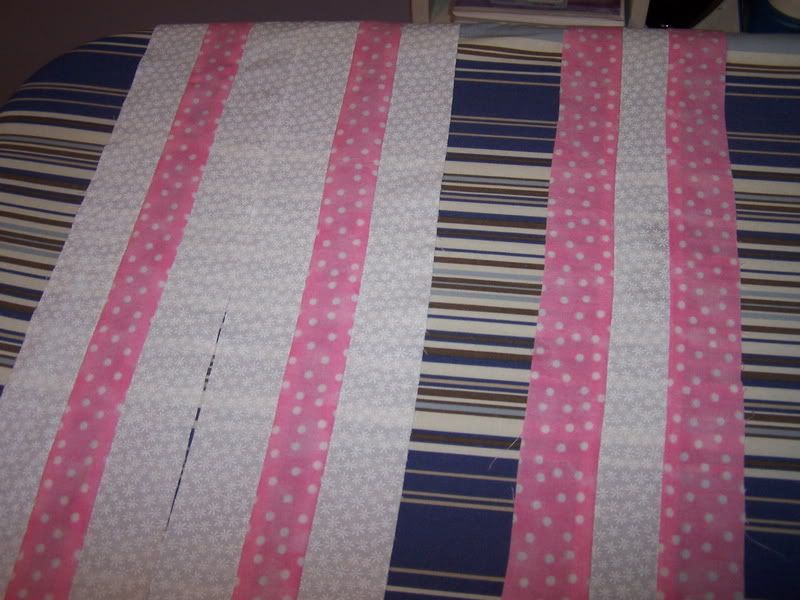
Step 3: Press the strips carefully to one side. I always pressed to fabric B (pink). This will make construction much smoother in the long run. It helps to elimate the arching effect by laying the fabric perpendicular to the ironing board instead of parallel.
Step 4:
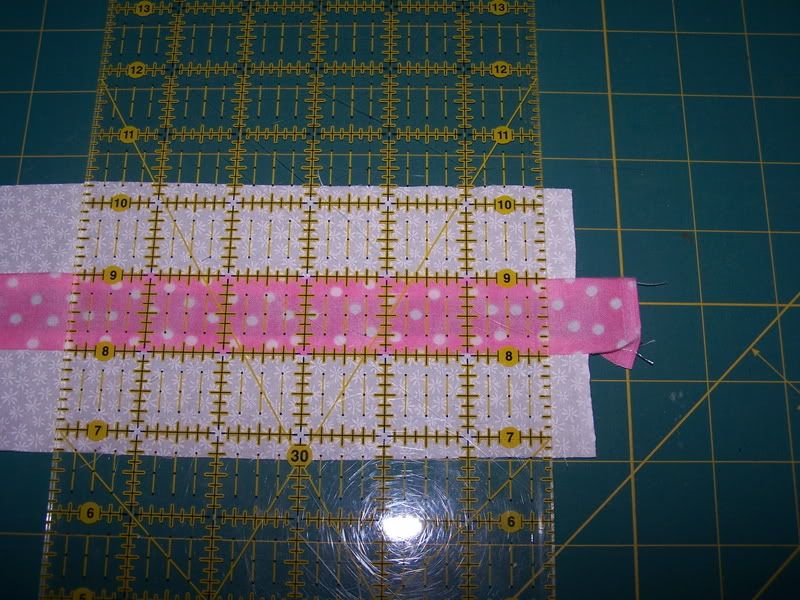
Square up the strips and get ready to cut your pieces.
From strips ABA, cut (4) 9.5" long, (4) 3.5" long, and (9) 1.5" pieces. If you notice the long strip getting off square, it helps to retrim it up to square and then continue cutting.
From Strip BAB, cut (18) 1.5" pieces.
I like to line up the ruler along the center strip of the strips to keep it even. If it starts to get wonky on you, re-square the end before you continue cutting.
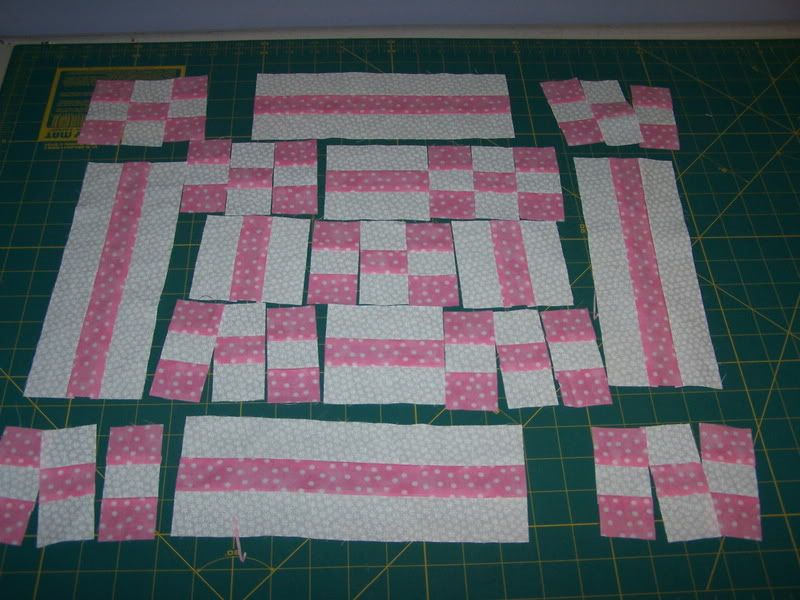
Step5: Lay out all of your pieces in the design of the finished block. This will make it easier to sew them together properly.
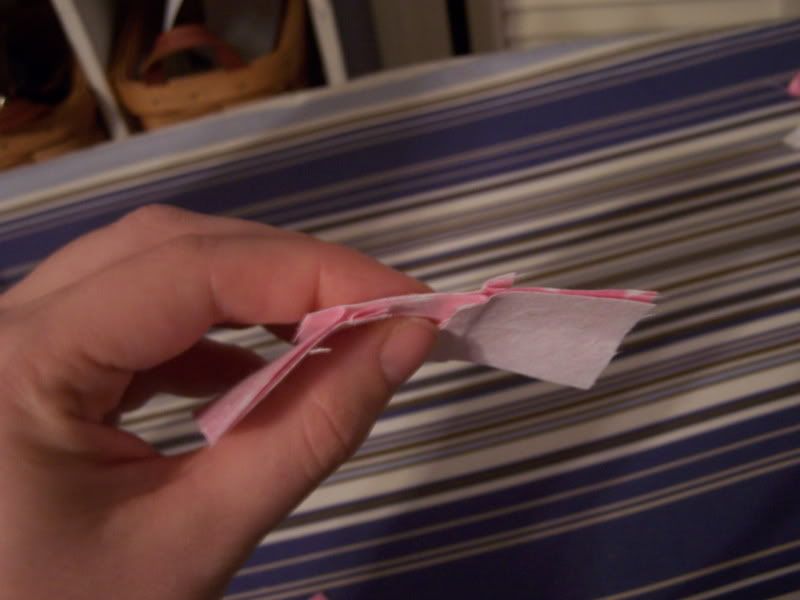
Step 6: Sew together the nine-patch squares, taking care to nest the seams. Throughout this project, carefully nesting seams and pinning will help you to get good results.
Last edited by Vanessa; 02-09-2012 at 07:48 AM.
 Posting Permissions
- You may not post new threads
- You may not post replies
- You may not post attachments
- You may not edit your posts
-
Forum Rules


 Reply With Quote
Bookmarks