


Get your pattern cut out. (I used infant shorts as an example.
Here is mine, (fabric folded on the left side)
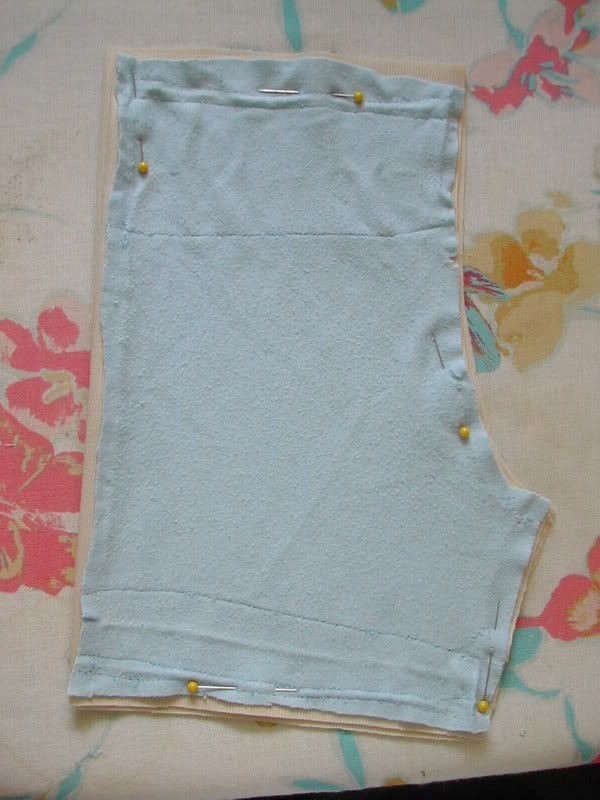
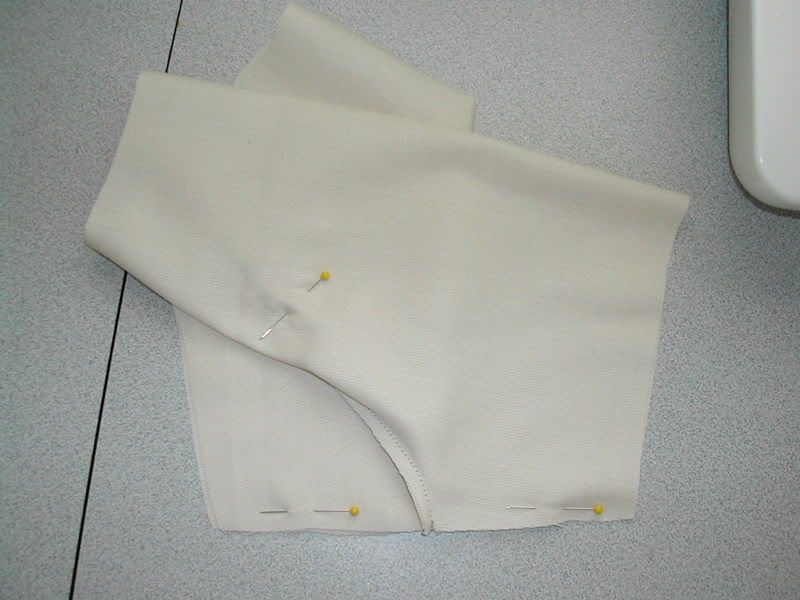
Open pieces up and put RIGHT SIDES TOGETHER flat on table. Pin as shown in picture: (Excluding top; I just did this to hold it together more.)
You're going to sew down from the top down and around the curve. Using seam allowance called for in pattern. Repeat to otherside.
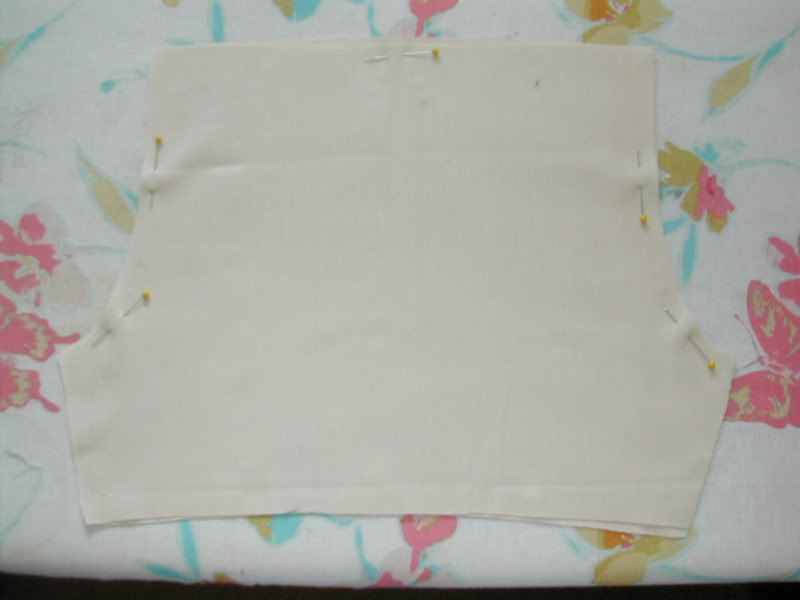
Should look like this: Serged if you wish. 3 years ago I didn't know I had that option on my machine!
Here is a tricky part, but easy once you learn it!
You are going to 'flip' the pants to look like actual pants at this point. This was *THE HARDEST* thing that I had to learn when making pants/shorts, and yes, I had to get out Mr. Ripper quite a bit....
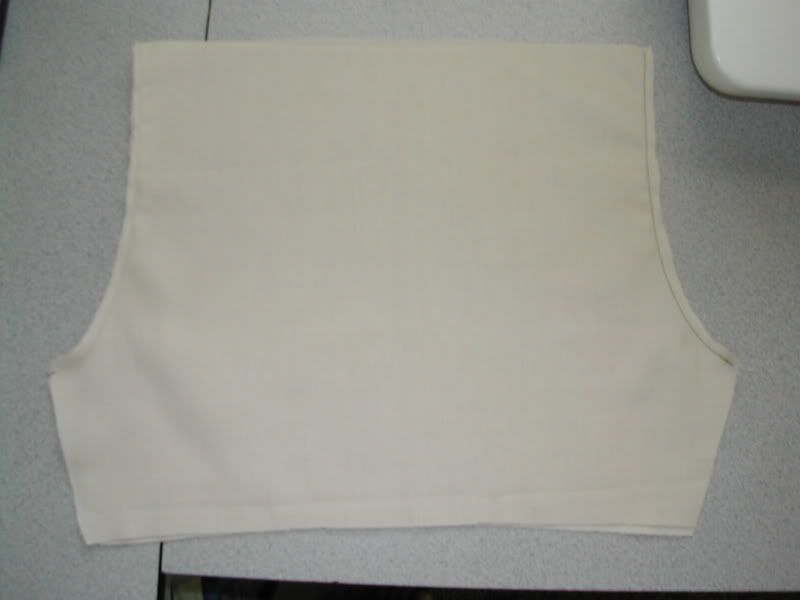
The seam that you just made was actually the front and back seams (Not the side seams)
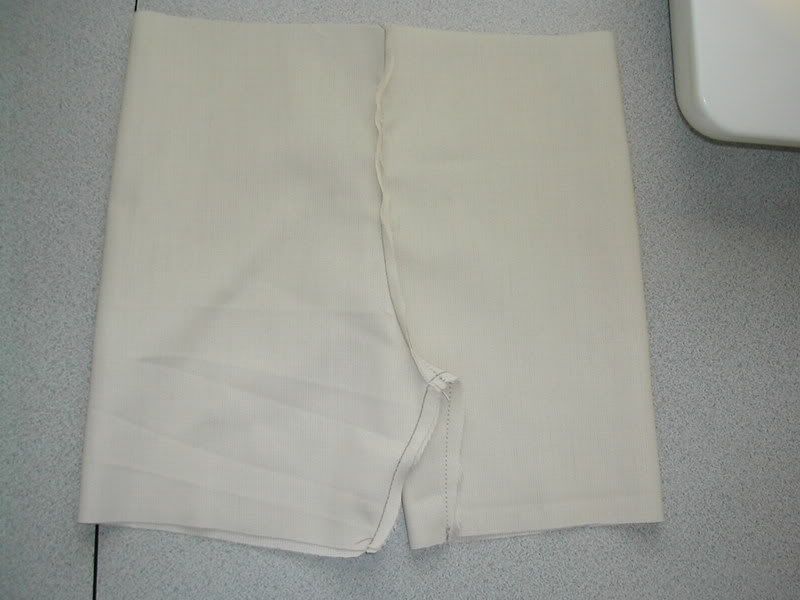
So you need to grab one side on the seam and push it down and make it at the middle. You now have seamless sides. See picture. Just might have to do a video for this.
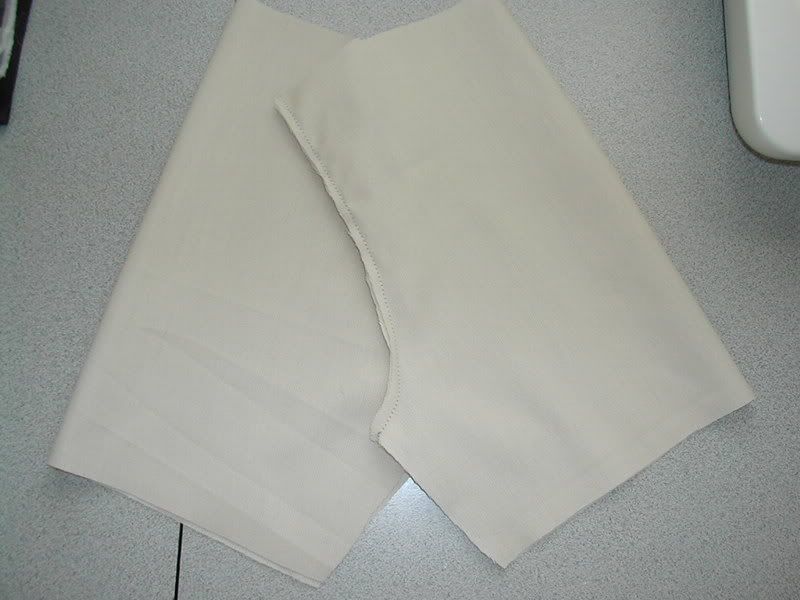
Next you will need to open up the leg part and pin in place. I pinned over things down just to have them not move around on me. Now you have a straight seam to sew across.
Lay flat on the table, they should 'fall' like this:
(Note: I like to clip the intersecting seam in the crotch, but I've noticed in children in diapers that it doesn't matter much)
Finish the bottom edges how you wish.
Make casing on the top for the elastic or finish as you wish.

 Reply With Quote
Bookmarks