lol i coulda used this LAST week, when i botched one up !

 Sewing Mama Member
lol i coulda used this LAST week, when i botched one up !
Misty
Mama to Savana Banana(9) an Benny Bean (5)
To view links or images in signatures your post count must be 0 or greater. You currently have 0 posts.
To view links or images in signatures your post count must be 0 or greater. You currently have 0 posts.
Sewing Mama Member
OK, now on to the sewing of the Laguna
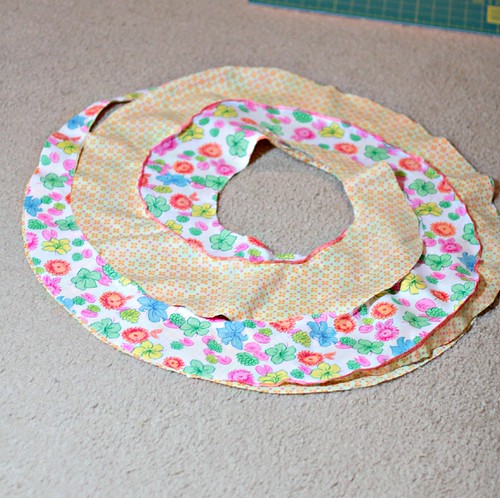
You should have two spirals from each fabric at this point. If you want a single color skirt where fabric B only shows when your little one twirls, leave the fabrics in the same order as they were cut. If you would like a two tone skirt, which is what I will be making, take one set of spirals and reverse the order so that fabric B is on top of Fabric A.
1.
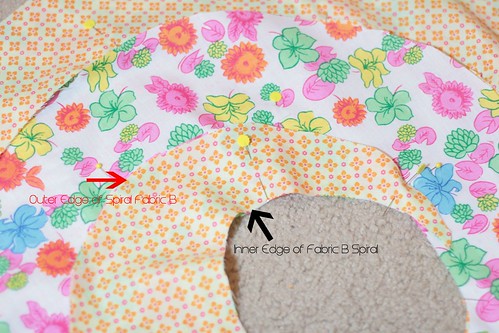
Here is an image showing how the fabrics are laid out.
2.
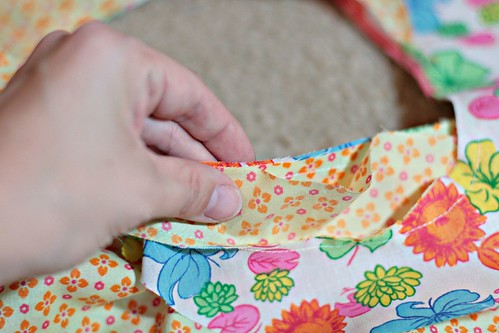
Next clip a 3-4 cm angled cut off of the end of the bottom layer of each set of spirals. It's to make things line up better when hemming and finishing the skirt.
3.
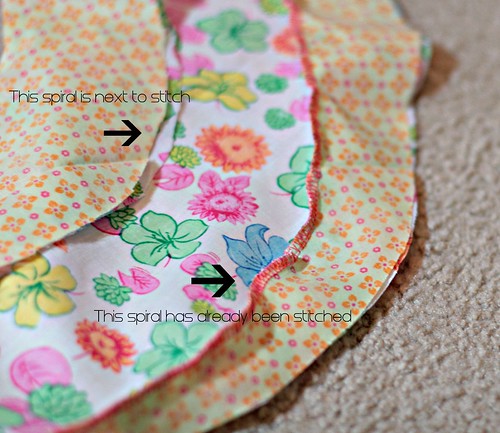
The next step is to stitch both layers of each spiral together on their inner edge. You do so with both right sides facing up. This joins the two layers together in preparation for joining the two spirals together. After this step you will have two spirals which are double layered.
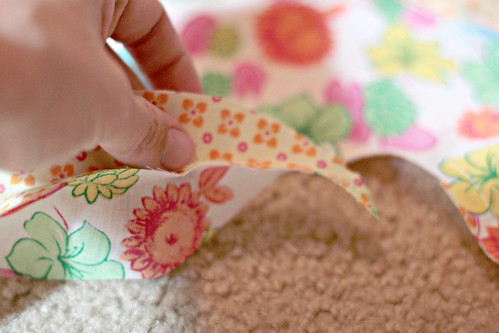
5. From here on out, the set of layered spirals with Fabric A on top is Fabric A Spiral and the other is Fabric B Spiral. Starting from the center of the circle, you are going to spread apart the two layers of Fabric Spiral A so that you can sew the bottom layer outer edge to both layers of Fabric Spiral B along it's inner edge. It seems a bit awkward at first as the outer edge of one spiral is going against the inner edge of the other so the edges seem like they don't fit together very well. This is the part that is most confusing so hopefully I'm making some sense.
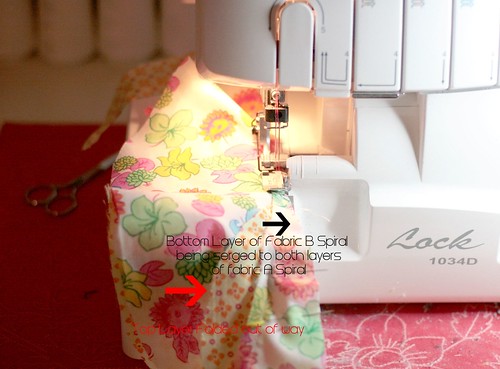
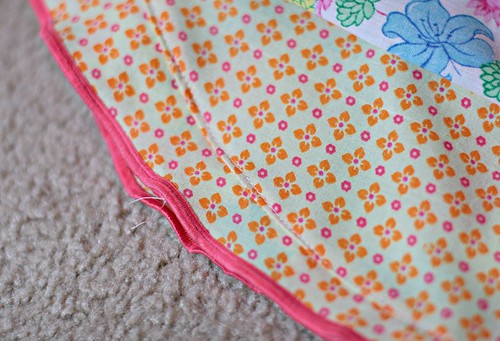
I'm serging the first spiral seam here. I'm going slowly, removing the pins as I go and keeping the extra layers from getting caught in the stitches or anywhere near the knife. Once this seam has been stitched, I'll have something like this
The image is showing the wrong side of the skirt so that the seam is visible.
OK, I'm going to split the rest into another reply so hang on
Sewing Mama Member
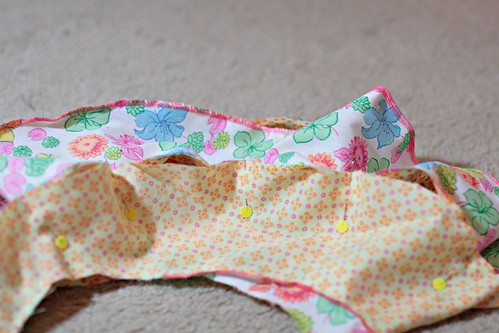
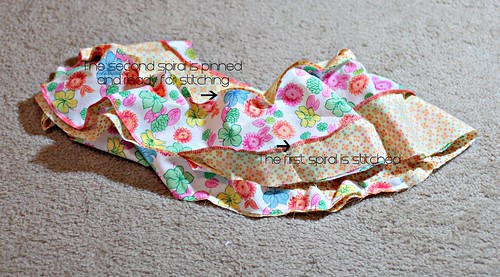
So, the next step is to pin the second spiral seam to prepare for serging (or stitching then zig zagging) it.
This seam is just like the last one, start at the center and work outwards towards the tail end of the spiral. Your second spiral beginning will be across from your first spiral's beginning point and your tails of your spirals will wind up opposite one another on the hem of the skirt. Once you have pinned the second seam, it will look like this
Serging the second spiral seam, I am, once again, cautious about keeping my fabric from bunching up.
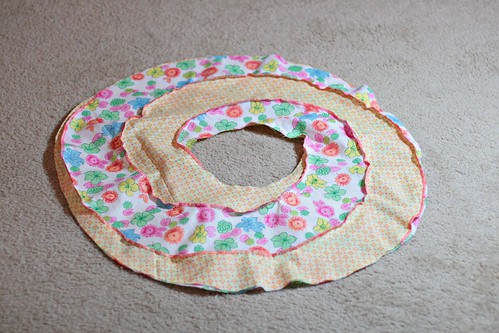
Once this seam is completed here is what you will see
This is the wrong side so you can see both seams
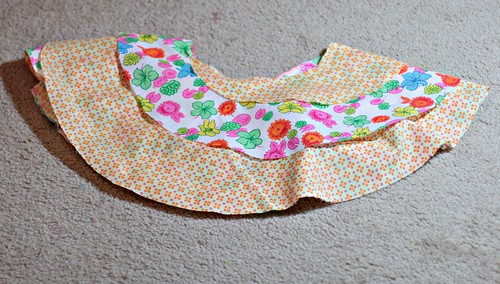
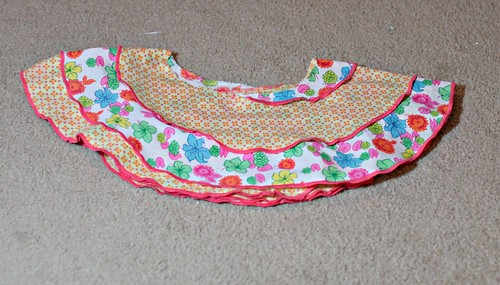
Here is the right side, looking like a skirt at last
Now we're into the home stretch and just going to add the finish and waistband. I'm not going to go into tons of detail on this part, but I'll share a bit in the next reply.
Sewing Mama Member
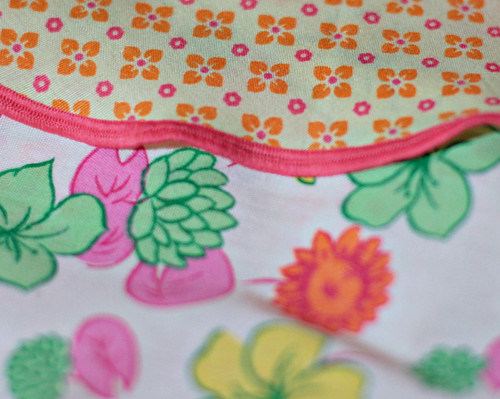
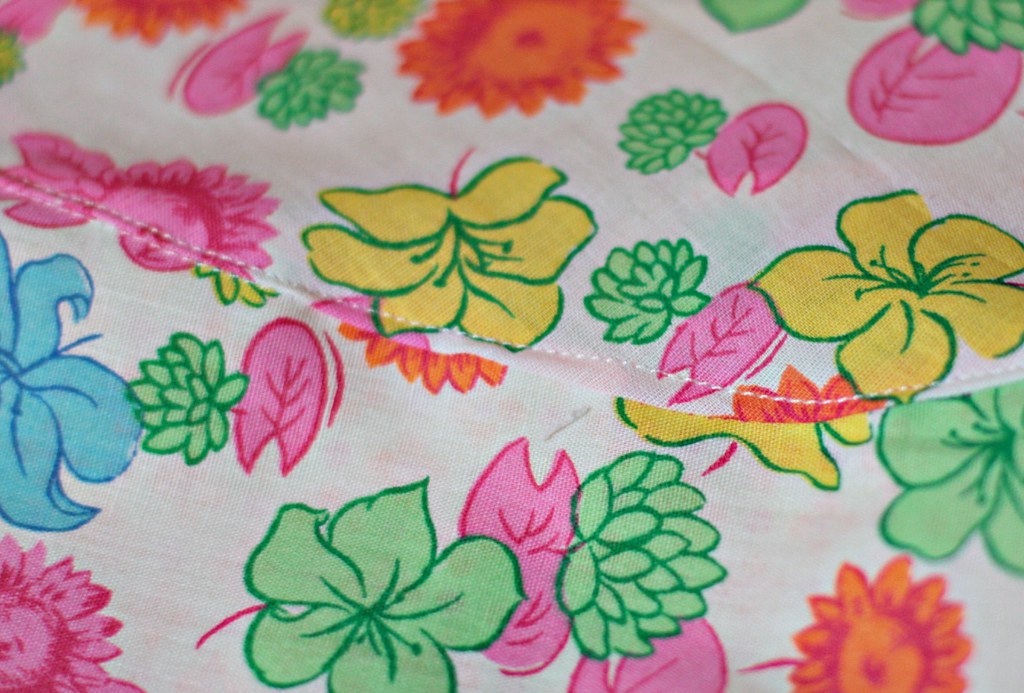
As the pattern for this skirt says, there are a lot of ways to finish the skirt. You can finish the edges with a serger, bias tape, hems, whatever. I chose to serge the edges. This is a four thread overlock with the stitches close together like a rolled hem but the width is still the full width of a four thread overlock. It gives a look like bias tape and I like it. That said, I'm a total newbie to my serger so others can probably give better advice on this part.
Here are my finished edges
I've also topstitched the spiral seams to make the skirt hang nicely
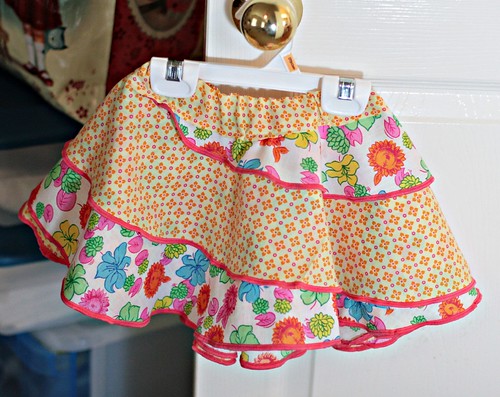
The last step is to attach the elastic waist, once again, there are plenty of ways to do this and most everyone has done an elastic waistband at some point so I won't go into any detail here but I'll show a pic of the finished skirt to end this little sew along, hope it helped someone at least a little bit
 Posting Permissions

 Reply With Quote
.gif "a (11)")


Bookmarks