

I'm really hankerin' for spring and being able to hand the sheets out on the line again. ahhhhhhhh.....
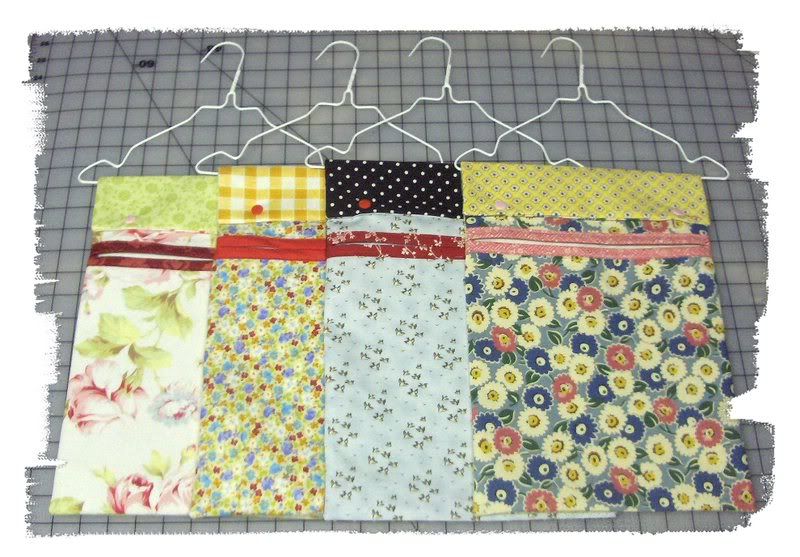
I needed a new clothespin bag, did a little poking around online and came up with this pattern. I also made up a few for the spring swap and figured I might as well take pictures and share the process
These can snap right over the clothesline or snap over a child size hanger.
I'm planning to make another for myself to hang in my closet for tights/pantyhose. I don't wear them often and they end up in a tangled mess in my underwear drawer.
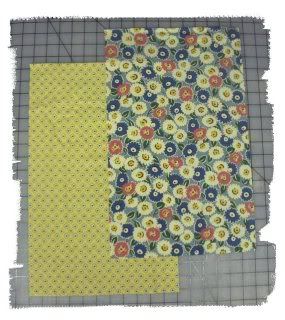
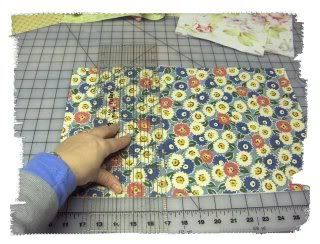
1. Cut two rectanges of fabric, 11" x 18". One of these is for the front, the other is for the back. Iron onto lightweight stabilizer.
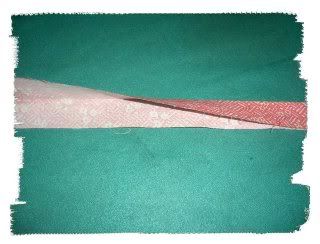
2. Make 24" of binding. First, cut a strip 2" x 24" of contrasting fabric. Fold and iron fabric in half with long sides meeting. (Small confession here, I'm addicted to spray starch and use it generously while doing my pressing)
3. Open strip back up and fold and iron each side into the middle.
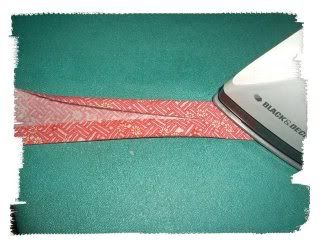
4. Now fold and iron the strip in half and you have your binding. I would go ahead and cut the binding into two 12" lengths at this point. (I suppose you could use bias tape)
5. Next, cut the rectangle that you want for your front 7" down from the top to create two peices.
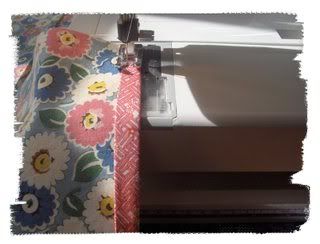
6. Fold the binding peices over the two edges that you just cut apart on the front rectangle piece and sew down.
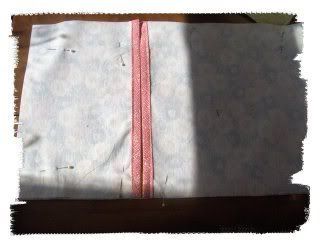
7. Now, with right sides together lay the two front pieces on top of the back piece, with the binding edges touching eachother, and pin.
8. Sew all the way around.
9. Clip your corners and turn it right side out. It should look like this.
10. Take it back to your ironing board and fold over and iron the top edge. I folded it over about 2 1/2"
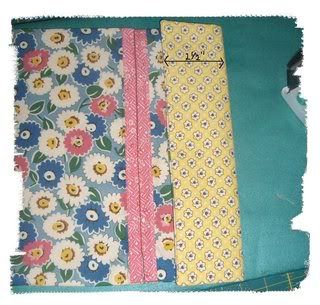
11. Place snaps or buttons on the flap. I placed them 1-1/2" in from the side edge and 1/2" up from the bottom edge of the flap
Voila!


 Reply With Quote
Bookmarks