

Grocery Bag Alternative
Sew Along
Fabric
Large: 2 @ 19 wide by 24 tall
Medium 2 @ 19 wide by 19 tall
Options: Other sizes of fabric can easily be used by keeping the handles approximately the same and adding or subtracting from the mid-line as needed for best use of fabric.
Outside Pocket: Med: 1 @ 6 wide by 15 tall.
Make the pattern or just do one straight onto fabric:
Note if going straight to fabric the use of an iron will make it much easier.
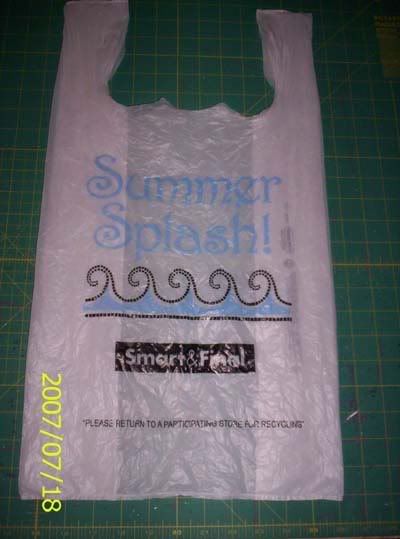
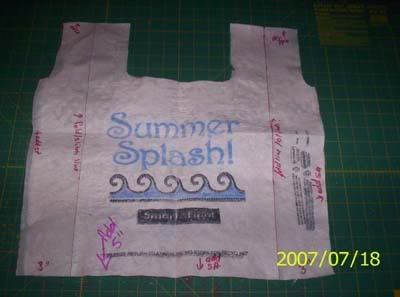
Inspiration Bag & My attempt at making a pattern by ironing 4 bags together. It worked great but shrank by 4.5" and I didn't know it until after I had cut a bunch of fabric. Hence the Medium Size.
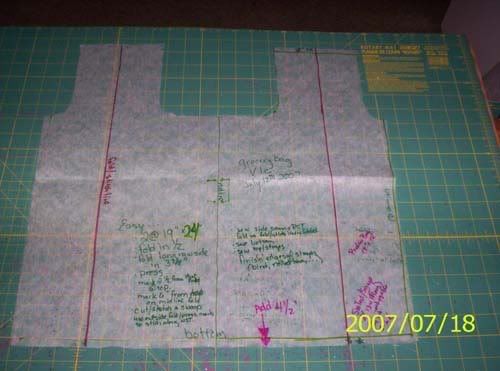
1. Take your pattern paper (start with 19x24 and fold for the shorter options) or 9.5 x 24 if you want to always cut on the fold.
2. Fold in Half the long way. (Iron for best results if doing onto the fabric.
3. Make a 3.5 fold in from each side this is your STITCH LINE on the fabric.
4. At the top of the pattern mark the edge at 2.5 from the stitch line fold. (Mark A)
5. Mark 6 from the top on the mid-line. (Mark B)
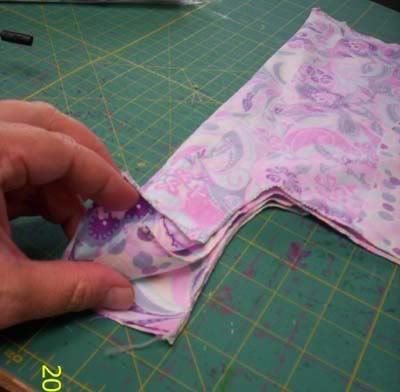
6. Cut out a swoop from mark A to mark B.
Pattern Piece, Pattern Piece Showing Folds
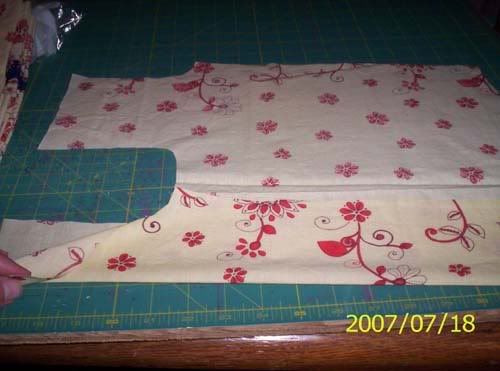
Now you are ready to cut your fabric on to continue onto construction.
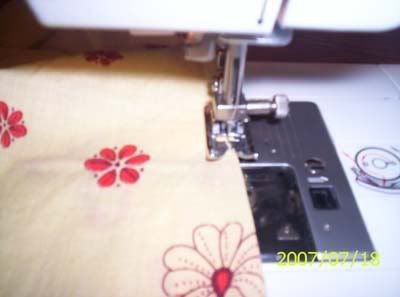
-Fold in from the sides 3.5 (dont measure, you will see the fit by the handles lining up) then Straight Stitch down that fold creating the STITCH LINE. (optional but helps in the long run)
-Add Pocket (optional)
--P - Fold the 6x15 length into 6 x 7.5 and serge/sew up the sides.
--P Place on the center front of bag and stitch down leaving the raw edge in what will be the bottom seam.
-Put the 2 pieces right sides together (RST) Serge/Sew side seams.
-Using the STITCH LINE fold so one is on the front and the other is in the back.
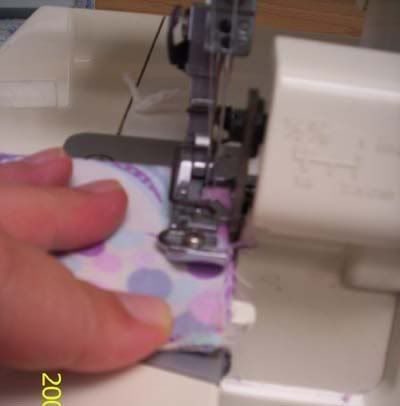
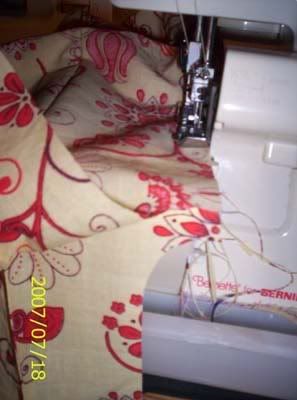
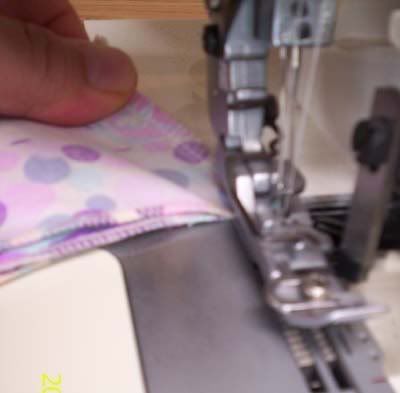
-Bottom Seam: (See Handles for Pictorial)
--Serge starting in the middle of the bottom towards an edge,
--needles up,
--lift presser foot,
--pull bag back slightly,
--flip bag,
--slide back under presser foot towards needles,
--lower presser foot,
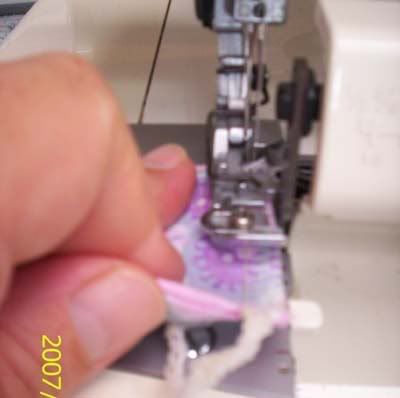
--and serge back over the stitches locking them in place * take care not to cut the existing stitches.
--Serge to end and flip again to lock stitches in place. (optional straight stitch along bottom edge if desired for added security)
-Finish Openings: This is the point where I finish the openings. My preferred method is a rolled hem on the serger but you are welcome to explore and please share what methods you like the best.
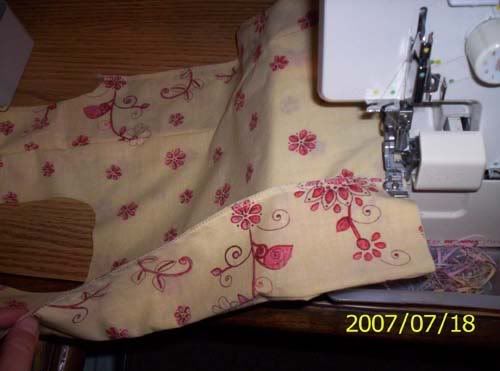
-Take a moment and pull the bag flat using the bottom folds. If done right the handles should put themselves in the right placement to sew if not see next

-Handles:
--Put handles RST and fold in half so all the openings fact the same way.
--Starting at the fold end serge to open ends.
--Do the lift and flip described in the sewing of the bottom seam.
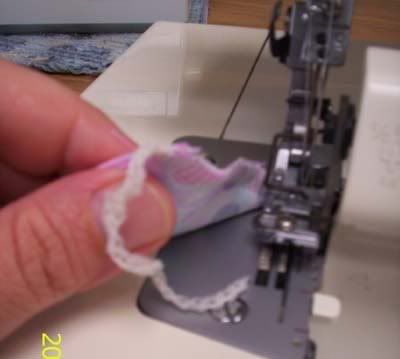
--Take care not to cut the existing stitches.
--Finish with the tail on the fold end.
--Repeat with 2nd handle.
Now . It is time to turn the bag right side out. This is where the STITCH LINE really helps me out.
-Turn bag RSO (right side out)
-Using the STICH LINE pull the front piece and the back piece in opposite directions while holding onto the STITCH LINE. This will put your bottom fold in the right positions. I know it sounds a little strange but it feels like magic when I do it.
**Can Take Picts with next batch if requested**
-Repeat on 2nd bottom corner.
-Repeat on each handle.
-Sit back and admire your work and think Gosh, this will look even prettier if I take a moment to press it. Press it ;) (optional)
-Take a Pict and Do a Sew and Show.


 Reply With Quote
Bookmarks