Replace a zipper fly with a mock-zip fly
I looked for something like this, and it seems we don't already have one!
This tutorial will show how to sew a mock-zip fly where the pattern calls for a real zipper. Because sometimes you just don't need a real zipper! A number of baby/toddler Ottobre pants patterns come to mind here...
In this example, I am working with Otto 3/10 #15, Jodhpur pants. You might have a child for whom this pattern works without the elastic in the back. But my kid needs the elastic. Having made a couple of pairs of these already and seen that he never ever undoes the button, nevermind the zipper, I figured we'd just skip the zipper this time. But we'll pretend there is one, so he still looks like a big kid.
OK, by this point, we have gotten to where the instructions want us to finish the crotch seam allowances. Here are the two main pieces, inseams sewn, crotch seam allowances finished:
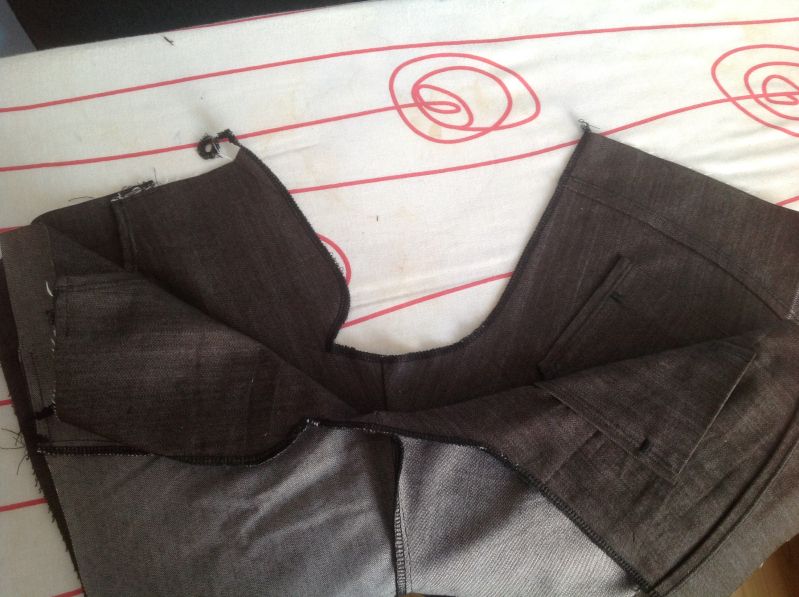
It is important to note that where the pattern cutting instructions have you cut one side of the zip fly opening a little narrower than the other, you want to ignore them. Leave both sides the same width.
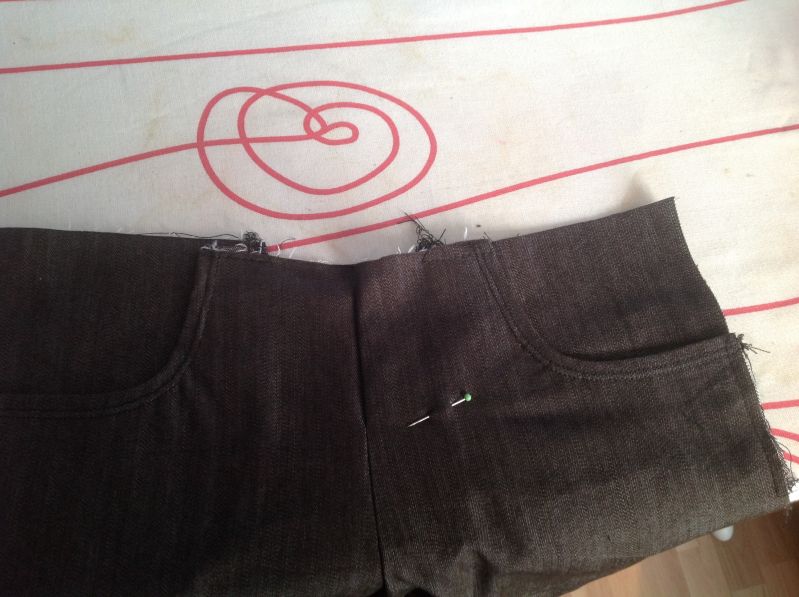
Now we are going to sew most (but not all) of the crotch seam. I have marked with green dots where you definitely should sew and blue dots where it's optional. Depends how realistic of a fly opening you want in your finished product. Stick with the green dots for a slightly more real-zipper look, or go with the blue to possibly keep the fly closed a bit better.
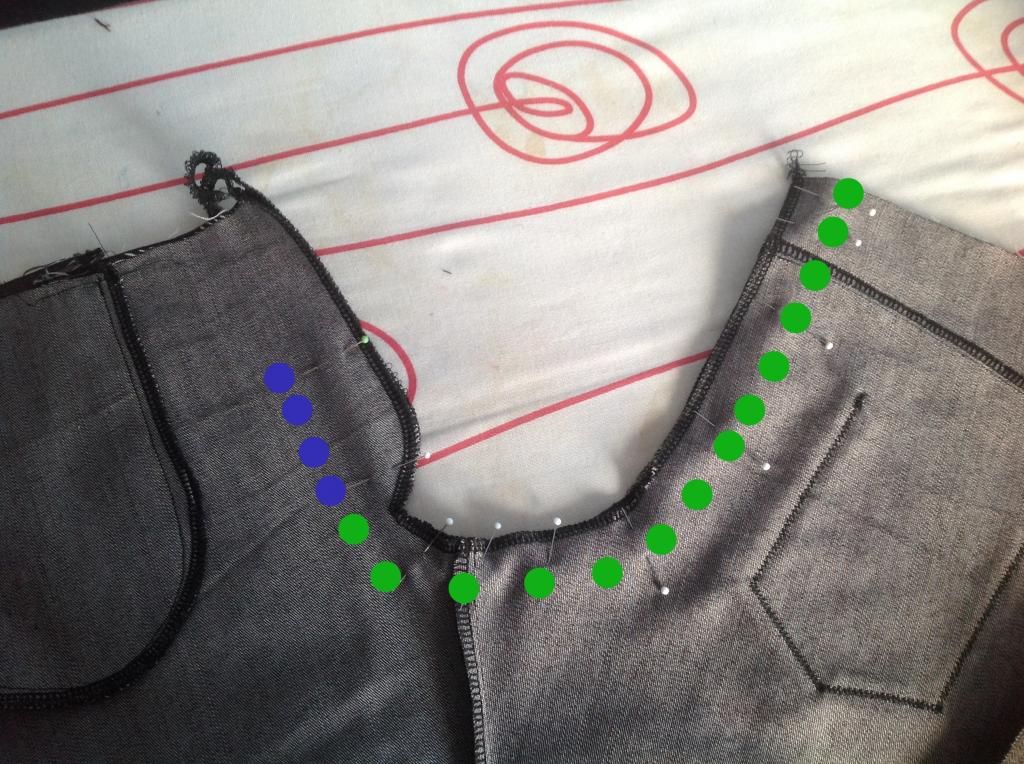
I went with the blue here, which I think will keep the fly closed a bit better:
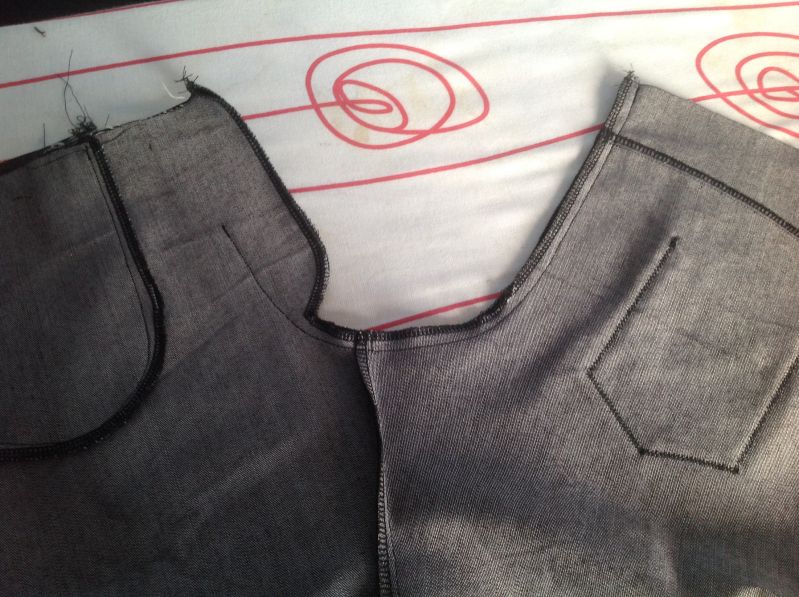
This is what the pants front looks like now from the outside:
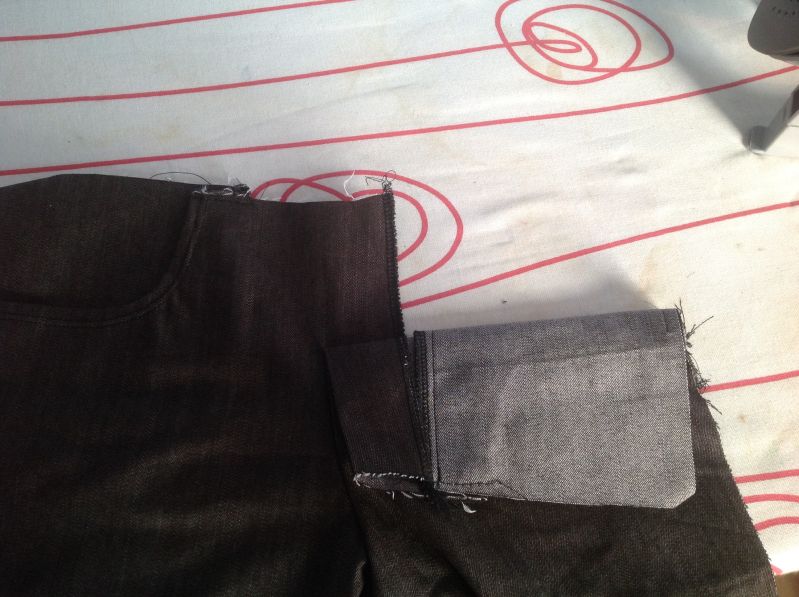
Time to topstitch! We will sew only through the right front until we get to the pin (about the point where my crotch seam finishes - if your crotch seam finishes 'earlier' aka with the green dots, you have a bit more flexibility here), remove the pants from the machine, fold the fly underlap in place, then finish topstitching through both layers of the fly extension.
I then sew a bar tack at the point where I moved the project temporarily away from the machine. You can place your bar tacks a little higher or a little lower, depending on how much you want your fake zip fly to open.

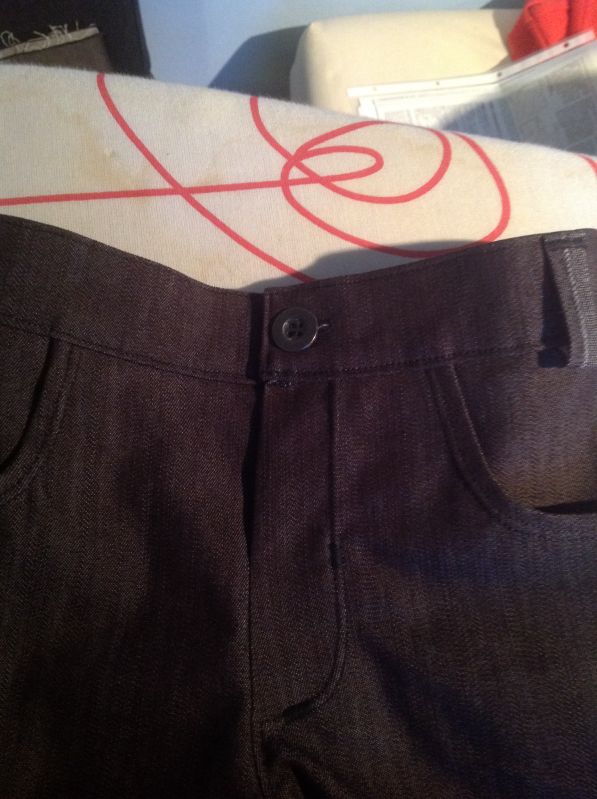
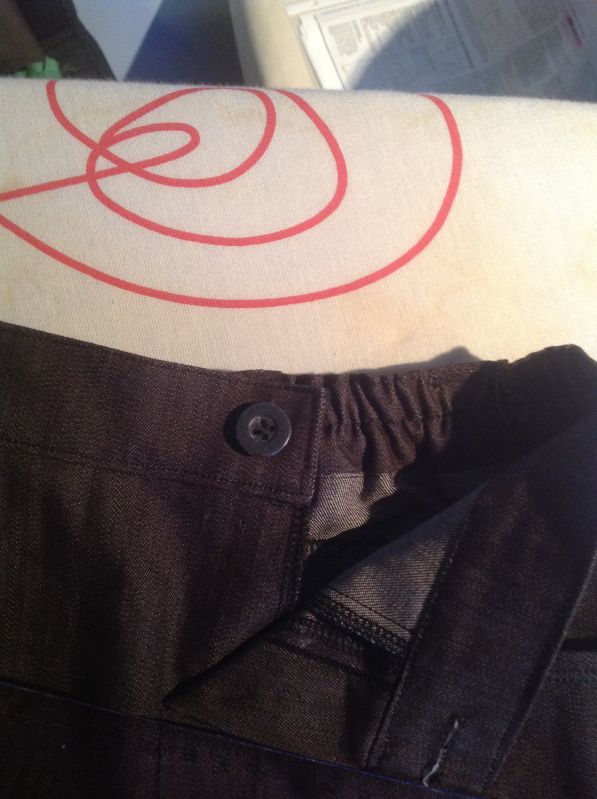
Then move on to sew the outseams of the pants and attach the waistband (not shown). Here is my finished product:
It opens about this far...
And looks pretty realistic when worn!

Plus, I didn't have to go to the shop to buy a zipper.
.gif "A (01)")
Expat Repatriating mama to two three!!!
To view links or images in signatures your post count must be 0 or greater. You currently have 0 posts.
New baby born at home, April 2014
(Disclaimer: He's bigger than that now)


 Reply With Quote
Bookmarks