Cascading front knit cardigan - tutorial
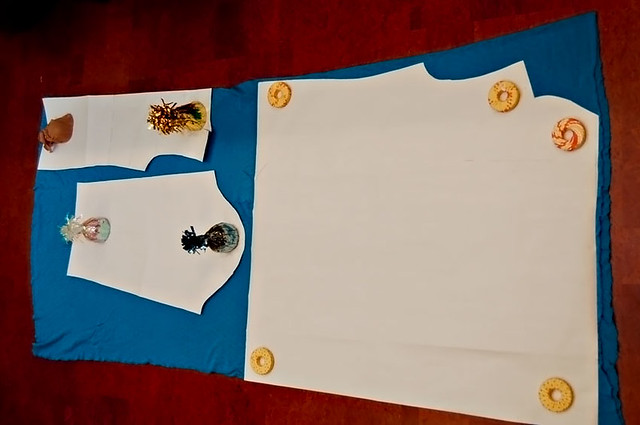
Here are the pattern pieces:

To start you need a basic knit top pattern (front, back, arms).
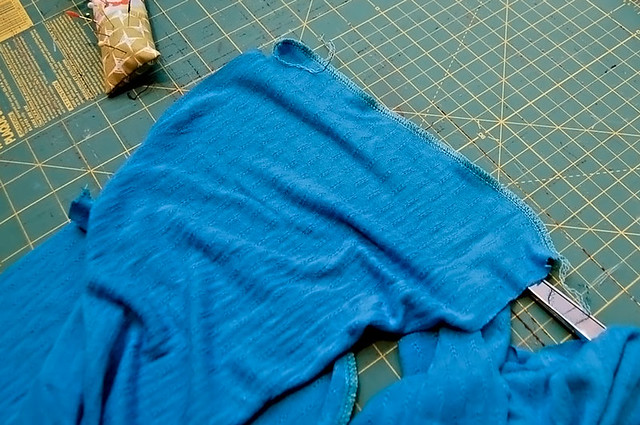
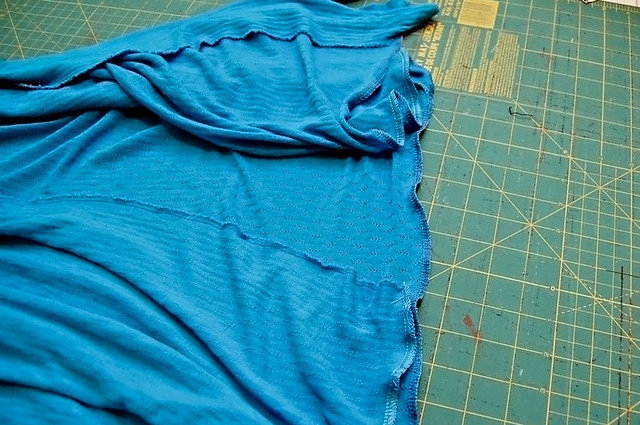
I took my normal front knit shirt pattern block and went out 16 inches. This proves to be too much if the knit is too thick, though. It was fine on a regular thinner knit, but on the sweater knit she said it was "too big" (i.e. too much fabric at the neckline).
To rectify the teal cardigan, I will have to recut the front at an angle, so there isn't as much fabric around the neck. Bummer, though, because I had it lined up to use the selvage edge of the sweater knit. That worked great as a pre-finished edge.
The other item to add to this pattern piece is the back collar. Where the front neckline is supposed to start, line up the shoulder edges and the neckline on the back pattern piece and trace that out onto the paper. Add a seam allowance at the edge and then draw it straight out, or angled, depending on the fabric.
I used the normal back piece and arms of my basic knit shirt pattern block. This took 1.5 yds of fabric for a size 8.
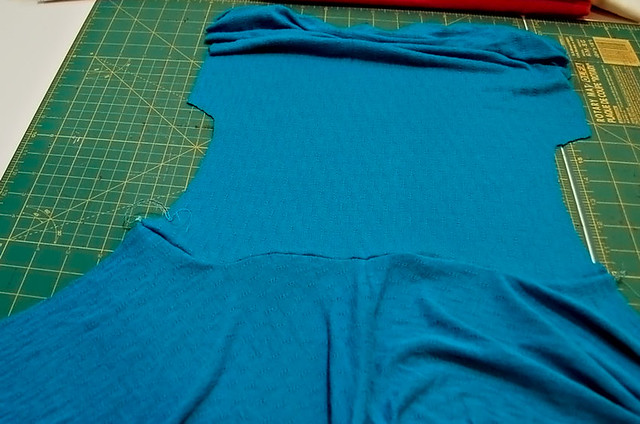
There are a few different ways you can cut this pattern out of the fabric. You can either cut it like I have set up here OR if you have wide enough fabric you can cut the back neckline of the front piece on the fold. Then you don't need to do step #1 below and you won't have a seam on the back of the neckline. Do that if at all possible. I didn't think of that when I was cutting these out.
Hindsight being 20-20 and all that!
Construction:
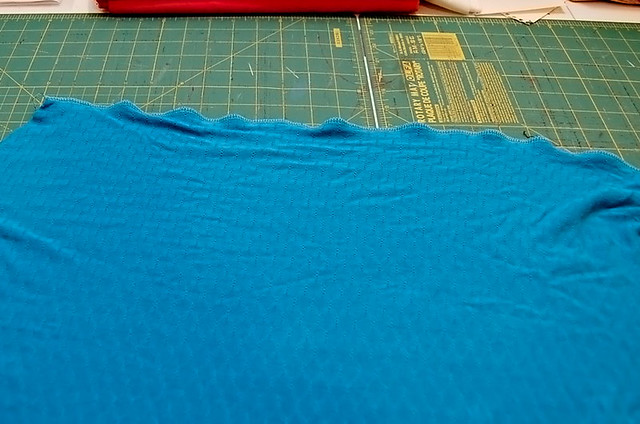
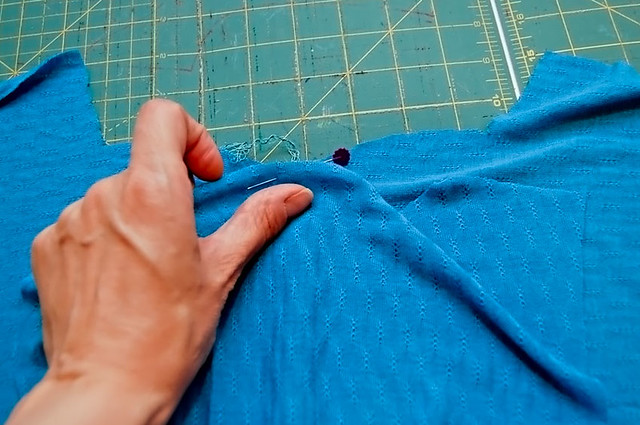
1. Sew the back collar edging straight out.
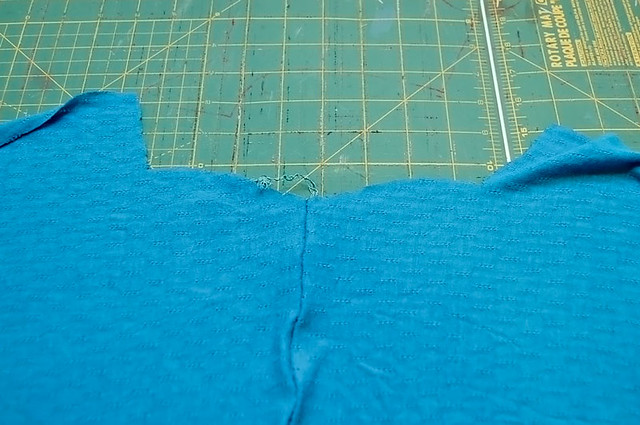
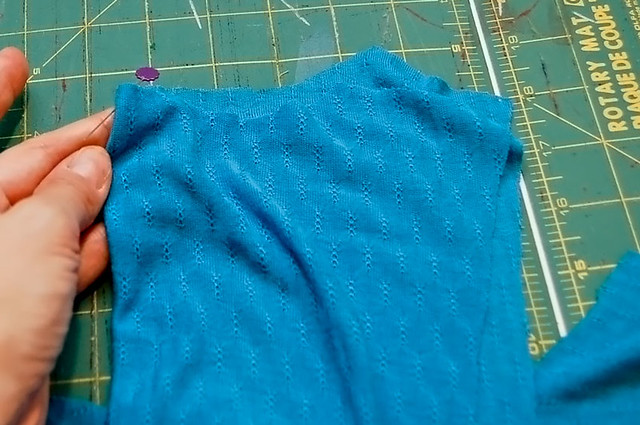
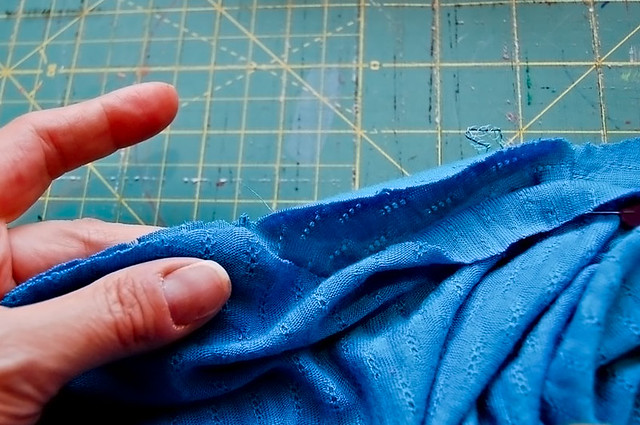
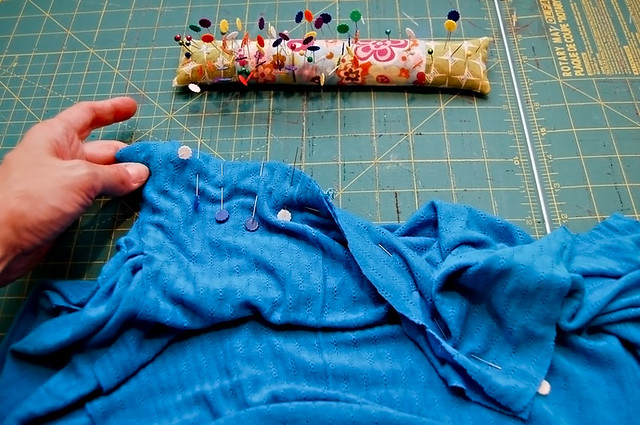
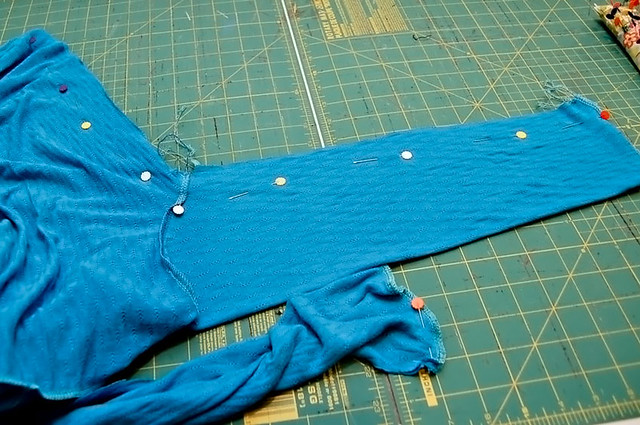
2. Attach the front to the back at the shoulders and along the neckline.
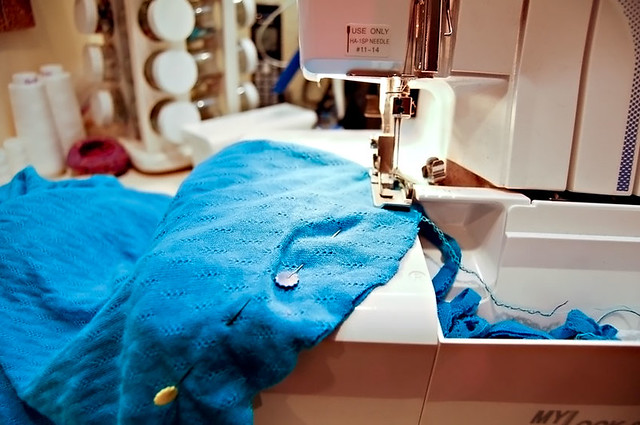
3. Finish the edges of the arms - I just did a few lines of serged stitching.
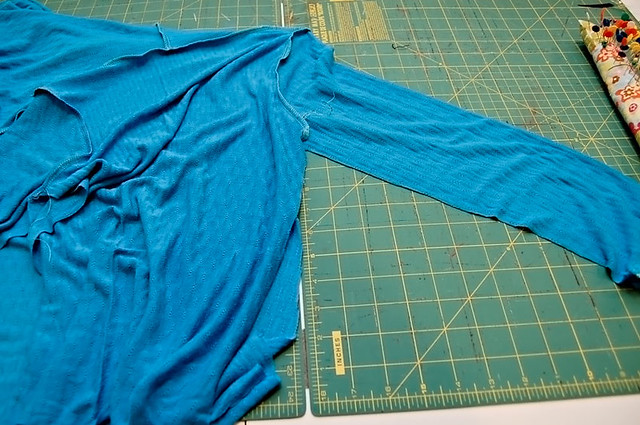
4. Attach the arms to the body.
5. Sew the side seam/arm seam
6. Finish raw hems...or leave unhemmed. I have seen this done, as well. I like to have a rolled edge at least, though. Looks more finished that way.
All done!
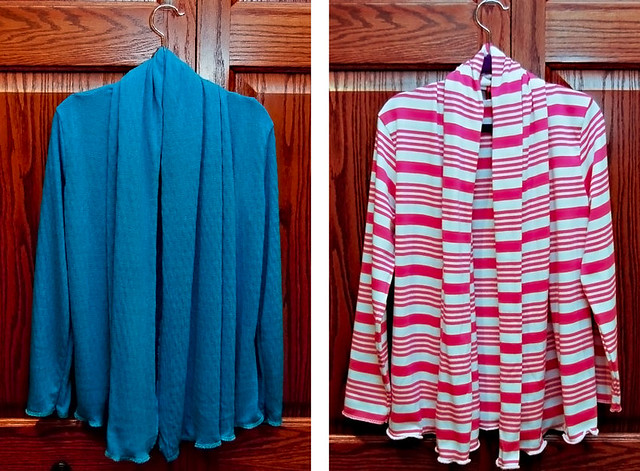
The edges are long enough for my DD to cross them in front and then tie them in back. She can also put the collar over her head like a hood. You can make the front go out longer or shorter depending on what you want it to look like.
~*~*~*~*~*~*~*~*
Stacy
WOHM to 2 little urchins
To view links or images in signatures your post count must be 0 or greater. You currently have 0 posts.
To view links or images in signatures your post count must be 0 or greater. You currently have 0 posts.


 Reply With Quote
Bookmarks