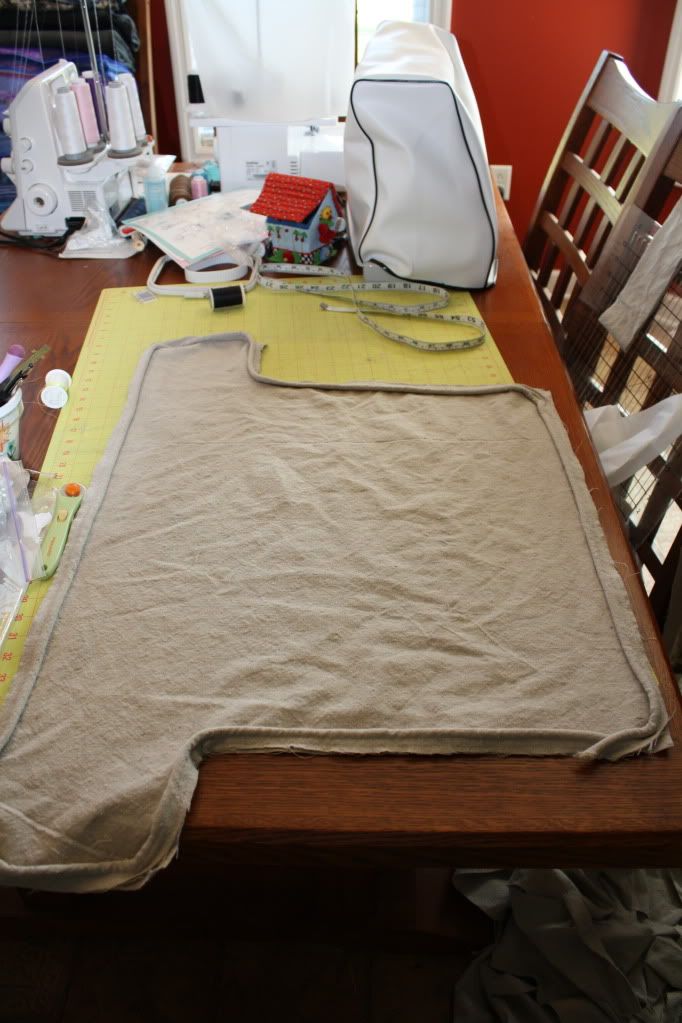
User Tag List

Results 1 to 8 of 8

Thread: Slipcover Sew-along. . .Part 5

  1. #1
    Join Date
    Aug 2007
    Location
    Georgia
    Posts
    5,814
    Downloads
    18
    Uploads
    0

    Slipcover Sew-along. . .Part 5

    Today, we’re going to put together the pieces we created yesterday for the seat cushion.

    If you are using piping, baste your piping around the edges on the right side of one of the surface area pieces. Do the same for the other piece.


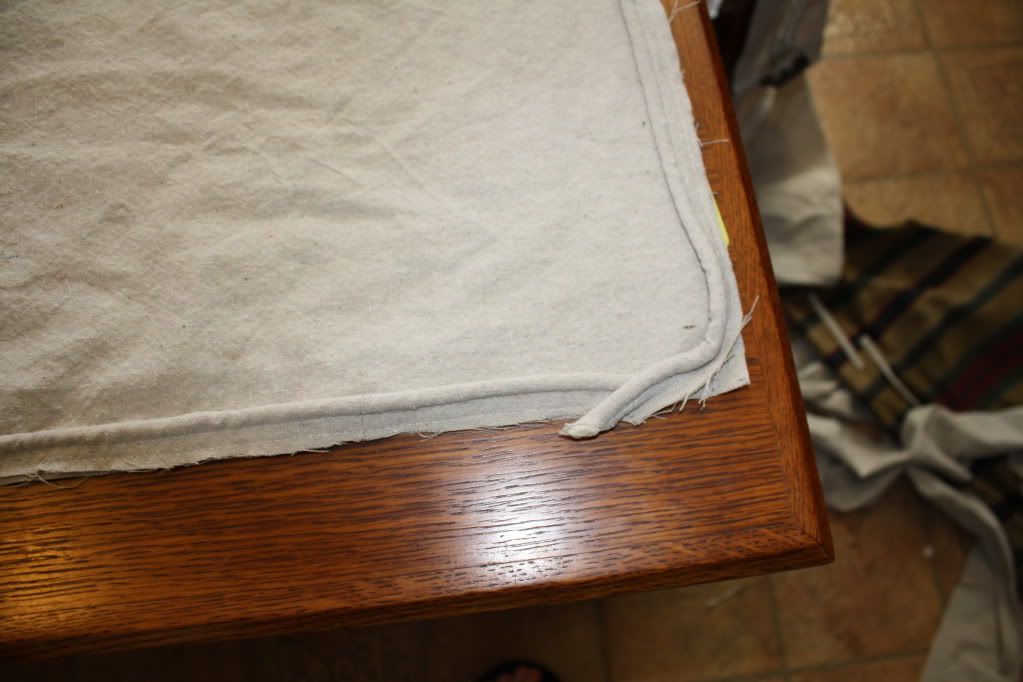
    Overlap the ends of your piping and let them go off the edge.


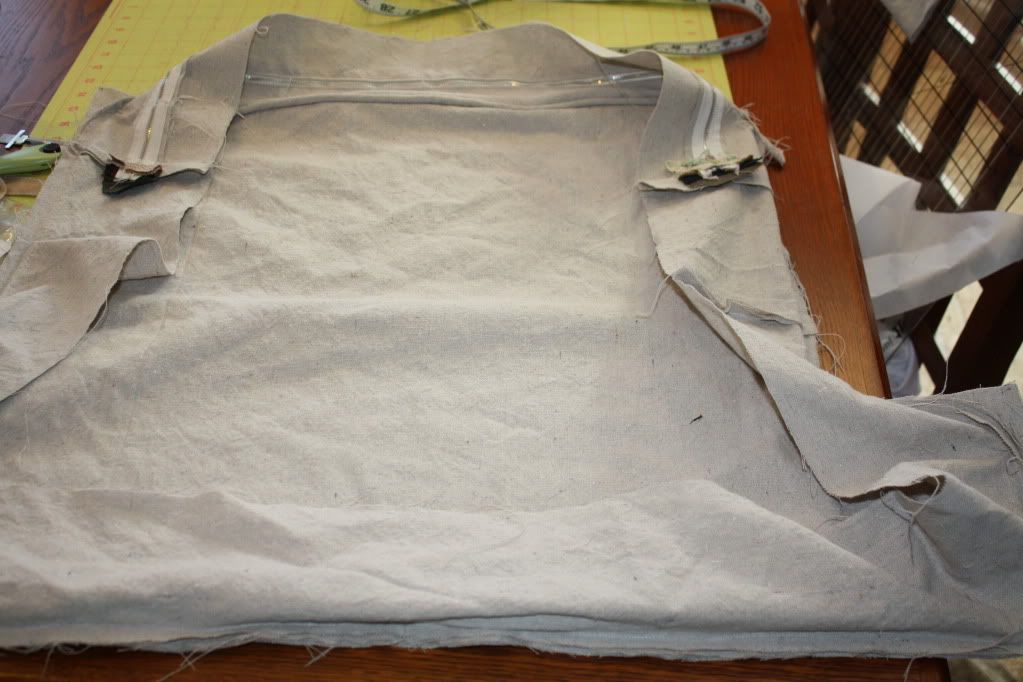
    Pin your side strip in place with the zipper in the back.


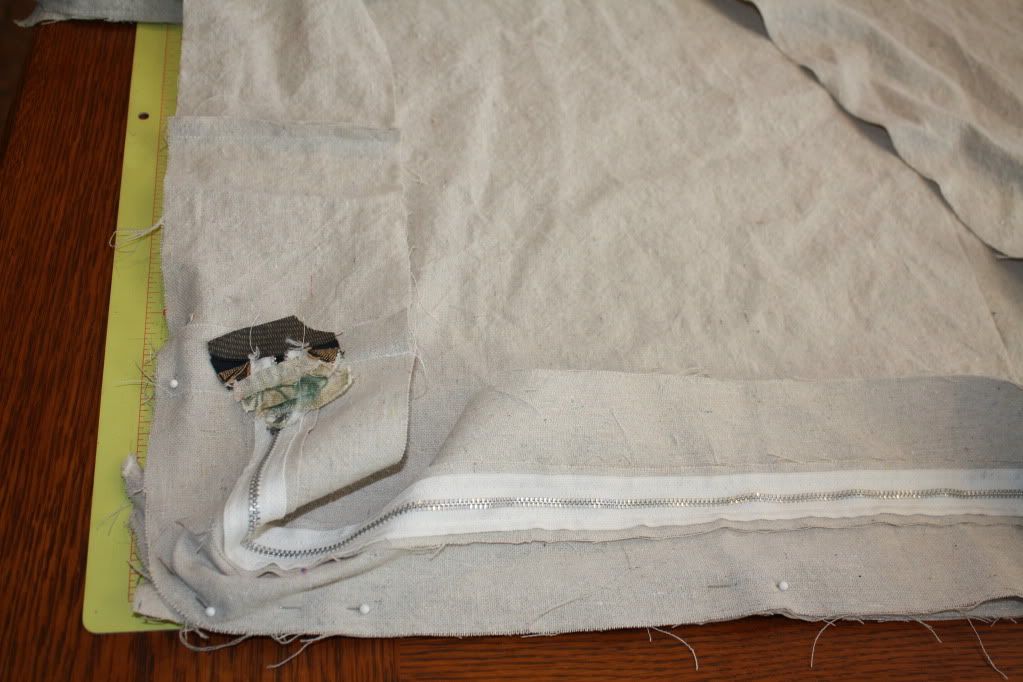
    I start sewing here going in the direction I’m pointing. (I will show you why in a minute.)


    It will look like this once sewn in place.
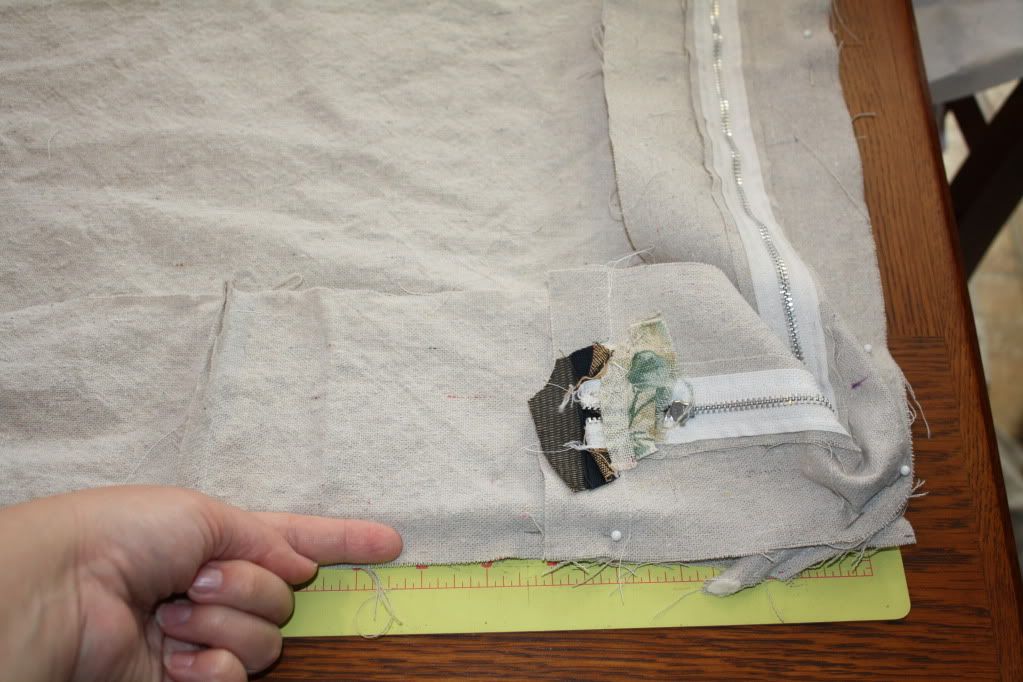
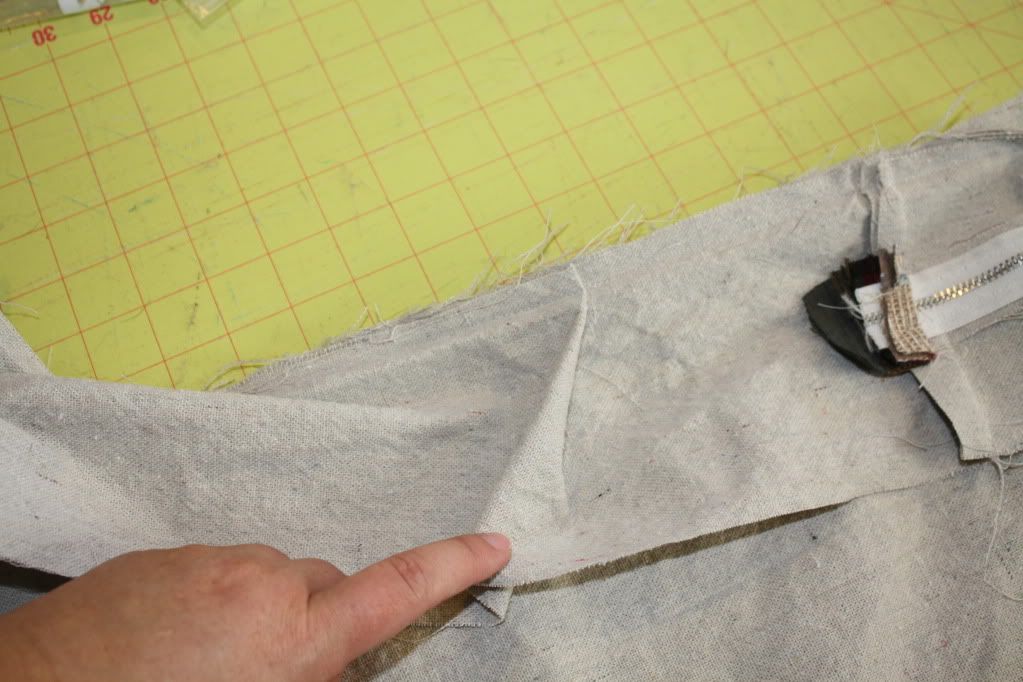


    Here’s what always happens to me and why I started where I did. I have a little extra. I am completely comfortable with just folding it over and keeping on keeping on. When the cushion is on your chair, you can’t see it because of where it is placed!


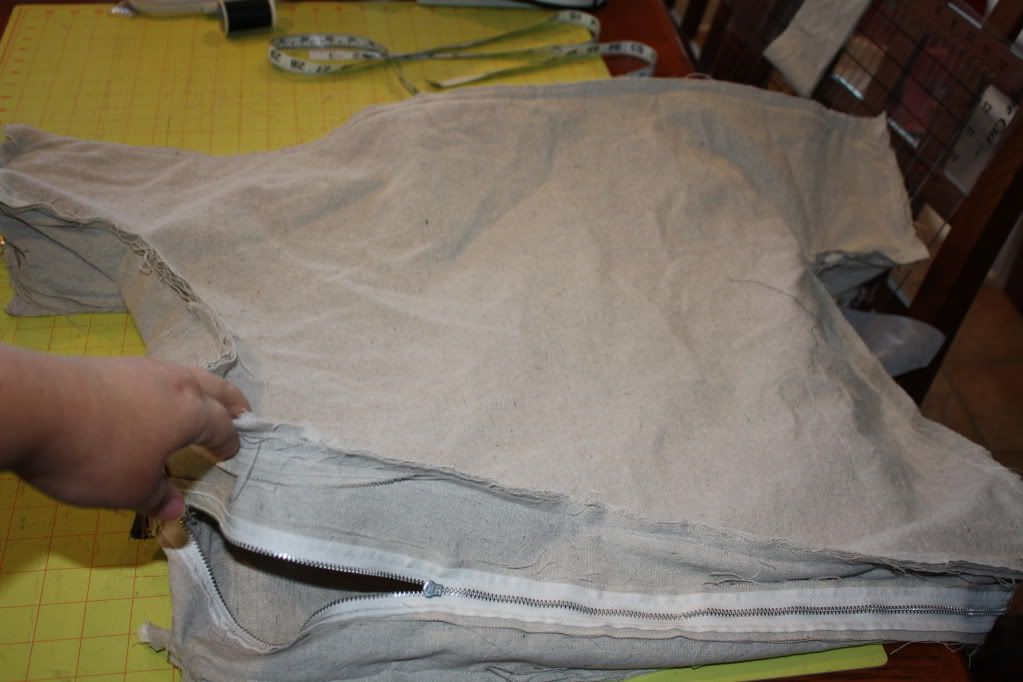
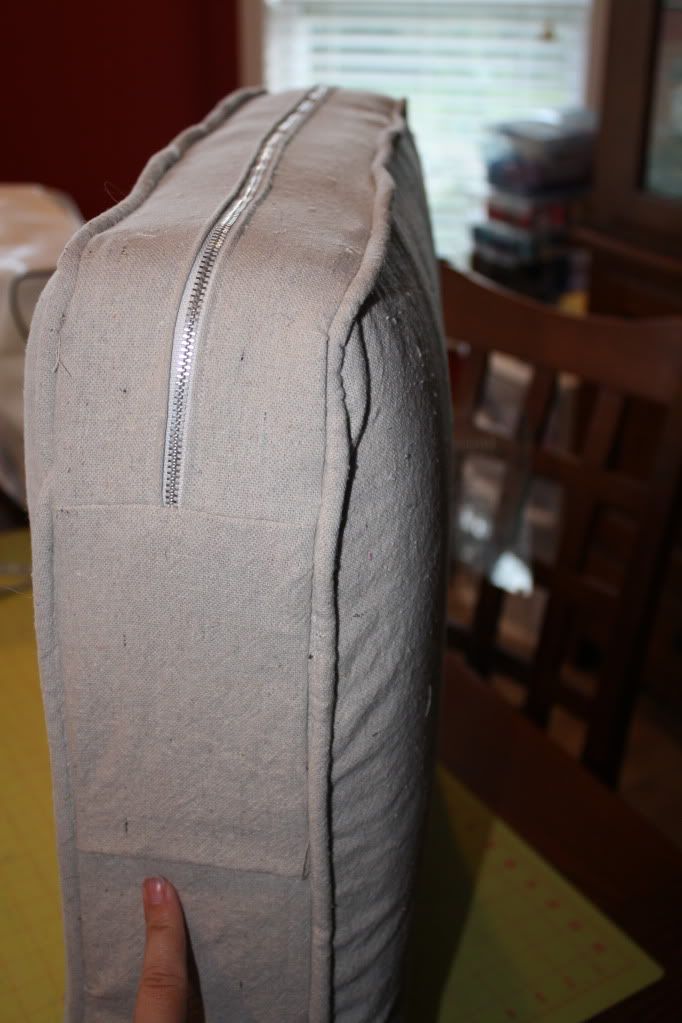
    Unzip your zipper slightly and sew the other side of your strip to your other surface piece.


    Finish unzipping your zipper and turn your cushion cover right side out. Stuff your cushion into it.


    Here’s the flaw where I folded it over.


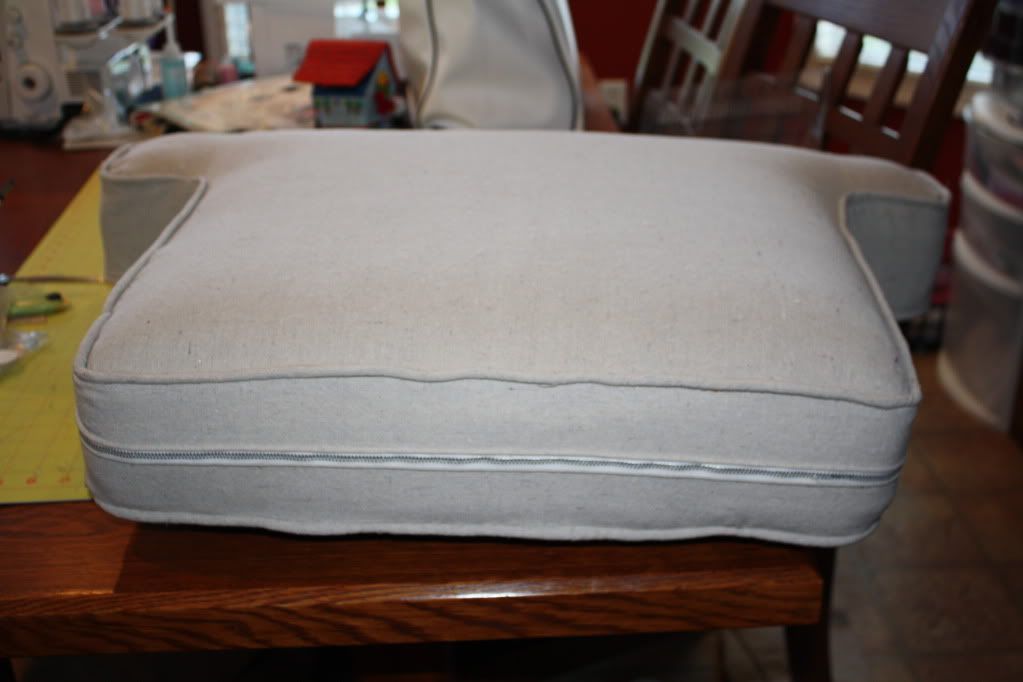
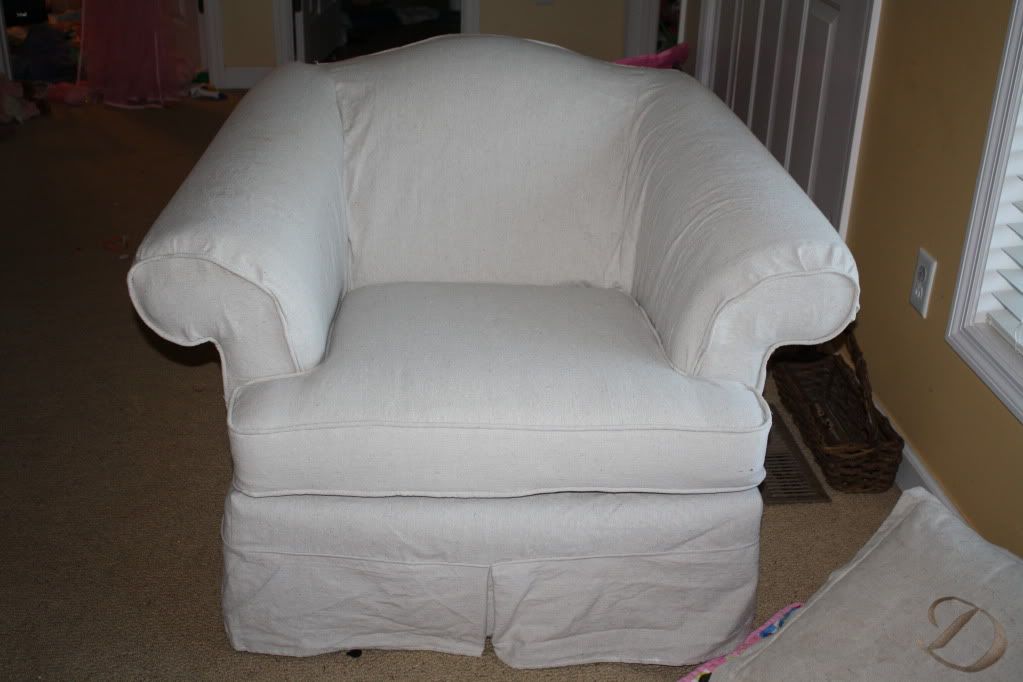
    Your finished slipcover! (Note to self: You should iron it before you take pictures.)


    Post pictures when you are done! I’m dying to see it 
    Sandra
    DH (Love of my Life)
    DD#1 (Allie, 8)
    DD#2 (Jenna, 5)
    My machines: Janome TB30, Juki Pearl MO-655 Serger, Brother 2340CV, Janome Memorycraft 350E


    To view links or images in signatures your post count must be 0 or greater. You currently have 0 posts.


    To view links or images in signatures your post count must be 0 or greater. You currently have 0 posts.

    To view links or images in signatures your post count must be 0 or greater. You currently have 0 posts.

    To view links or images in signatures your post count must be 0 or greater. You currently have 0 posts.

  2. #2
    Join Date
    Aug 2009
    Location
    Canada
    Posts
    2,237
    Downloads
    10
    Uploads
    0

    Re: Slipcover Sew-along. . .Part 5

    You did a beautiful job! Thanks for taking the time to do this!!

  3. #3
    Join Date
    Jun 2009
    Location
    The beach
    Posts
    856
    Downloads
    14
    Uploads
    0

    Re: Slipcover Sew-along. . .Part 5

    Yay! I am so doing this. Hopefully, this weekend will be quiet and I can get started.

    To view links or images in signatures your post count must be 0 or greater. You currently have 0 posts.
    Cindy


    To view links or images in signatures your post count must be 0 or greater. You currently have 0 posts.

  4. #4
    Join Date
    Mar 2007
    Location
    Midwest (USA)
    Posts
    2,486
    Downloads
    202
    Uploads
    0

    Re: Slipcover Sew-along. . .Part 5

    oh wow...you did get the slipcover to fit tight over the seat cushion. I think having the seat cushions being tight make all the difference in the world.

    Thank you so much for doing this for us. I am still hung up a bit on adding the cording & getting it all straight and perfect, but I'll keep on working with it.
    Debi

  5. #5
    Join Date
    Aug 2005
    Location
    Chicago burbs'
    Posts
    866
    Downloads
    13
    Uploads
    0

    Re: Slipcover Sew-along. . .Part 5

    Finished my cushions today!

    Along with this great tutorial I'm also using a book I got at Joann's. In the book she gives a formula for the band so you don't have extra fabric. Here's what the book says:

    For the zipper panel, measure the length of the cushion's existing zipper, from pull to stopper. Add 2". This is the panel cut length. Add 2" to the cushion depth. This is the panel cut depth. Cut one panel in these dimensions.

    For the remaining box band panel, measure the remaining cushion perimeter from the zipper pull, around the cushion side, front, and sides edges to the zipper stop; add 5" to this measurement. The resulting figure is the panel cut length. Add 1" to the cushion depth; this is the panel cut depth. Cut one panel in these dimensions.

    Also note, with these instructions you create a 1" deep pocket around the zipper on both ends. And seam allowance is 1/2". I used this formula and my band went on perfectly without a single fold or pucker!
    Tami,
    To view links or images in signatures your post count must be 0 or greater. You currently have 0 posts.
    to Mallory (3/04) and Sam (2/07)

    To view links or images in signatures your post count must be 0 or greater. You currently have 0 posts.


    To view links or images in signatures your post count must be 0 or greater. You currently have 0 posts.

    To view links or images in signatures your post count must be 0 or greater. You currently have 0 posts.

    To view links or images in signatures your post count must be 0 or greater. You currently have 0 posts.


  6. #6
    Join Date
    Mar 2007
    Location
    Midwest (USA)
    Posts
    2,486
    Downloads
    202
    Uploads
    0

    Re: Slipcover Sew-along. . .Part 5

    Quote Originally Posted by ImaT View Post
    Finished my cushions today!

    Along with this great tutorial I'm also using a book I got at Joann's. In the book she gives a formula for the band so you don't have extra fabric. Here's what the book says:

    For the zipper panel, measure the length of the cushion's existing zipper, from pull to stopper. Add 2". This is the panel cut length. Add 2" to the cushion depth. This is the panel cut depth. Cut one panel in these dimensions.

    For the remaining box band panel, measure the remaining cushion perimeter from the zipper pull, around the cushion side, front, and sides edges to the zipper stop; add 5" to this measurement. The resulting figure is the panel cut length. Add 1" to the cushion depth; this is the panel cut depth. Cut one panel in these dimensions.

    Also note, with these instructions you create a 1" deep pocket around the zipper on both ends. And seam allowance is 1/2". I used this formula and my band went on perfectly without a single fold or pucker!


    Which book did you get? I have a few I borrowed from the library, but am still wanting a couple more. More info, the better. Thanks.
    Debi

  7. #7
    Join Date
    Aug 2005
    Location
    Chicago burbs'
    Posts
    866
    Downloads
    13
    Uploads
    0

    Re: Slipcover Sew-along. . .Part 5

    I'm loosely using this one: Amazon.com: Custom Slipcovers Made Easy: Weekend...Amazon.com: Custom Slipcovers Made Easy: Weekend...
    It was great for the cushions but I've kind of abandoned it for the slip.
    Tami,
    To view links or images in signatures your post count must be 0 or greater. You currently have 0 posts.
    to Mallory (3/04) and Sam (2/07)

    To view links or images in signatures your post count must be 0 or greater. You currently have 0 posts.


    To view links or images in signatures your post count must be 0 or greater. You currently have 0 posts.

    To view links or images in signatures your post count must be 0 or greater. You currently have 0 posts.

    To view links or images in signatures your post count must be 0 or greater. You currently have 0 posts.


  8. #8
    Join Date
    Jun 2009
    Location
    The beach
    Posts
    856
    Downloads
    14
    Uploads
    0

    Re: Slipcover Sew-along. . .Part 5

    I finished last night and put the SNS in the runway this afternoon! Thank you so much, Sandra, for doing the sewalong.

    To view links or images in signatures your post count must be 0 or greater. You currently have 0 posts.
    Cindy


    To view links or images in signatures your post count must be 0 or greater. You currently have 0 posts.

Posting Permissions

  • You may not post new threads
  • You may not post replies
  • You may not post attachments
  • You may not edit your posts
  •