Slipcover Sew-Along. . .Part 2
How did part 1 go? See, it isn't so hard, right?!
After sewing the seams you created in part 1 of the sew-along, turn your slipcover right side out and put it on your chair to check the fit. Make any adjustments as necessary. Take it off and turn it back inside out. Put it back on the chair.
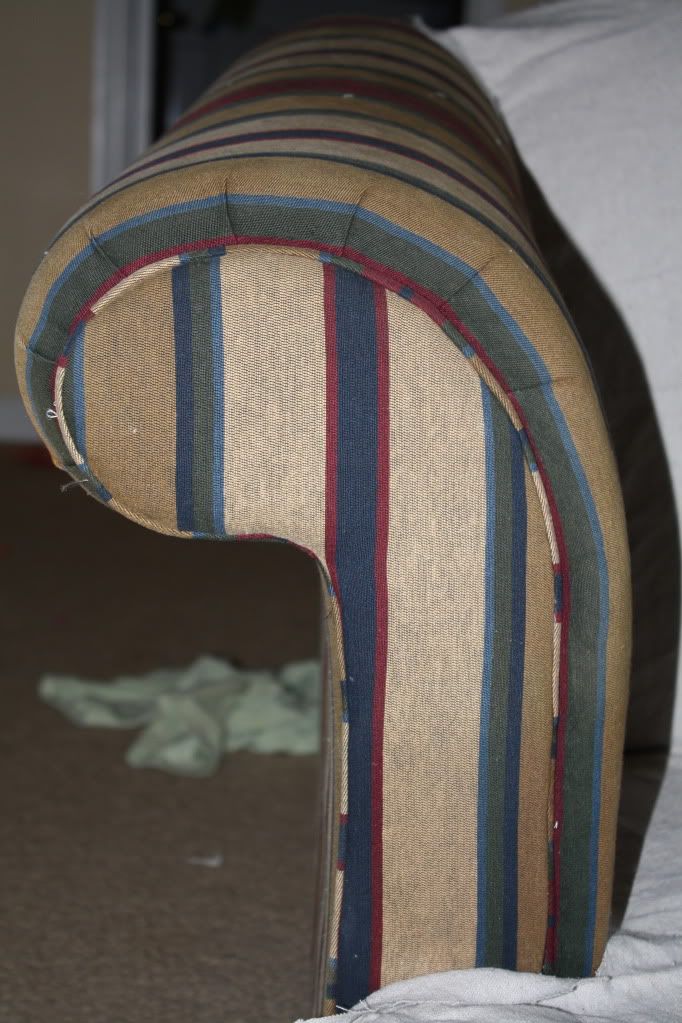
We will assemble the arms next. Again, I encourage you to take your cue from the existing upholstery seam-lines if your chair/couch doesnt look like mine. Mine has these curvy separate front pieces with piping inserted in the seam, so Im going to do mine the same way.
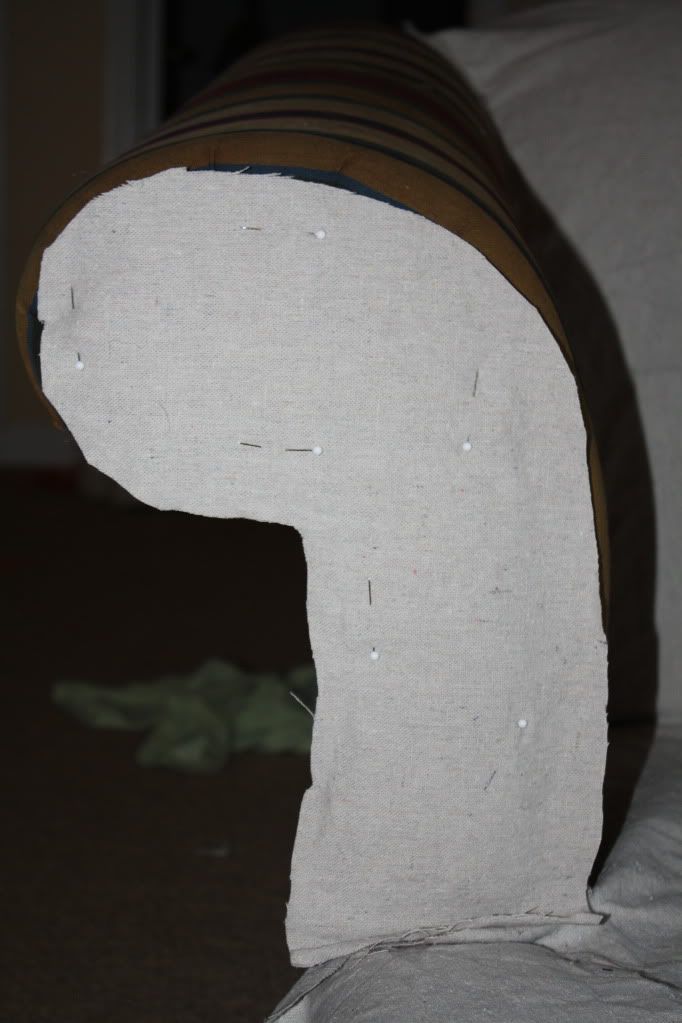
Take some of your fabric and pin it in place on the front of your armrest. Trim around it, leaving a ½-inch SA. Be sure to leave a seam allowance at the bottom, so you will be able to sew it to the bottom of the seat.
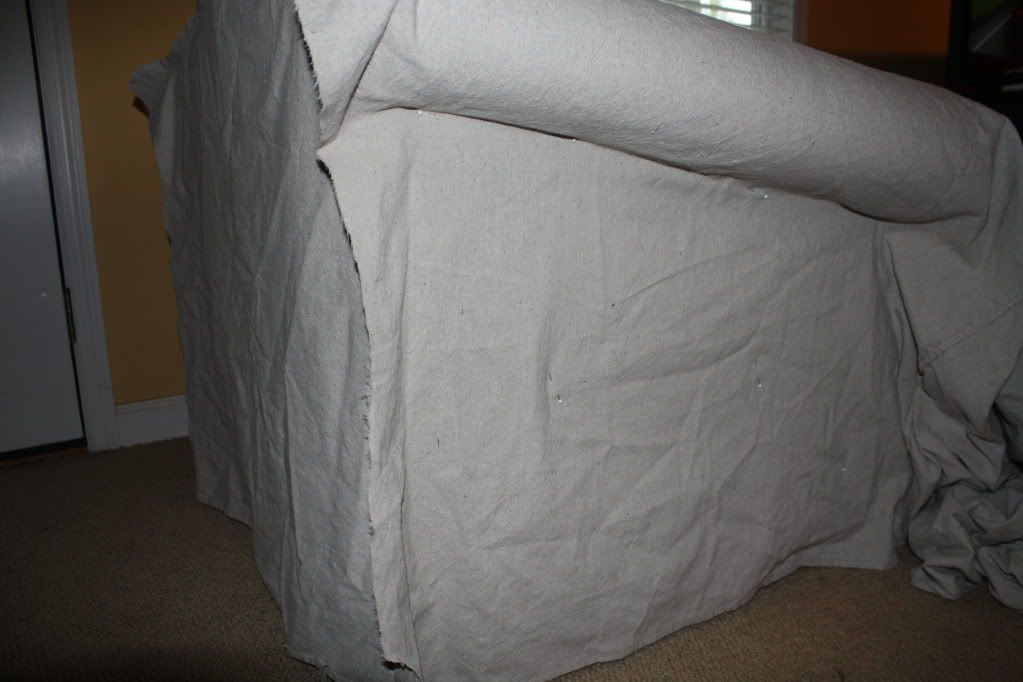
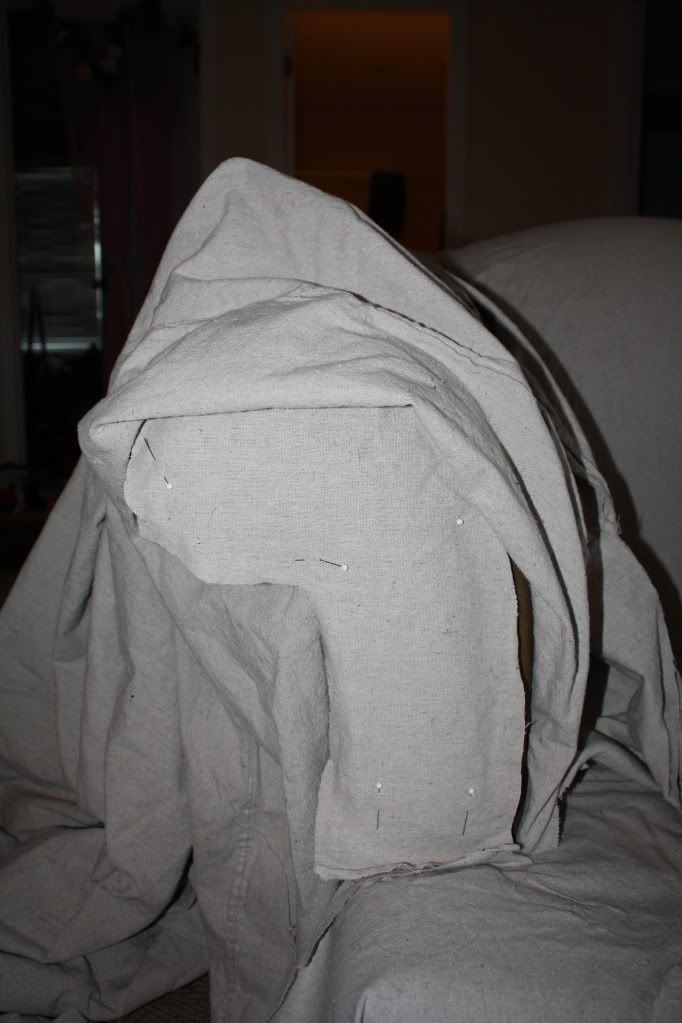
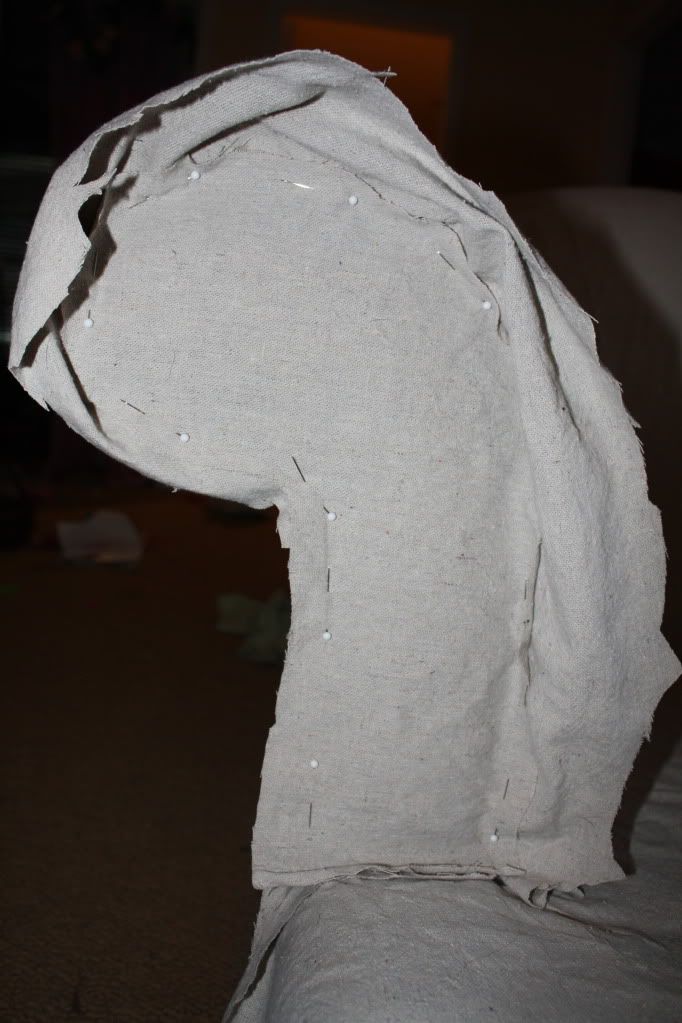
Drape a piece of fabric over the armrest, making sure it covers all the way to the floor and all the way to the bottom of the seat.
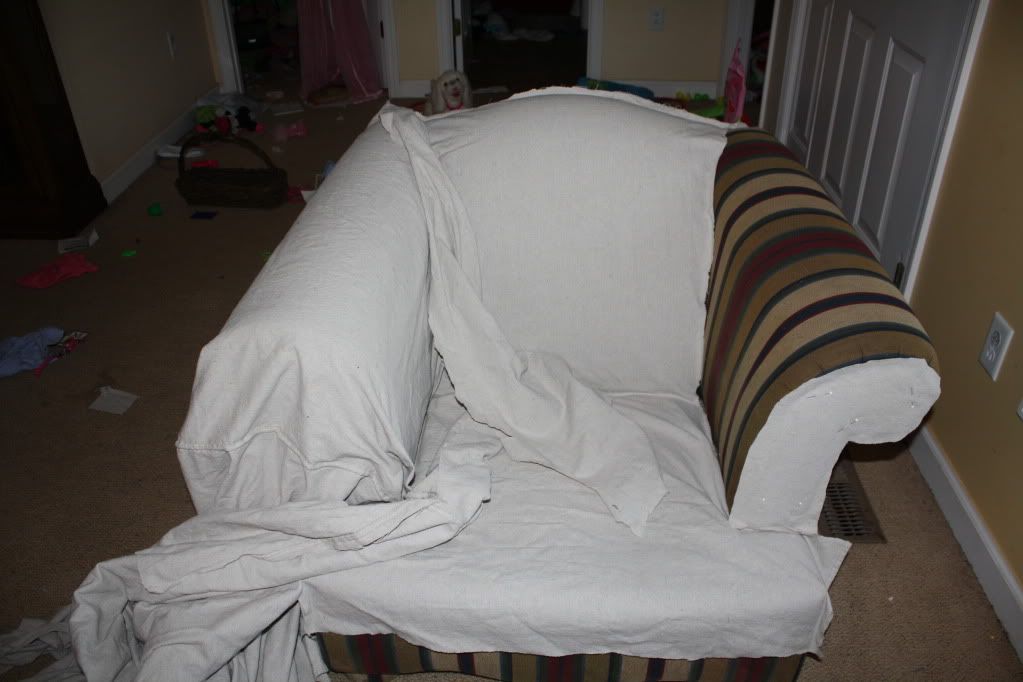
Use pins as necessary to make sure the fabric follows the contour of your chair.
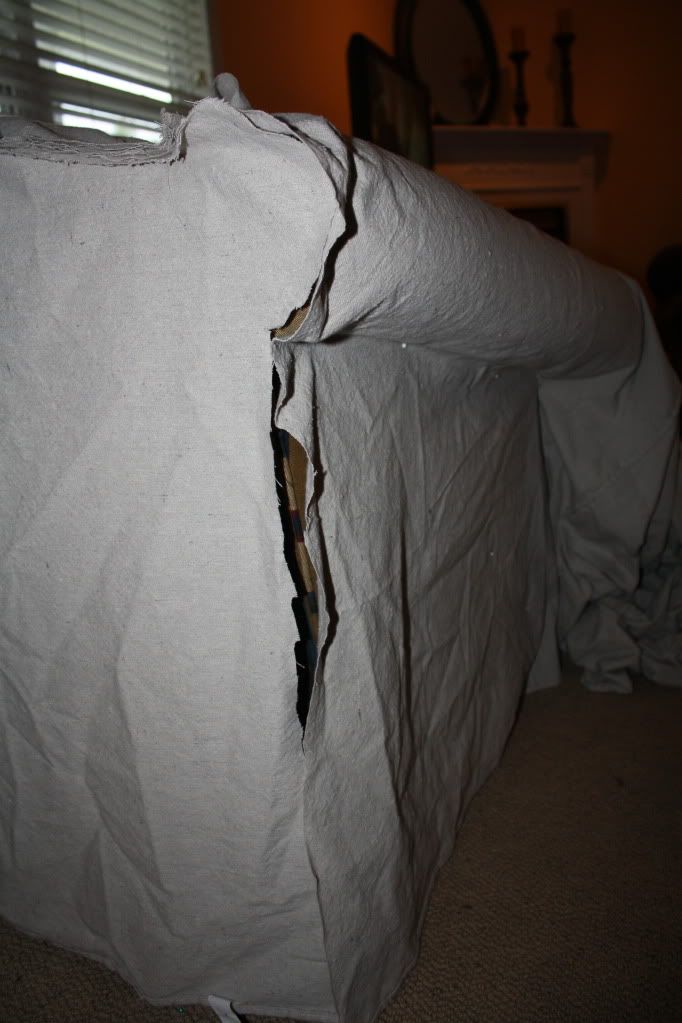
Trim along the top where the arm meets the back, leaving enough seam allowance to attach the armrest to the back. (Note: There isnt a need at this point to trim it very close. You will get a chance to do that later, but you do want to trim it enough to make the fabric easy to work with.
Trim down the side of the back as well.
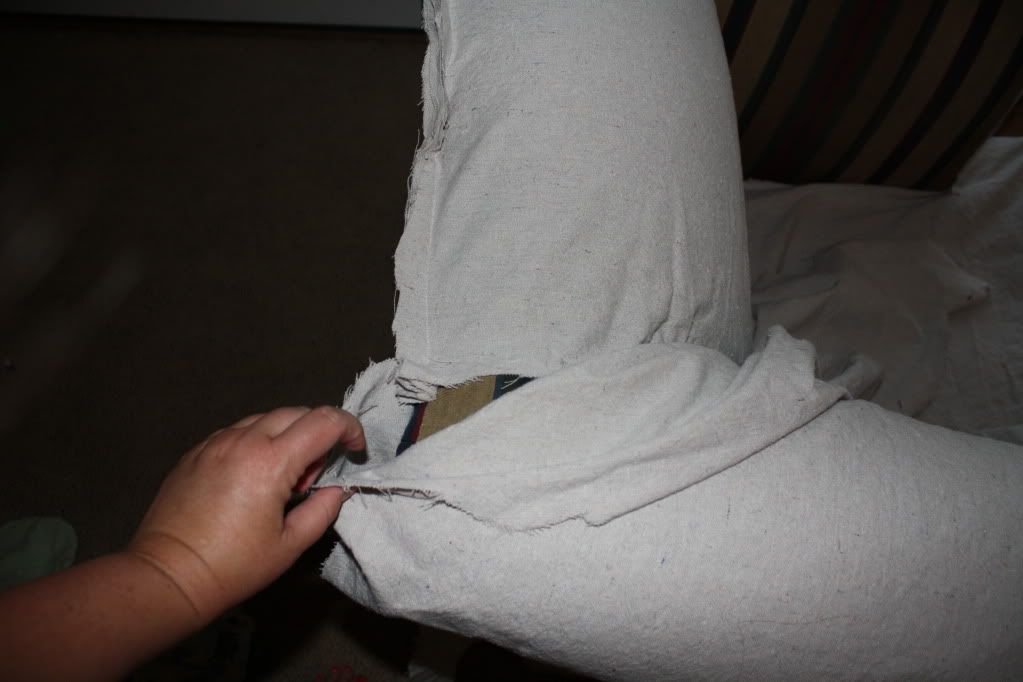
On the front, of the armrest, fold the fabric back, so you can see where you need to join it to the curved front piece.
Pin the front piece of the armrest to the part that covers the side of the armrest.
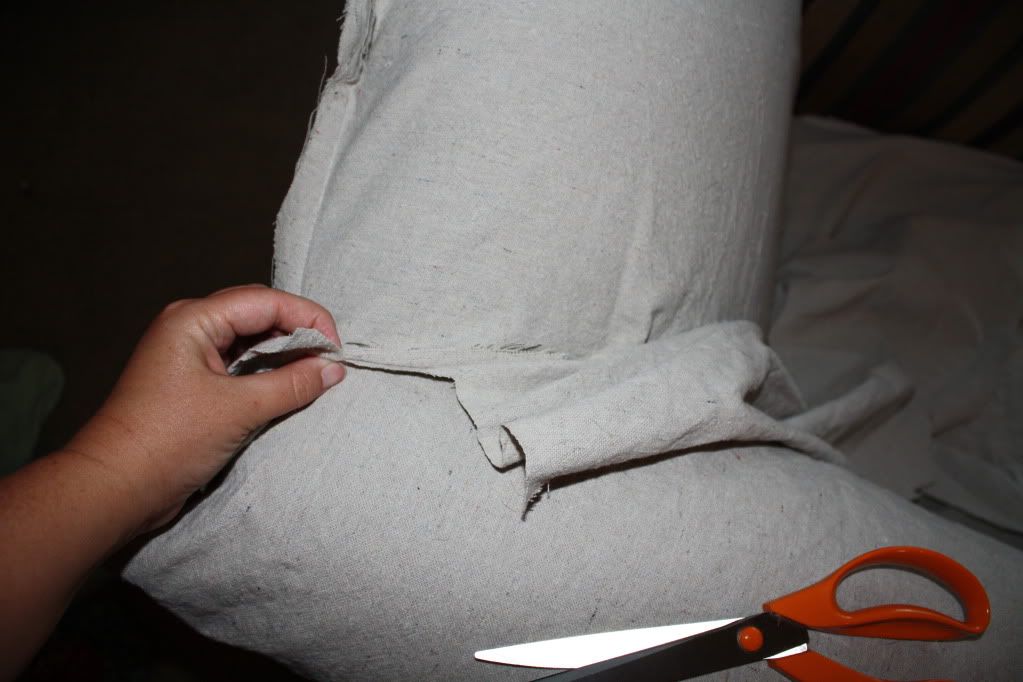
Trim the excess fabric from the outside of the seam allowance.
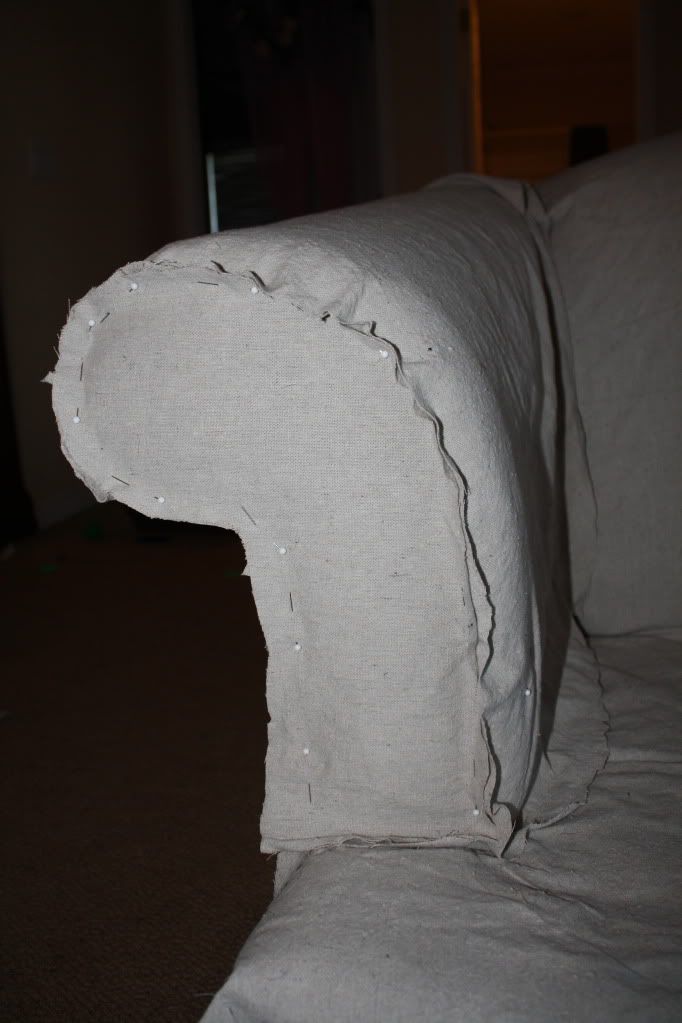
Unpin from your chair and sew the front seam of the armrest. (Leave the piece that you put together in the first step on the chair. (You will come back to it.) Repeat for your other armrest
Sandra
DH (Love of my Life)
DD#1 (Allie, 8)
DD#2 (Jenna, 5)
My machines: Janome TB30, Juki Pearl MO-655 Serger, Brother 2340CV, Janome Memorycraft 350E
To view links or images in signatures your post count must be 0 or greater. You currently have 0 posts.
To view links or images in signatures your post count must be 0 or greater. You currently have 0 posts.
To view links or images in signatures your post count must be 0 or greater. You currently have 0 posts.
To view links or images in signatures your post count must be 0 or greater. You currently have 0 posts.


 Reply With Quote
Bookmarks