Slipcover Sew-along. . .Part 1
Hi, ladies 
Are you ready? I am! So, here's the deal: all of our couches/chairs aren't going to be shaped the same way, but the techniques and steps here should help you to do a beautiful fitted slipcover for yours. If you find that you need advice or help with what do do next to your particular furniture shape, snap a picture, and post it here, and I'll do my best! .gif "A (01)")
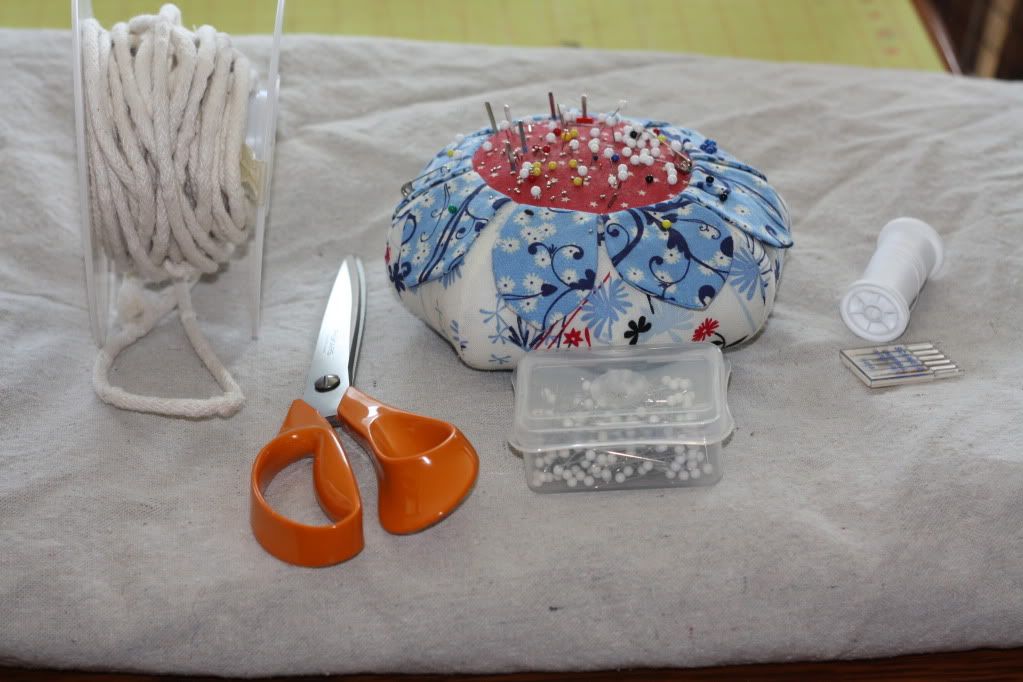
Lets go! First things first, gather your materials. Shown here is my dropcloth, which has been washed and dried twice (they shrink); pins (you need a lot); scissors (sharp ones); thread (all-purpose should do); sewing machine needles (choose a size appropriate for your fabric); and cording (if you want to do piping).
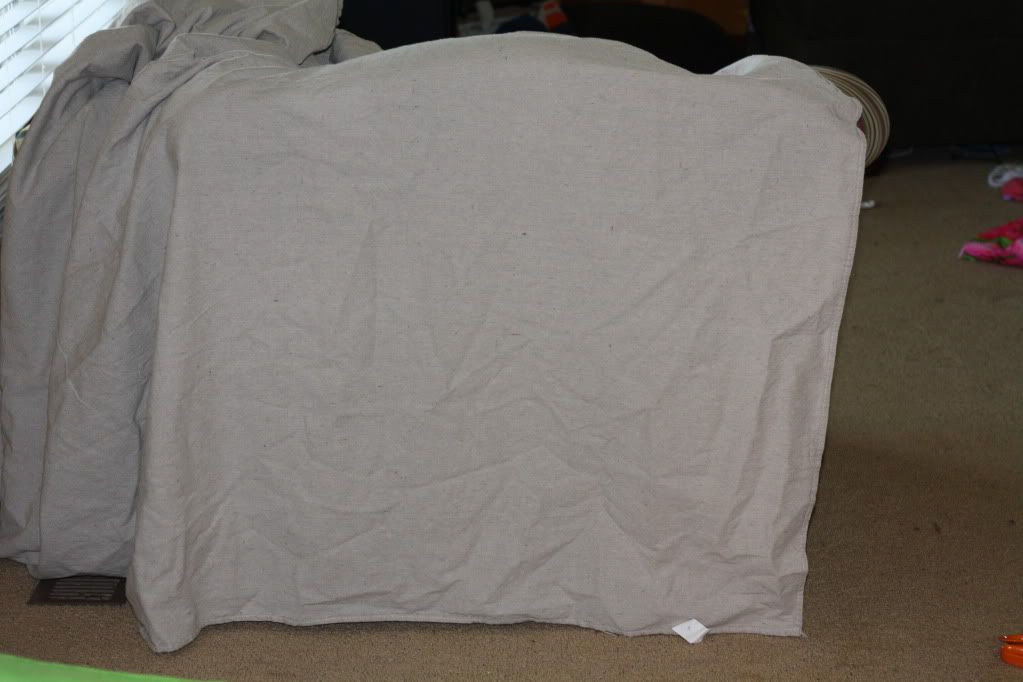
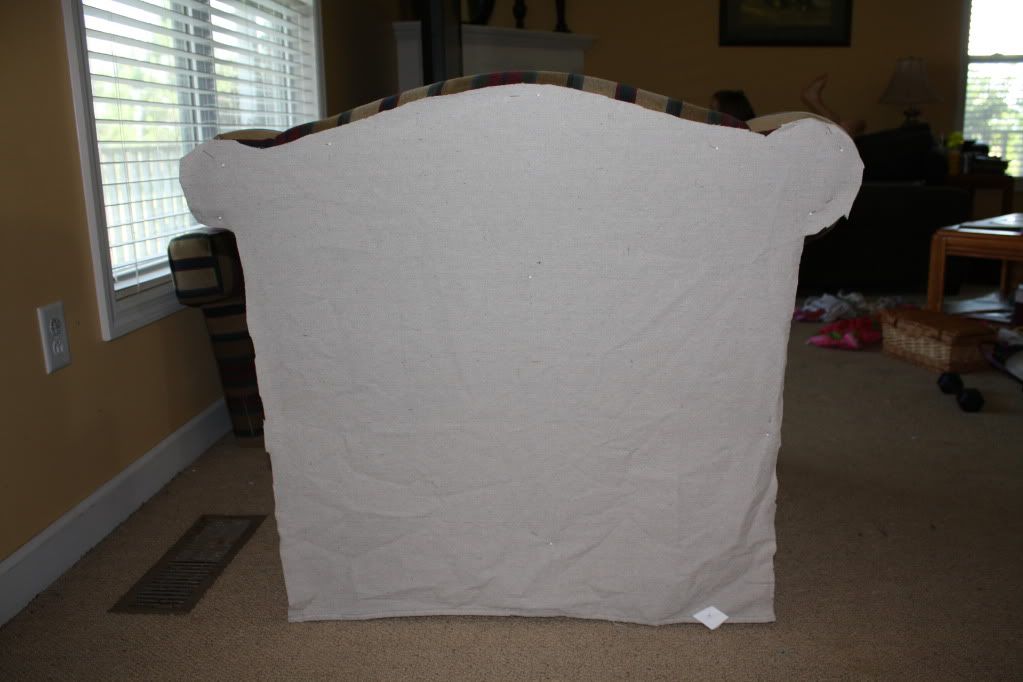
Go to your offending piece of furniture and drape your fabric over it with the wrong side of your fabric facing out. (Im reusing the hem of the drop cloth, so as you can see, I have it even with the floor, but if you arent doing that, you need to leave extra fabric at the bottom for a hem.)
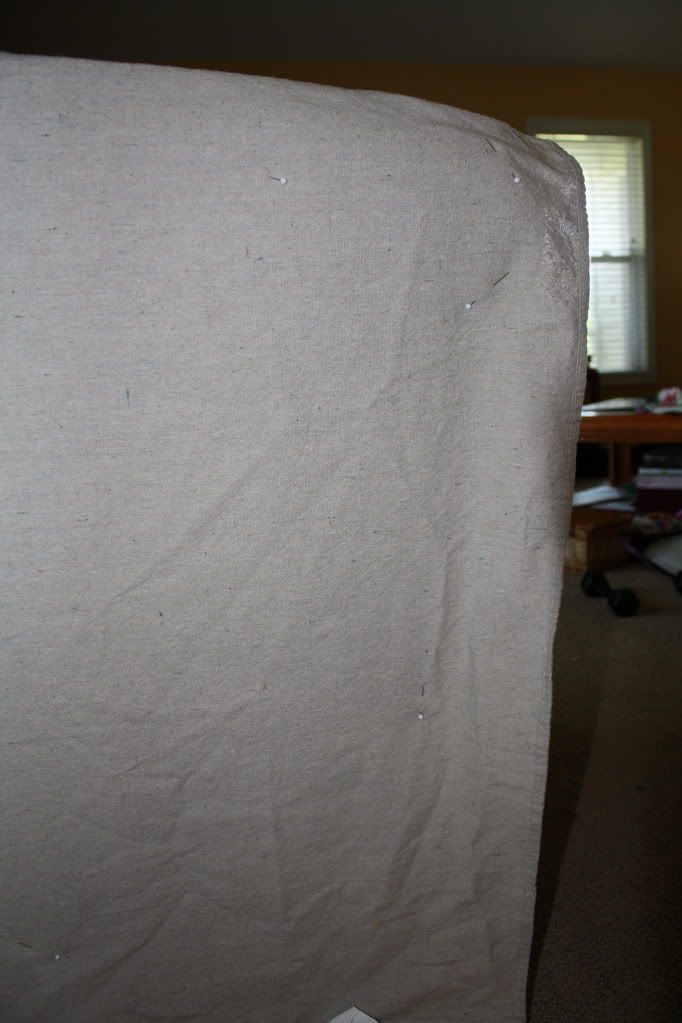
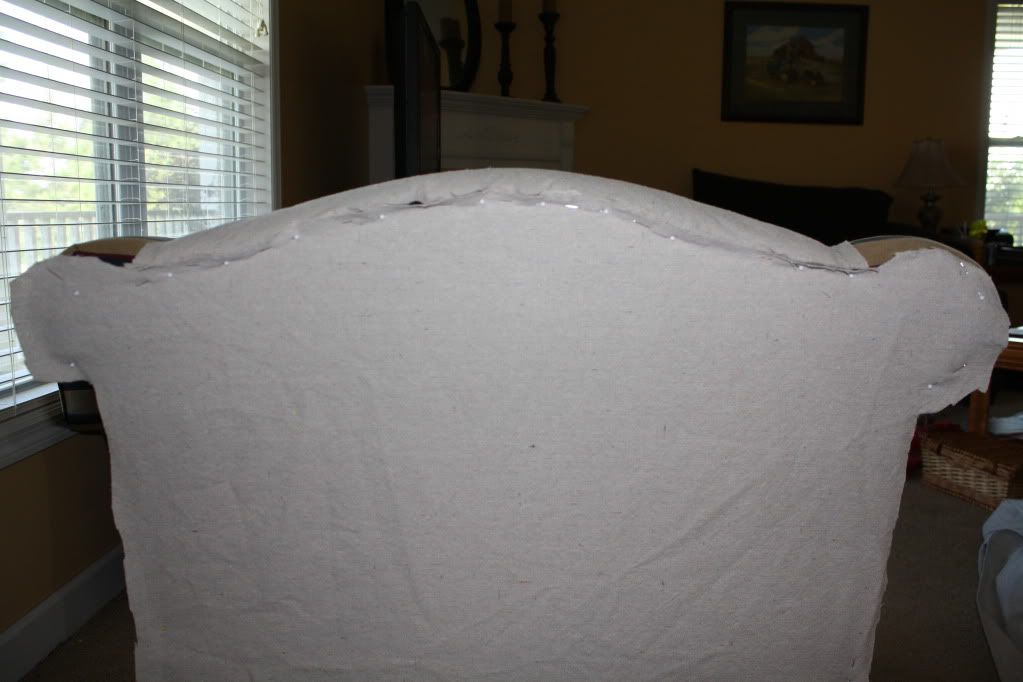
Take your pins and pin your fabric directly to the back of your couch/chair. You want to smooth out the fabric so it covers the back almost like the fabric is a piece of paper. If the top of your chair is curved, you will need to lift the corners of the fabric before pinning. Adjust your pins until your fabric is free from wrinkles.
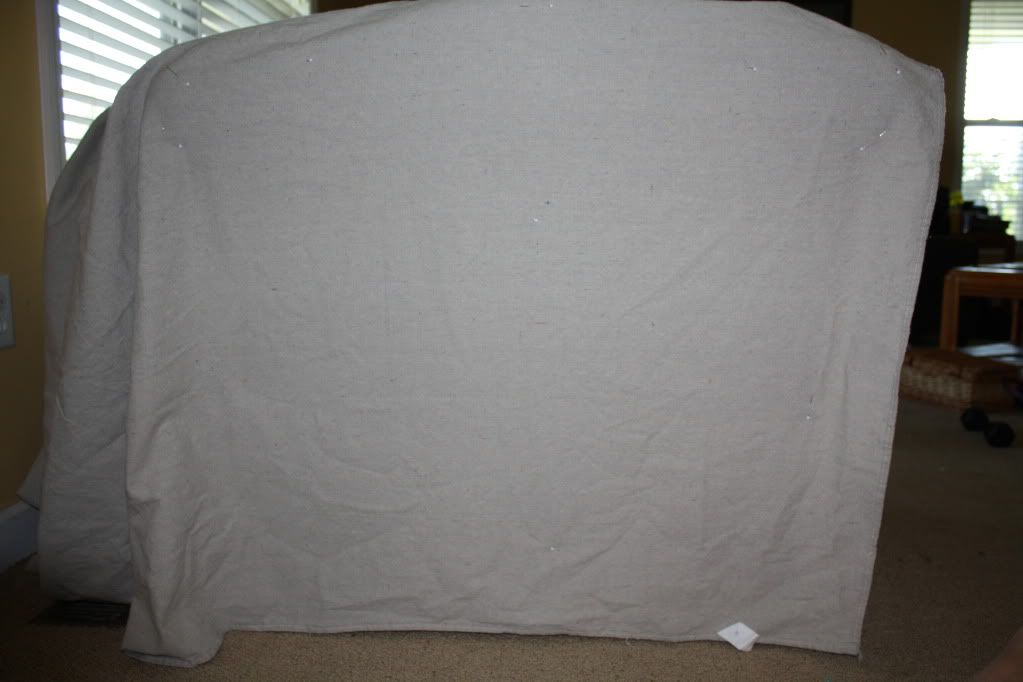
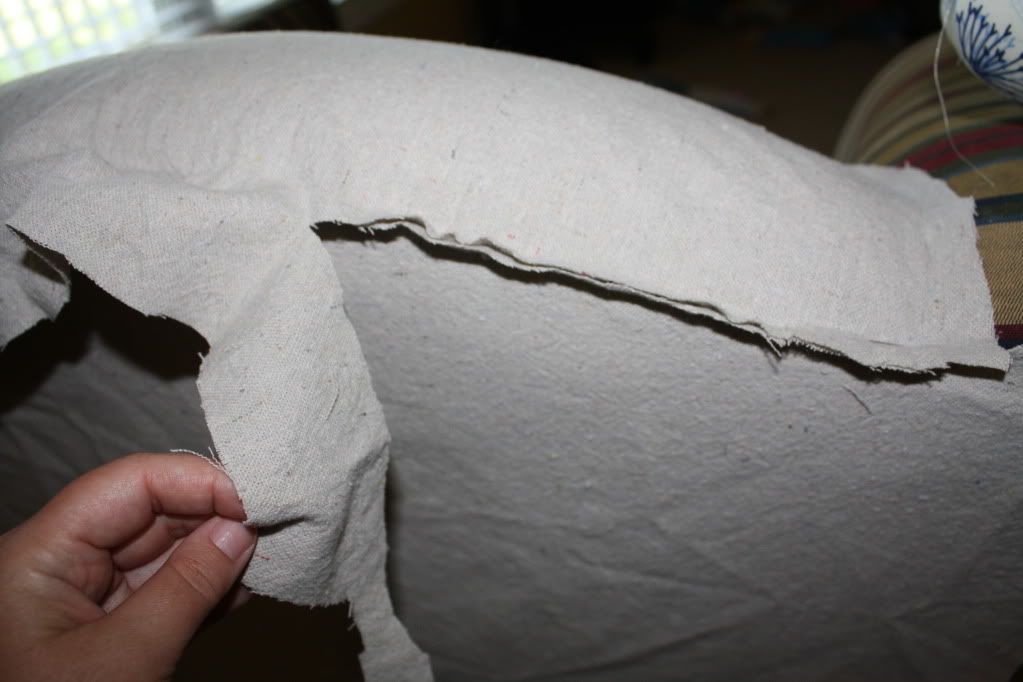
Okay, heres the part where you have to be brave. ( Im using a ½-inch seam allowance to put together my slipcover, so the sew-along will assume that.) Trim around the edges of the back of your chair, letting the fabric extend beyond the fabric by 1/2 inch.
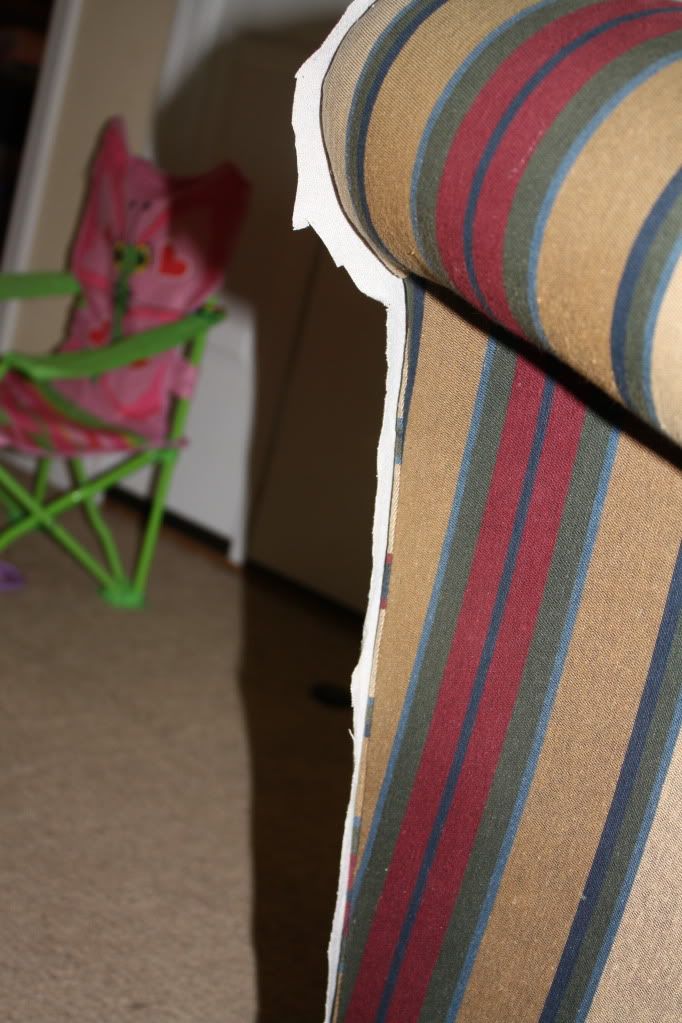
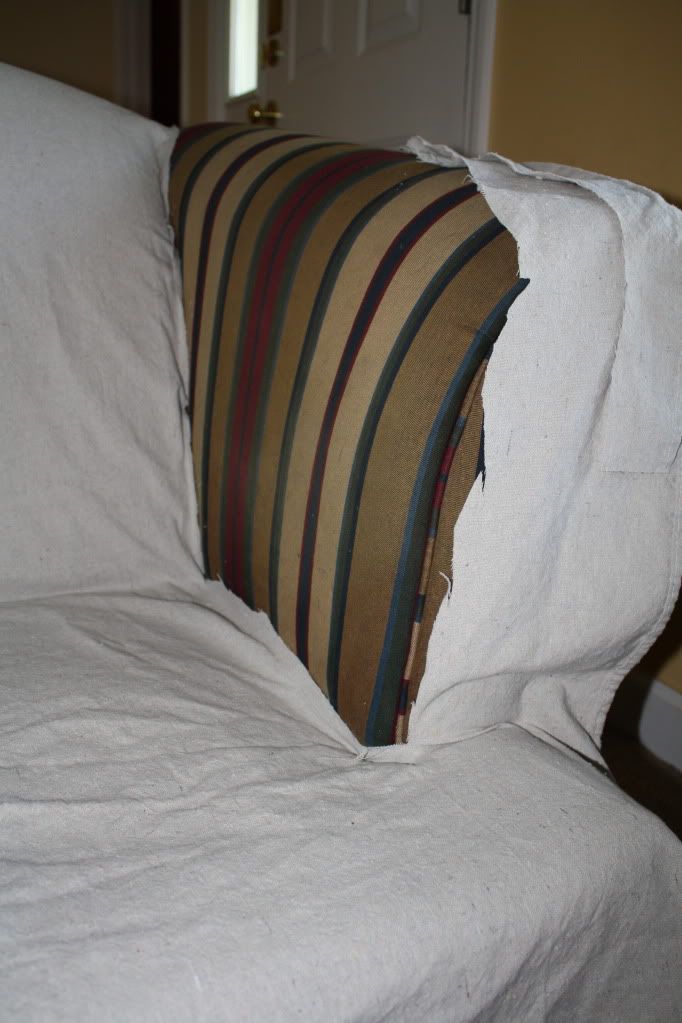
Now, you are going to do the front of your chair. (Note: Most chairs use a different fabric for the base that is hidden by the cushion. You can do this, but it will complicate matters a little.) Drape another piece of your fabric over this part.
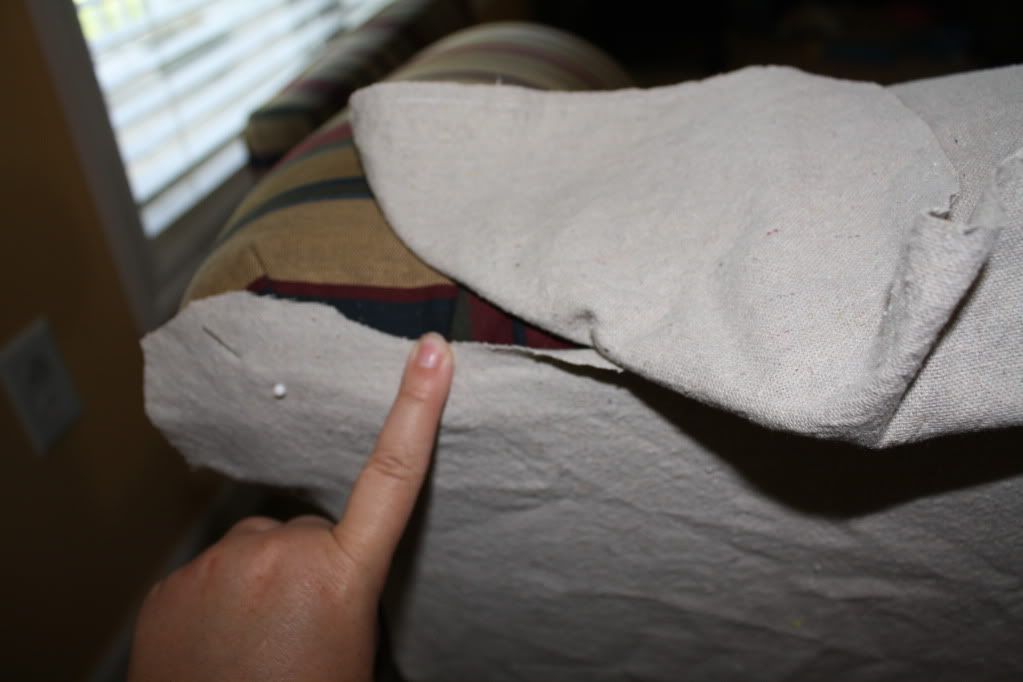
If your seat cushions have wings, make sure that you leave enough fabric to cover the part that extends in front of the arm rests. (This is the part that is folded over in this picture.)
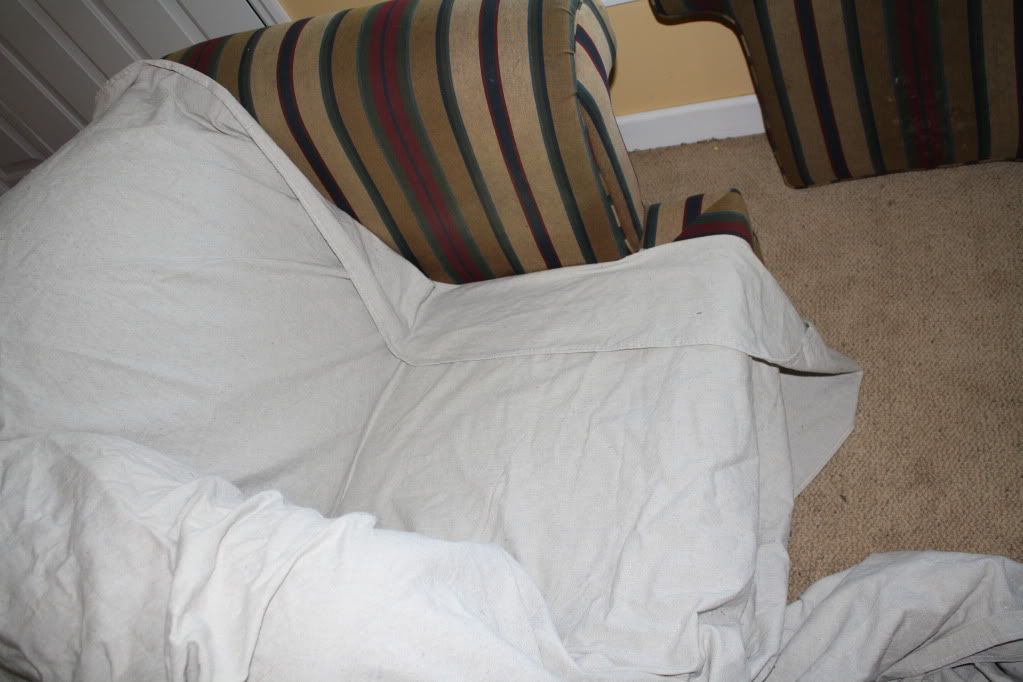
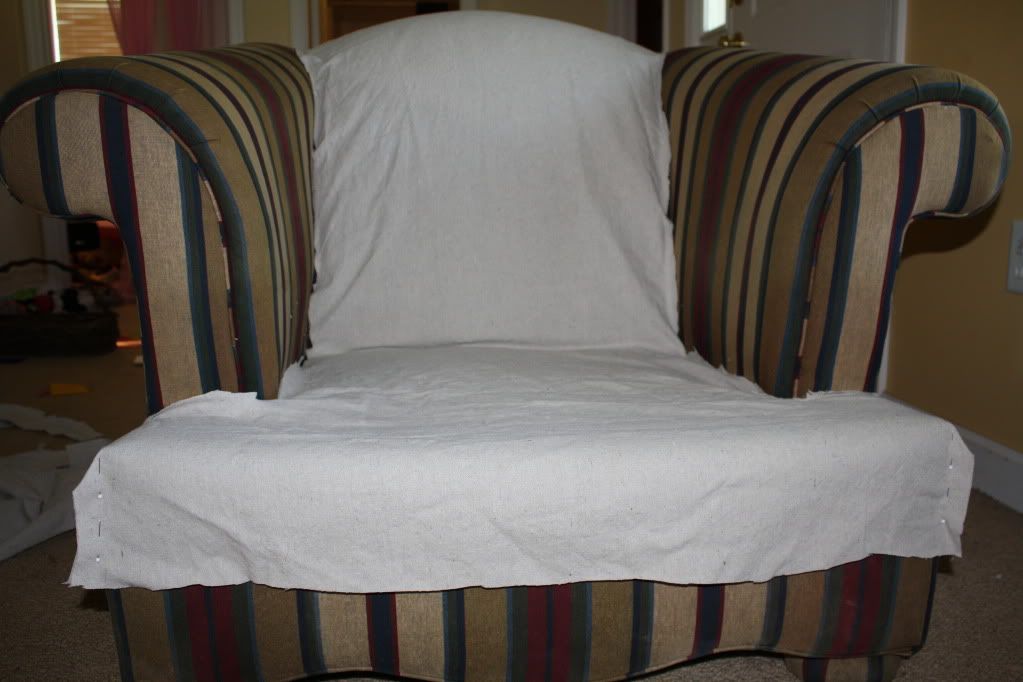
Pin the piece that you draped over the front to the piece pinned to the back along the upper edge. Your pins should join the seam allowances where your line of stitching will go.
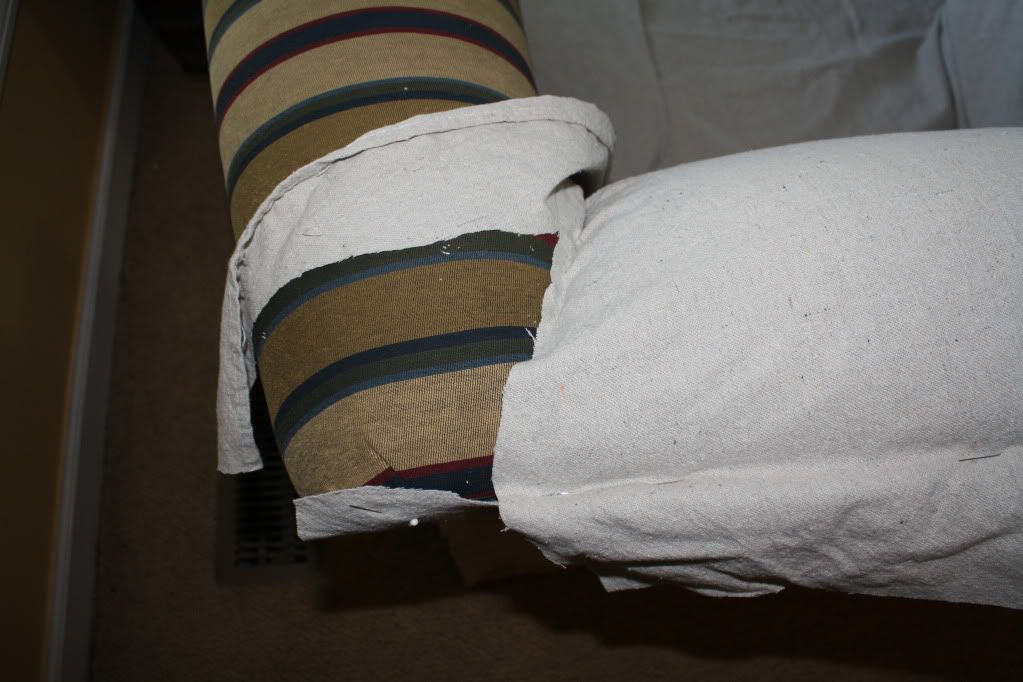
Look at your chair and find a good place to do a seam. If your back is free-standing (ie. Not attached to the arms directly), it will probably join along the edges, but if you, you can usually take a cue from the existing upholstery.
Once you have chosen where the seamline will be, cut along it, leaving a ½-inch seam allowance.
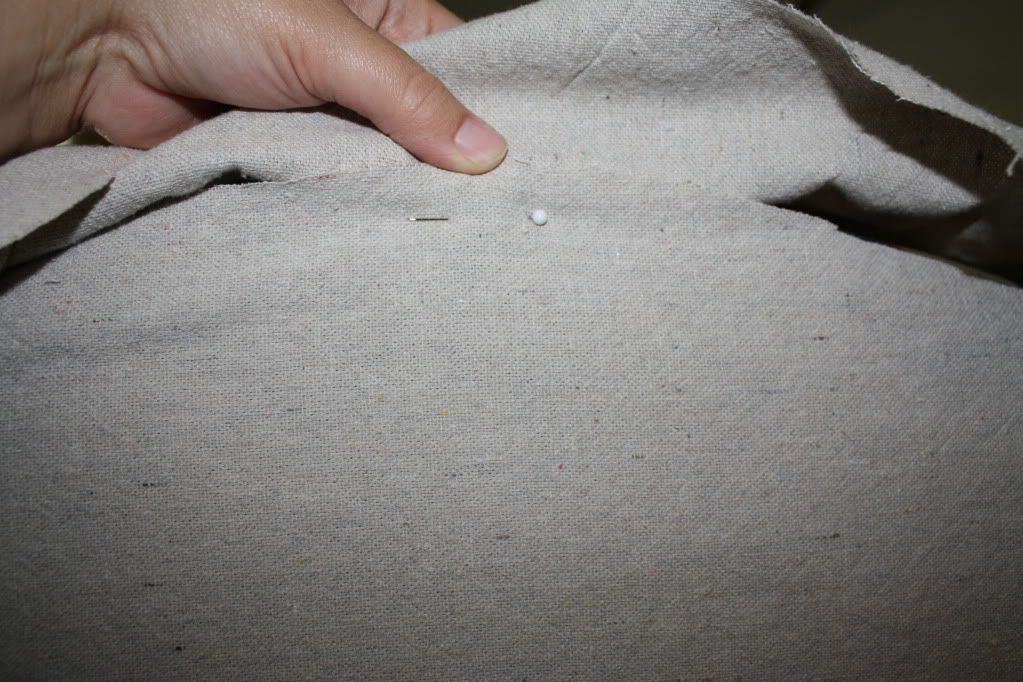
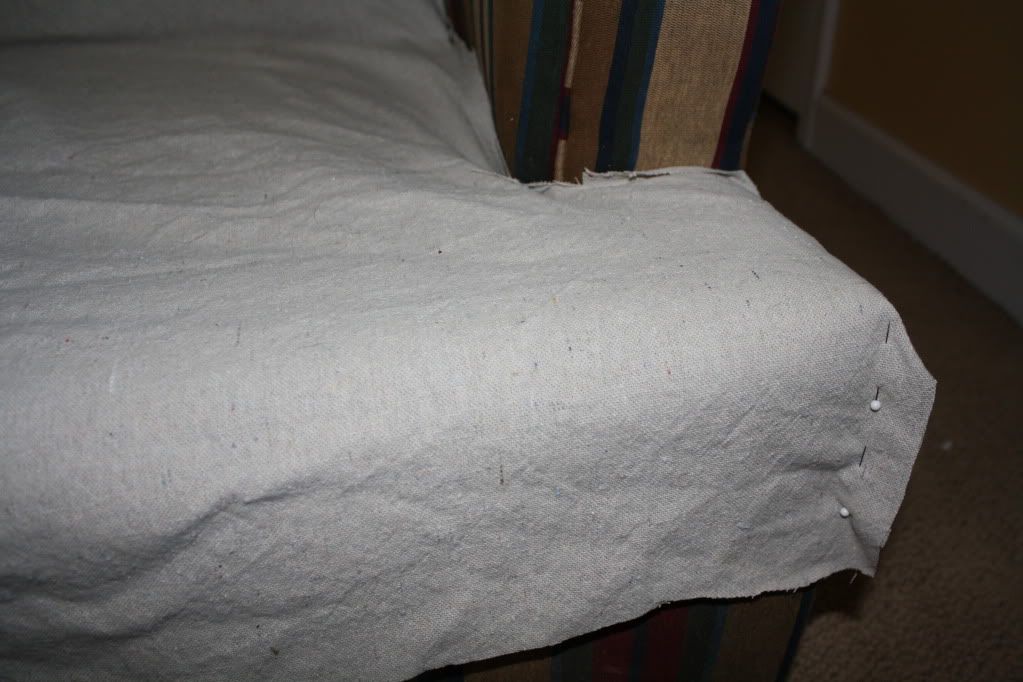
Once you have finished trimming, you may realize that you have some parts that arent lying smoothly.
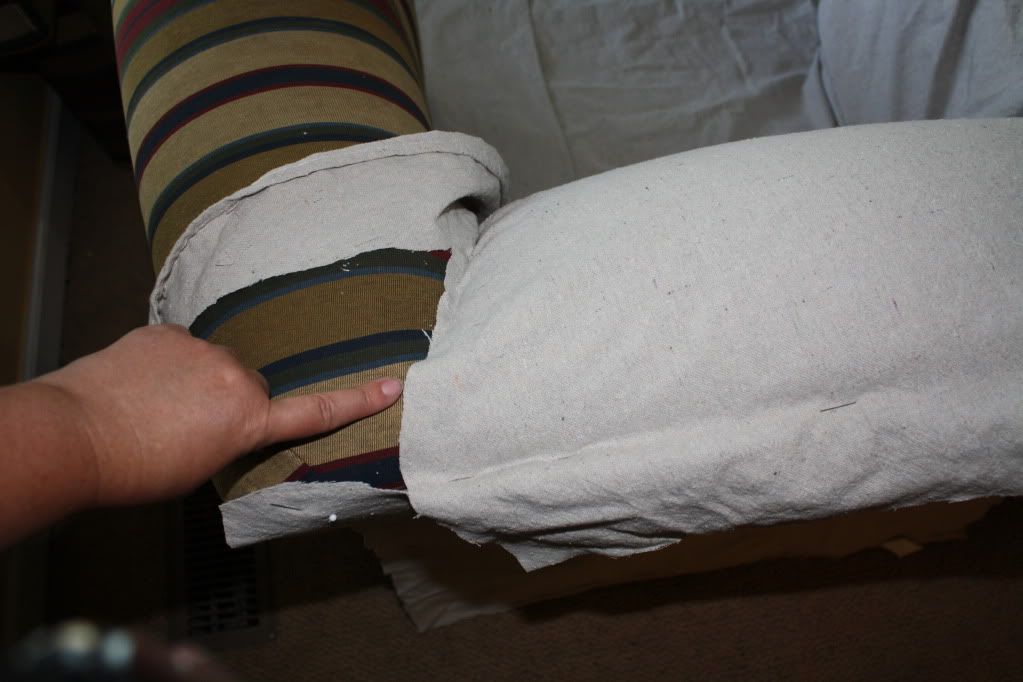
Simply pull the fabric toward where it is pinned and adjust your pin.
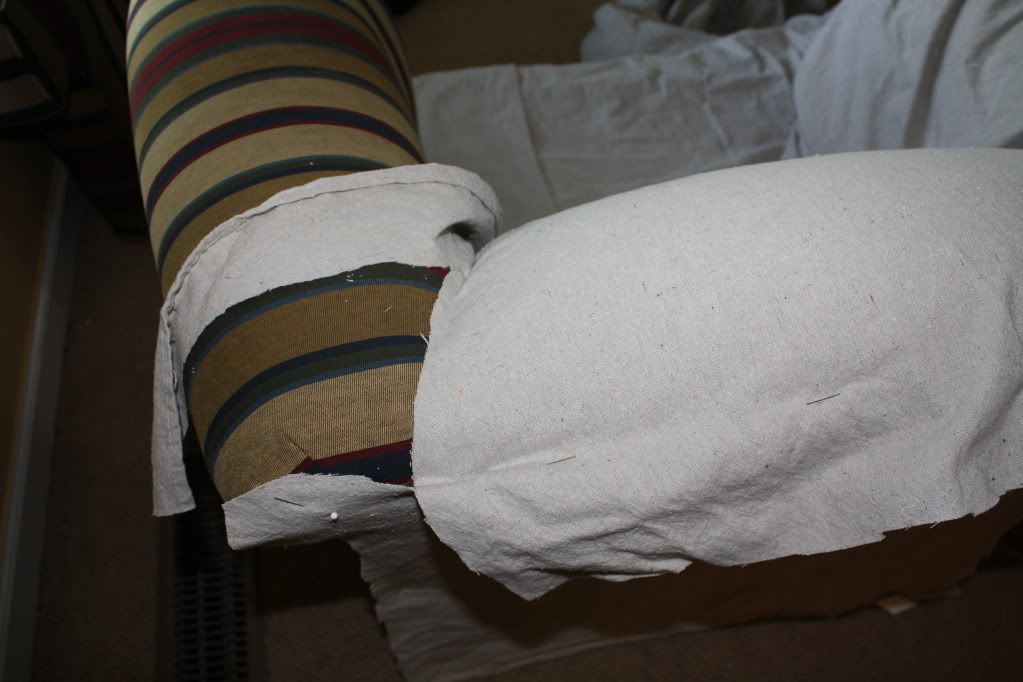
Trim down the side of the back and along the side of the armrest, making sure you leave seam allowances.
Trim around the corner where the cushion wings sit. Then, smooth the fabric together at the corner (like a dart) and pin your dart in place.
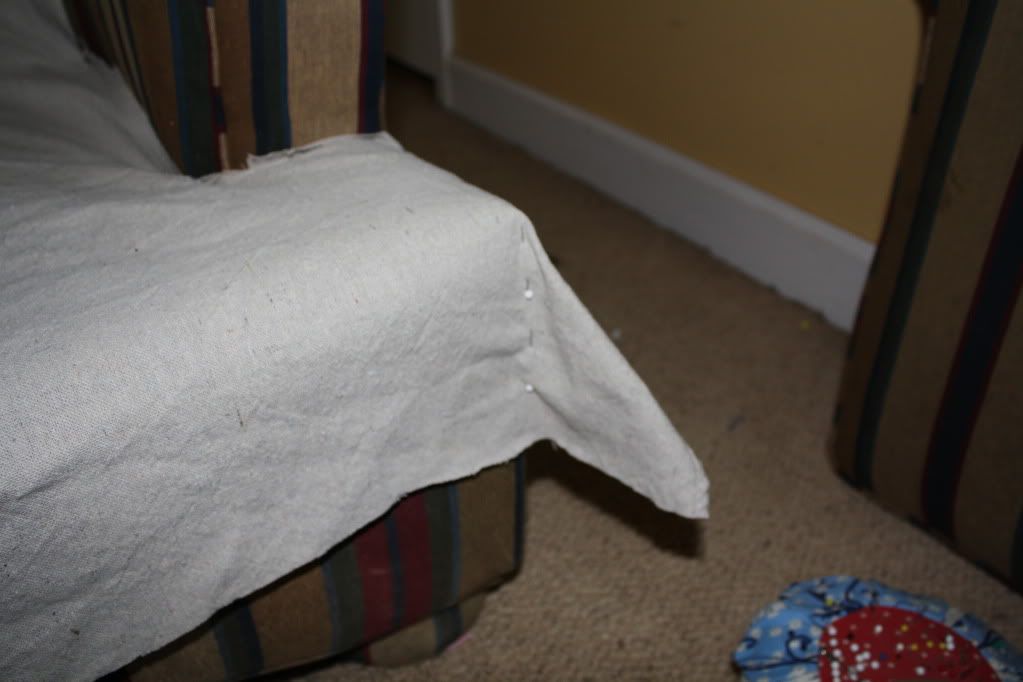
Trim the corner of your fabric off leaving a ½-inch SA.
Repeat on the other side of your chair/couch.
Go back to the top edge of the back of your chair where you have the two pieces of fabric pinned together. Trim away the excess fabric.
Your next step will be to unpin it from the chair and sew the seam that you pinned along the top back edge as well as the darts you created (if you needed darts for your design). If you will be putting piping in, you can do it as you sew, but I wouldn't worry about trying to pin it in place while the cover is on your chair.
Sandra
DH (Love of my Life)
DD#1 (Allie, 8)
DD#2 (Jenna, 5)
My machines: Janome TB30, Juki Pearl MO-655 Serger, Brother 2340CV, Janome Memorycraft 350E
To view links or images in signatures your post count must be 0 or greater. You currently have 0 posts.
To view links or images in signatures your post count must be 0 or greater. You currently have 0 posts.
To view links or images in signatures your post count must be 0 or greater. You currently have 0 posts.
To view links or images in signatures your post count must be 0 or greater. You currently have 0 posts.


 Reply With Quote
.gif "a (11)")


Bookmarks