

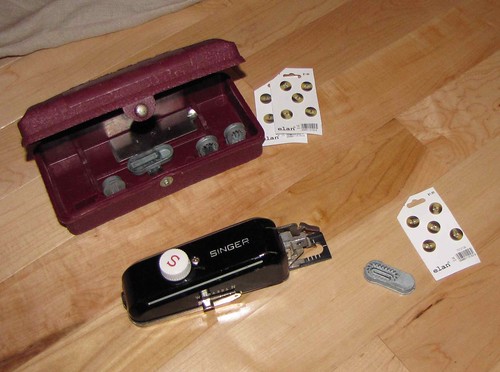
For my March challenge I'm doing a tutorial on how to use your vintage button-holer. I'm using the slant shank version for my Singer 401. I love using this little device. It is more reliable than doing buttonholes on my babylock and gives a very attractive button hole that is rounded on the top and bottom.
First get out your button-holer and choose the correct insert for the hole size you need. Put it into the buttonholer.
button hole tutorial 1 by Apple Dumpling Gear, on Flickr
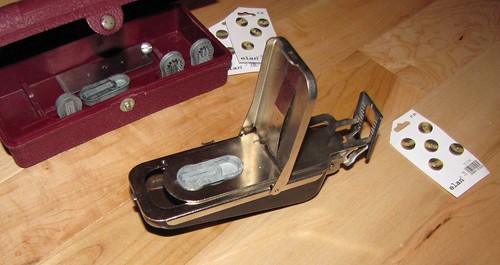
button hole tutorial 2 by Apple Dumpling Gear, on Flickr
Then put your button-holer onto your machine. You have to remove the foot that was there and remove the screw entirely from the hole. Put the button-holer onto the post with the arm of it around the screw that you tighten when you put on a new needle. Screw the larger screw through the button-holer into the post and hand tighten. Make sure to raise the needle plate so the feed dogs cannot reach your fabric. The feed dogs on the button-holer will move the fabric while the button hole is being sewn.
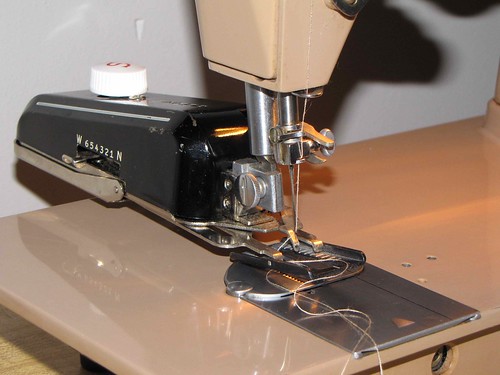
button hole tutorial 3 by Apple Dumpling Gear, on Flickr
Do a test run on a scrap of fabric and make sure you chose the right template size for your button. You might need to adjust the width of the button hole seam by adjusting the knob on the side. I always leave mine at 6.
button hole tutorial 4 by Apple Dumpling Gear, on Flickr
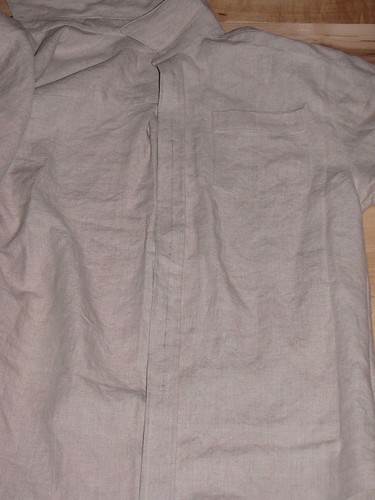
Now take the item that needs the button holes and draw a line down the middle marking where all the button holes will go. This ensure that all the button holes are lined up vertically with each other. Next mark off where each button hole will start on that line.
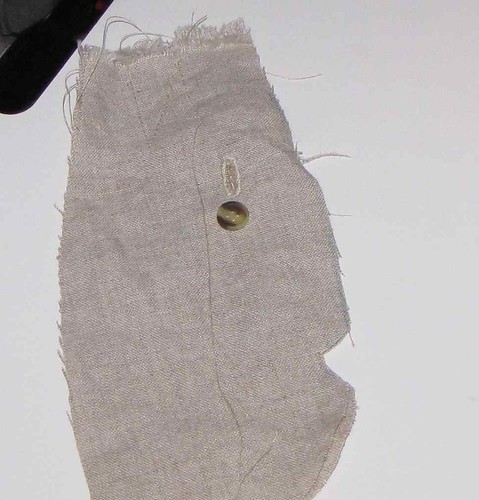
button hole tutorial 5 by Apple Dumpling Gear, on Flickr
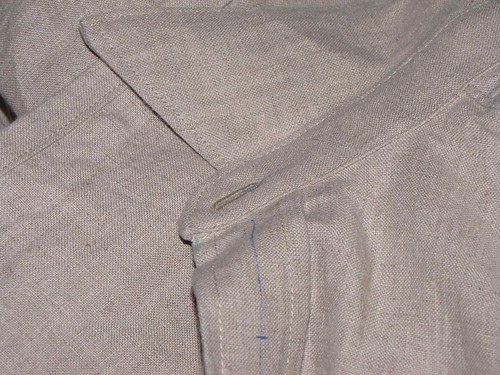
Now turn the knob on the button holer so the needle is right at the top of the button hole area. Place your item to receive the button hole under the button-holer in your machine. Lower the needle into the mark you made for the top of the button hole. Make sure the line running vertically below the mark is exactly centred in the button hole space. Lower the machine pressure foot and make sure there is nothing pulling on the fabric so that the machine can move freely while sewing the button hole. Now slowly sew the button hole. I find it more sturdy to go around the button hole twice.
button hole tutorial 6 by Apple Dumpling Gear, on Flickr
button hole tutorial 7 by Apple Dumpling Gear, on Flickr
Now take your seam ripper and cut along the inside of the button hole seam, being careful not to cut the stitching. If you do accidentally cut some of the seam you can set your machine on a very small, tight zig zag and go over the area that got cut.
Now do the rest of the button holes!
See my tutorial on how to sew buttons with your machine here.


 Reply With Quote
Bookmarks