

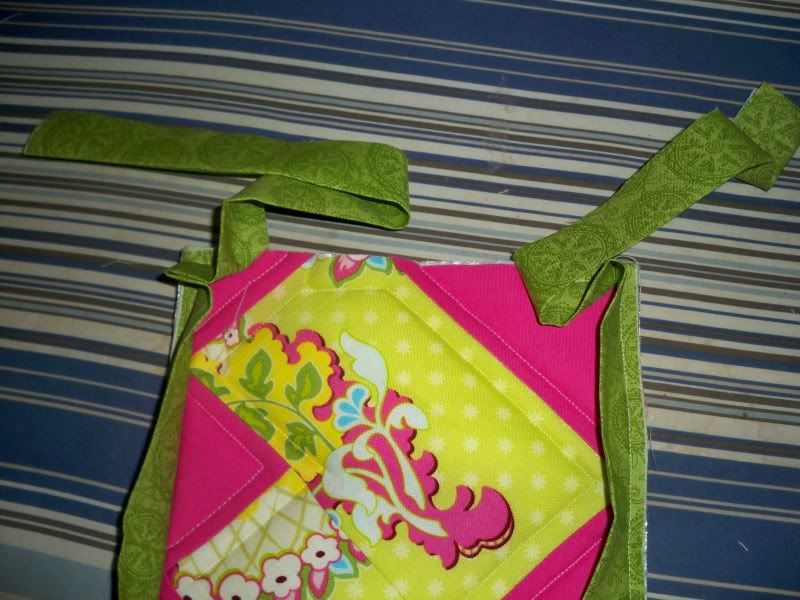
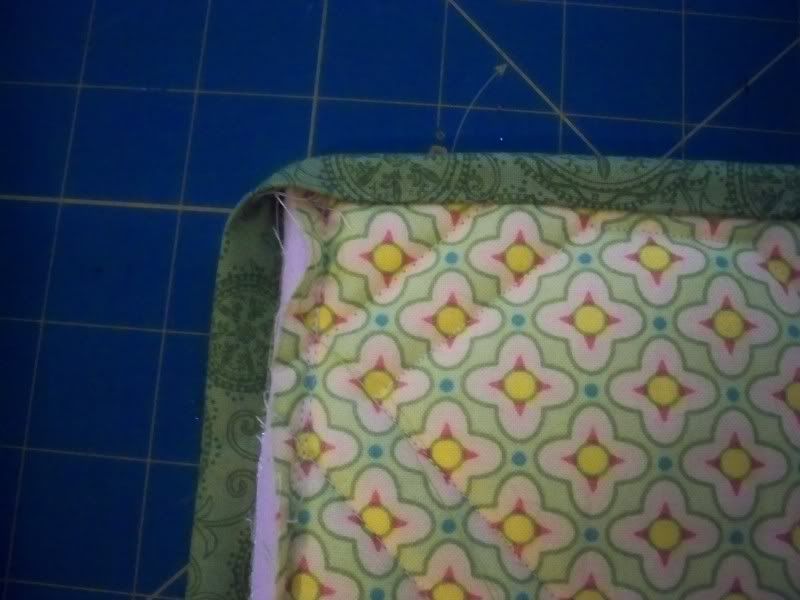
Once you turn the last corner, sew an inch or so and leave the tail so that we can make a join. Your project should look like this.
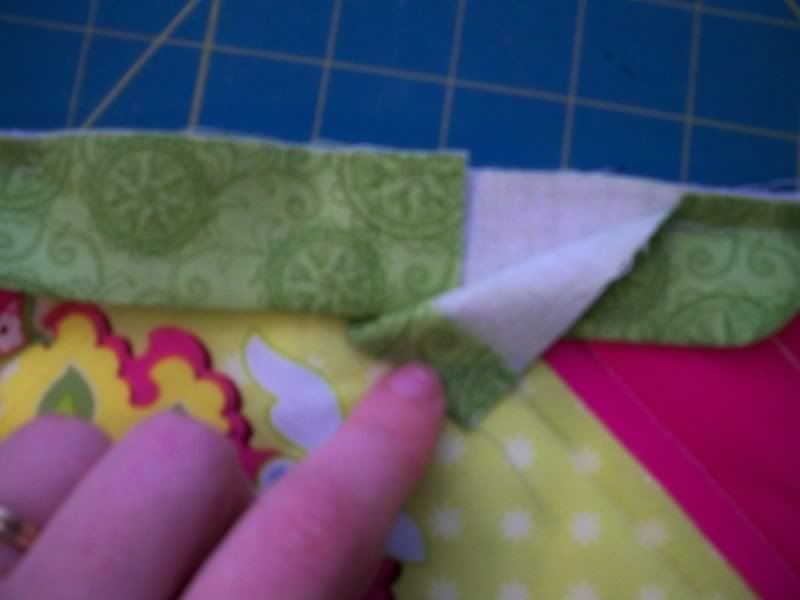
Now, we need to join the binding. I'm going to show a very simple join here. I am only using this type of join because the area is so small that it makes a continuous join (my standard method) really frustrating. I would never use this type of join on a bigger project because it's a lttle lumpy.
First, you need to press a seam allowance into one of the pieces. Then cut the other piece and insert it into the piece with the SA.
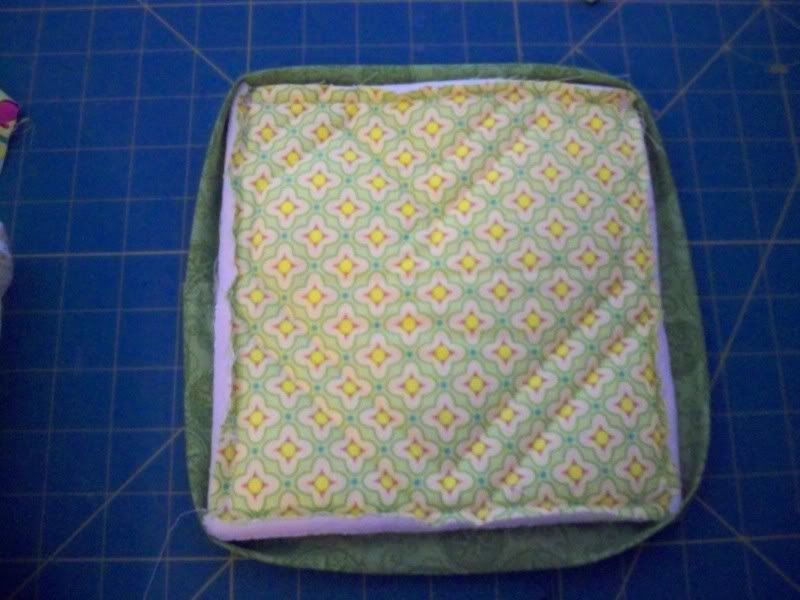
Now, finish machine sewing the binding to the front.
Next, we're going to hand sew the binding to the back. I like to use a ladder stitch. You can also use a whip stitch or a blind stitch. Your goal is for it to be firmly attached.
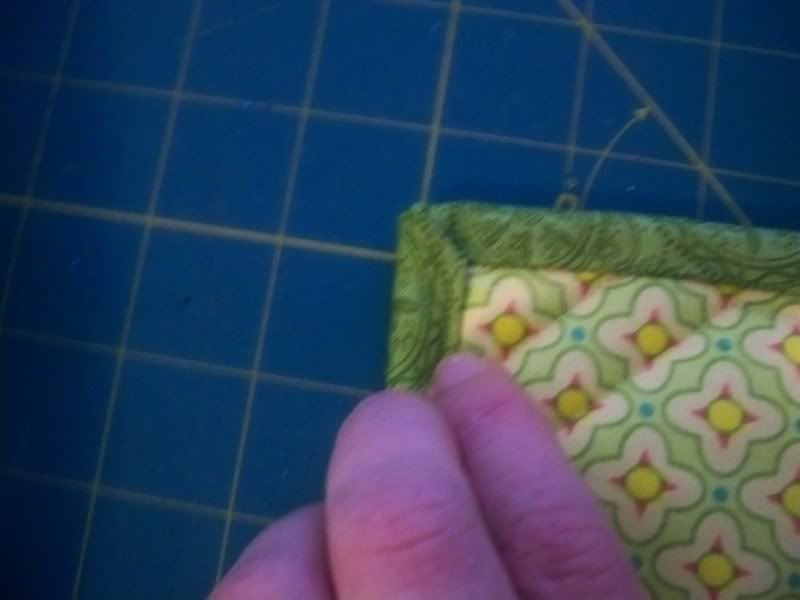
When you reach a corner, sew until the SA.
Then, fold the fabric down to make a nice miter, and continue sewing on the next side.
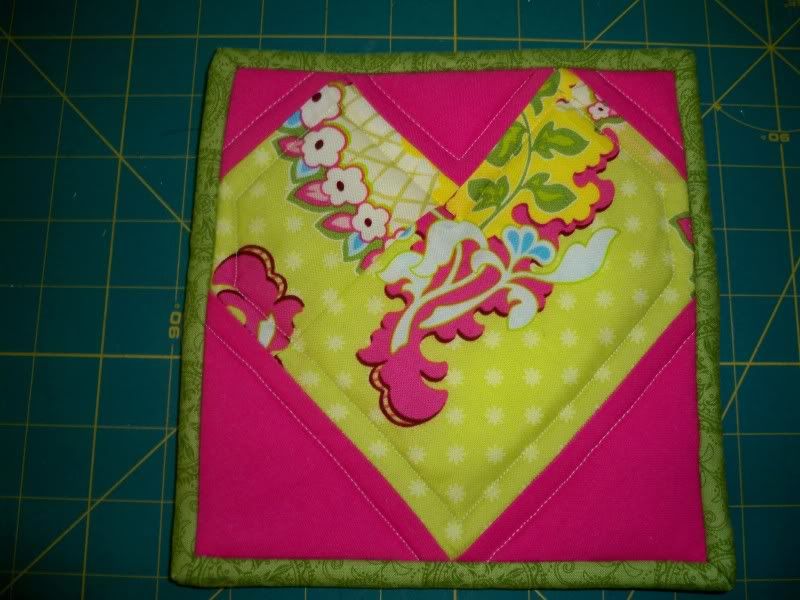
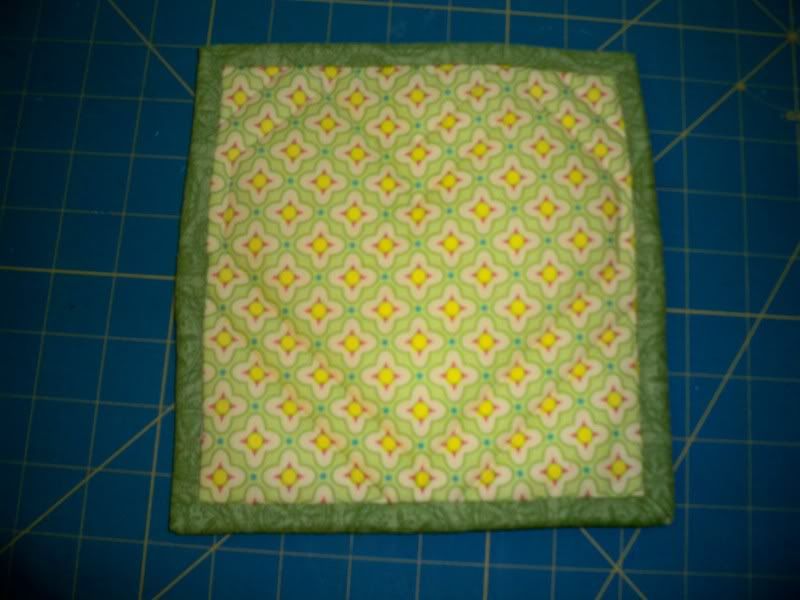
You'll be done before you know it!

 Reply With Quote
Bookmarks