

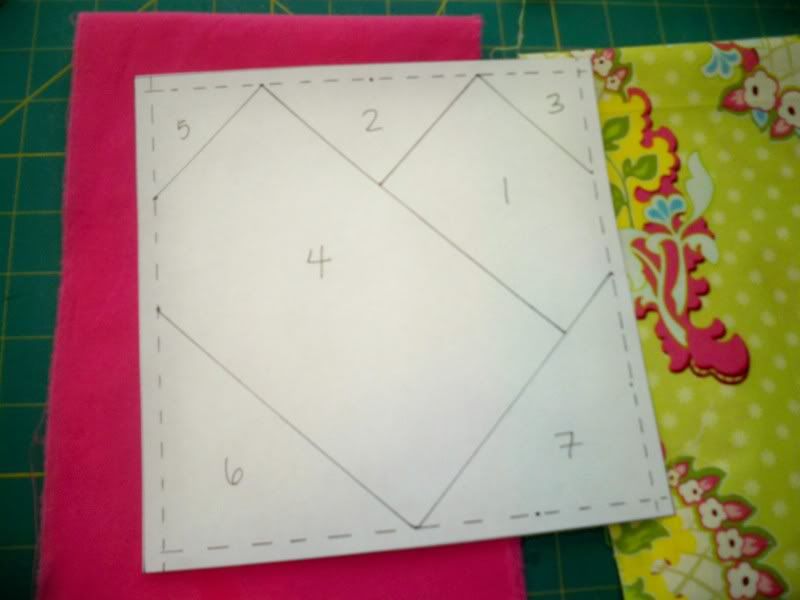
First, get your paper pattern and your fabrics together. Press your fabric.
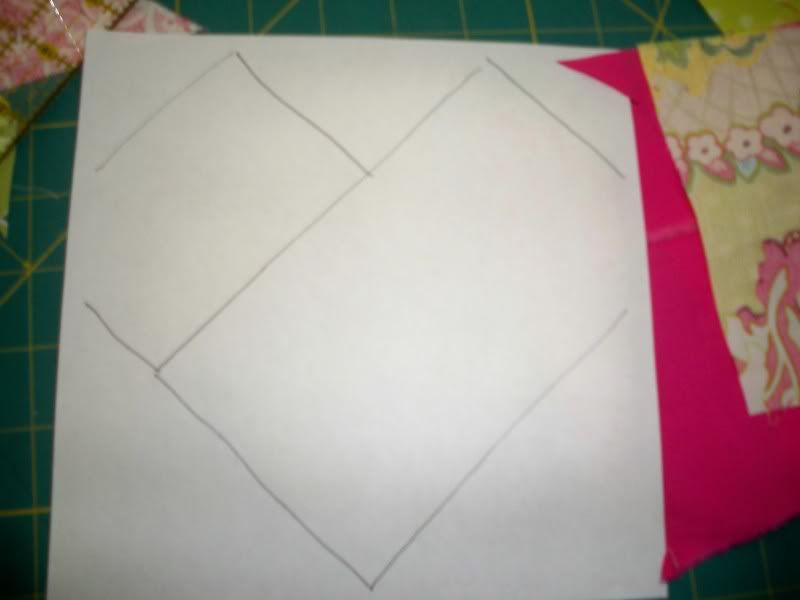
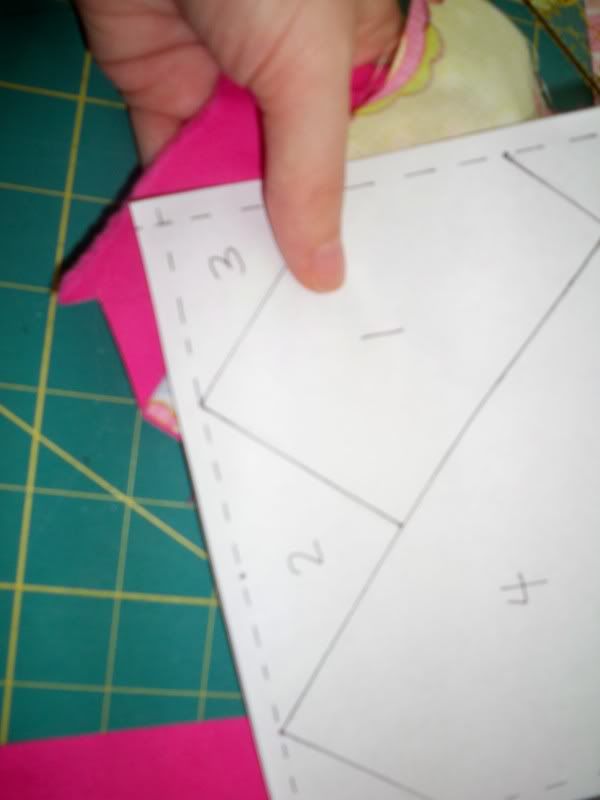
A totally optional step that you might find useful is to hold your pattern up to a window and just roughly trace over the lines. This can sometimes help with placement as you're positioning fabrics later on.
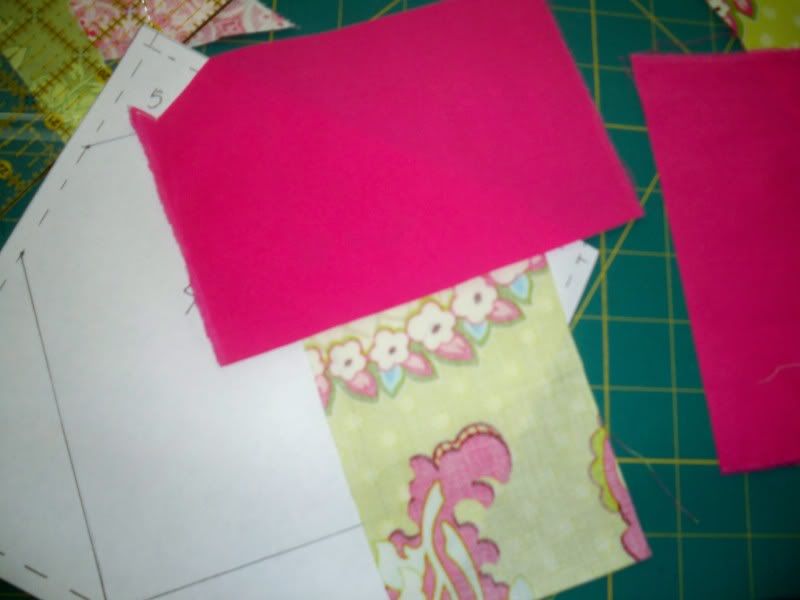
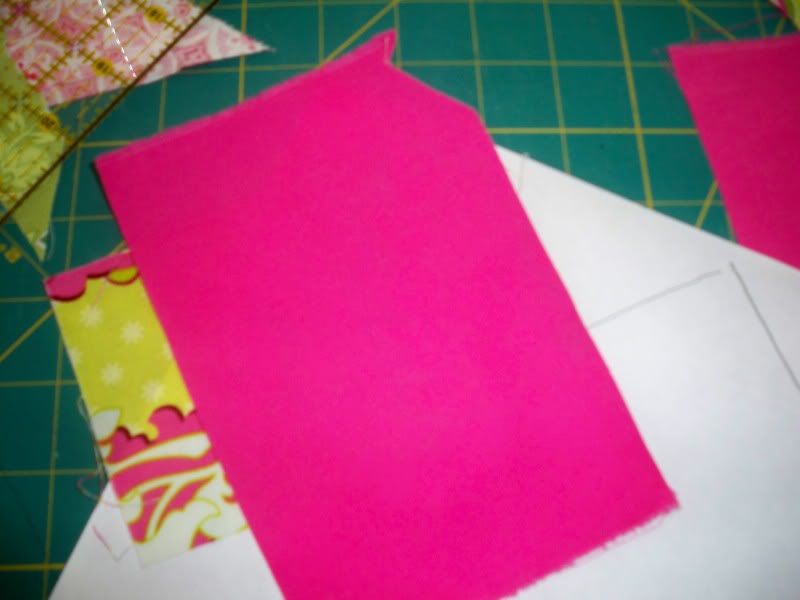
Always cut the fabric pieces bigger than the area that you need them to cover. You want to allow for at least a 1/4" seam allowance, but we will be cutting off excess material later, so it's better to err on the side of being too big. Scrap fabric is much cheaper than sanity. ;) In this picture, the green is going to cover area 1 and the pink area 2. The first seam that we sew will be the seam in between area 1 and 2. When you sew the seam, sew the extra 1/4" for the SA on either side.
I take the fabrics, and I position them on the back (non-printed) side of the pattern. I put the green down first (section 1) and then the pink second (section 2). They are right sides together with the majority of the fabric covering section 1. Be sure to have at least 1/4" for a SA in section 2.
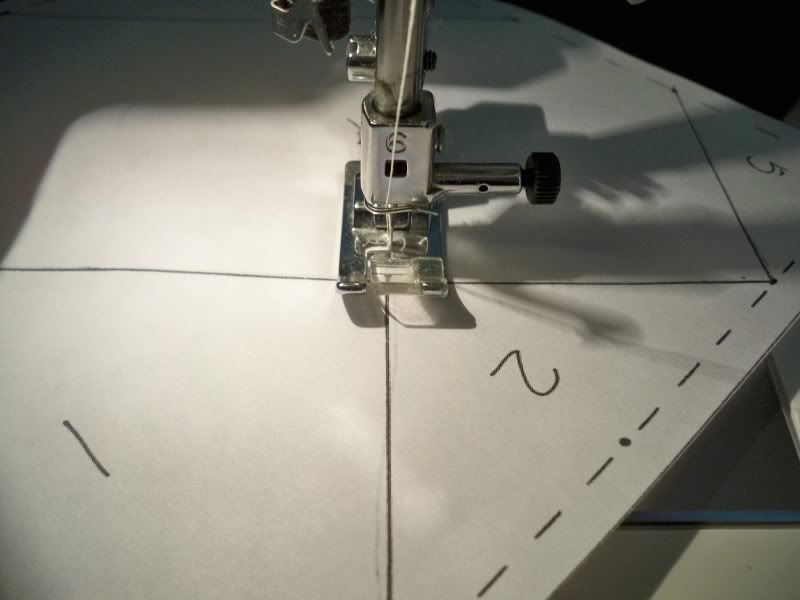
Flip it over and take it to the sewing machine. You'll be sewing through the paper with the fabric underneath. I find it helpful to put my needle in center position because it's easier to follow the sewing line.
Sew down the line between 1 and 2 extending the line 1/4" on each end for the SA.

 Reply With Quote
Bookmarks