

Sorry in advance for the super big pics! I wasn't sure how to size them down. This was originally shared on our blog: www.CreateKidsCoutur e.blogspot.com
Difficulty Level: Beginner
Materials Needed:
Fabric
Scissors or Rotary Cutter
Cutting Mat if using Rotary Cutter
Ruler
Pins
Thread
3/4 Elastic
Amount of Fabric Required:
18 months/2T: 1-1/8 yards
3T/4T: 1-1/4 yards
5T/6: 1-1/3 yards
Size of Squares to Cut Out:
18 months/2T: 5.5, cut out 39 squares total
3T/4T: 6, cut out 42 squares total
5T/6: 7, cut out 45 squares total
Number of Squares per Row:
18 months/2T: Top Tier: 8, Middle Tier: 13, Bottom Tier: 18
3T/4T: Top Tier: 9, Middle Tier: 14, Bottom Tier: 19
5T/6: Top Tier: 10, Middle Tier: 15, Bottom Tier: 20
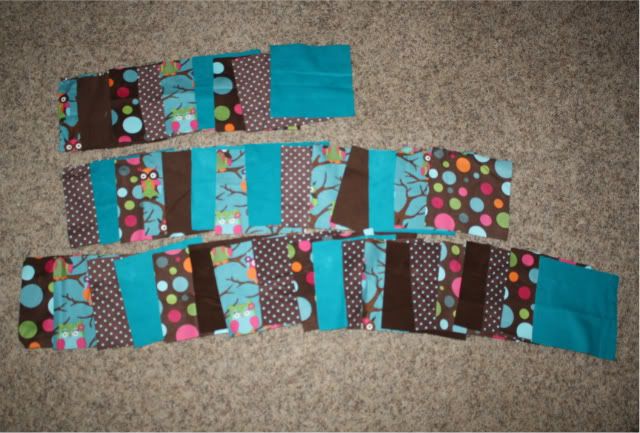
Step 1: Take the squares and lay them out in the rows making sure to put the correct number of squares in each row according to the size you are making. We prefer to lay them out in no particular pattern, just what looks good to the eye. Make sure to mix and match the squares as best as possible so that there are not too many of any one pattern in a section.
Step 2: When you are done, making sure to keep the rows separate, stack each square on top of one another in the order you just made so that you know what order to sew them in. Put a pin in it to hold each row together so it does not get mixed up with the other rows.
Step 3: We can now sew the squares together to create our rows following the order we created in the previous steps. When sewing be sure to sew right sides together along the two SIDES only so we end up having one LONG strip for each row. Also, pay close attention to the direction of the fabrics as we sew so that they are all going the same way.
Step 4: Now that we have your rows created, take the ends of each row, and match them up right sides together making sure there is no twist in the fabric anywhere. Put a pin in the upper left hand corner, this serves two purposes: 1.) to hold them in place for sewing and 2.) to mark where your first square is for that row. Repeat for the other rows making sure to leave the pin in place after sewing.
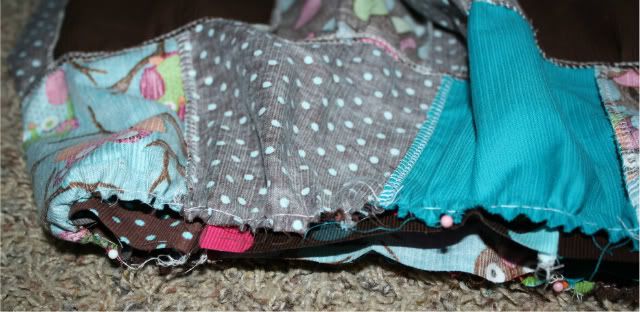
Step 5: Now that we have our rows--which should be in very long continuous loops--we can gather our middle and bottom tiers to sew them on. Set the sewing machine on the longest stitch length possible. Sew at the top of each of the TWO tiers 1/4" down from the top making sure not to backstitch at the beginning or end. Some seamstresses prefer to have two rows of stitching in case a thread breaks, however, if you are using high-quality thread as we do, then one row of stitching should be sufficient.
Step 6: Take the top tier and lay it on a flat surface for reference on how wide our middle tier need to be. Begin gathering the middle tier by pulling the top 2 threads and moving the fabric back so it gathers together.
When it looks like it is the right width, we can begin pinning the middle tier to the top tier by putting the right sides togethermaking sure to stagger the two rows, i.e. line the center of the first square in the top row up with the corner of the first square in the middle row. At this point we will know if it is gathered too much or too little and it is easier to adjust correctly. When we have finished pinning our middle tier to the top tier, we can sew them together. We will repeat this process with the bottom tier.
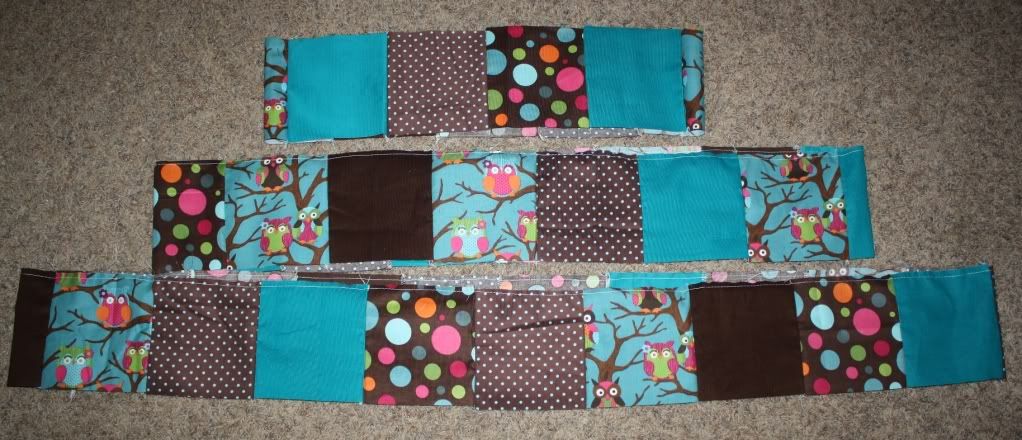
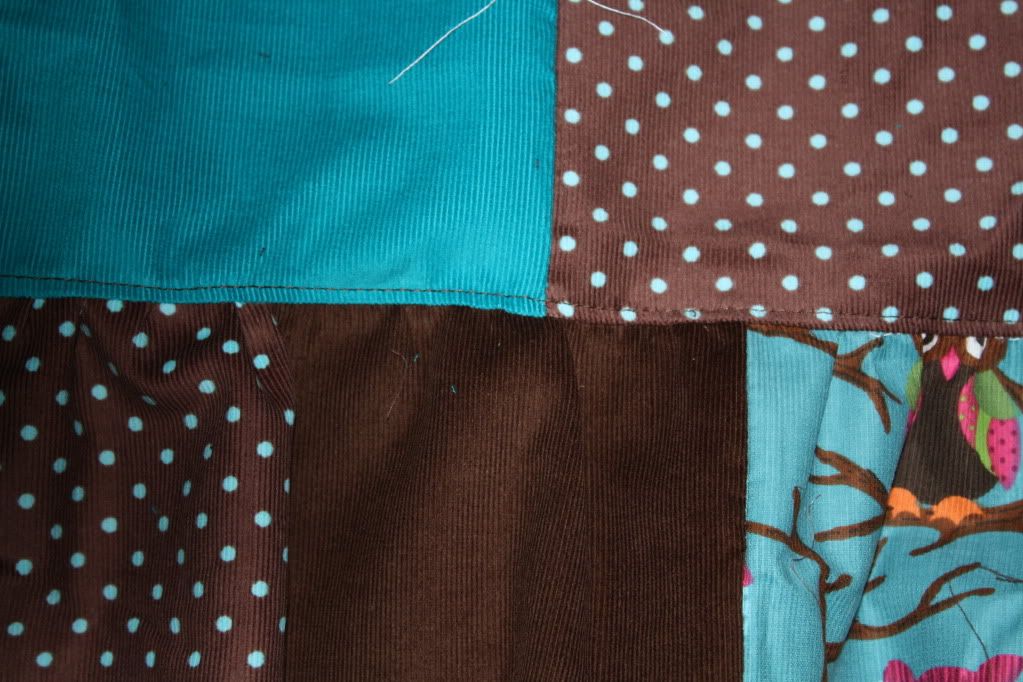
When you have the three rows sewn together it will look similar to this except much wider--we only took a picture of a portion of it, so you could see it better.
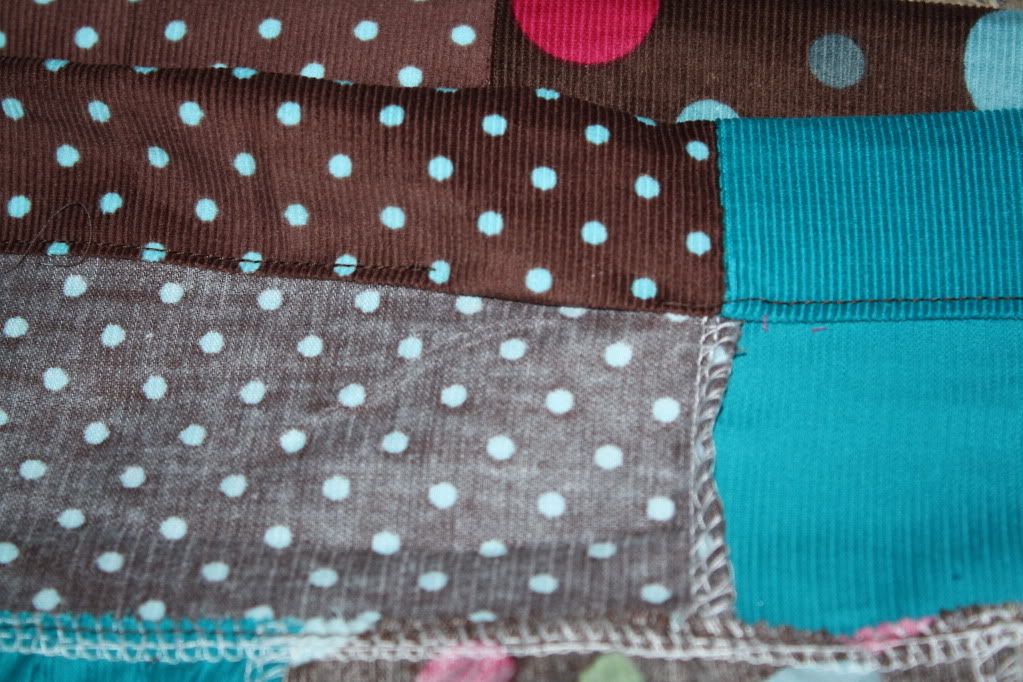
Step 7: We can now topstitch our rows. This step is not necessary, but we feel that it really completes a garment and makes it look more professional. To topstitch, sew an 1/8" up from where we attached each row, being sure to catch the seams as pictured. Repeat these steps for every row. The patchwork portion of the skirt is now complete!
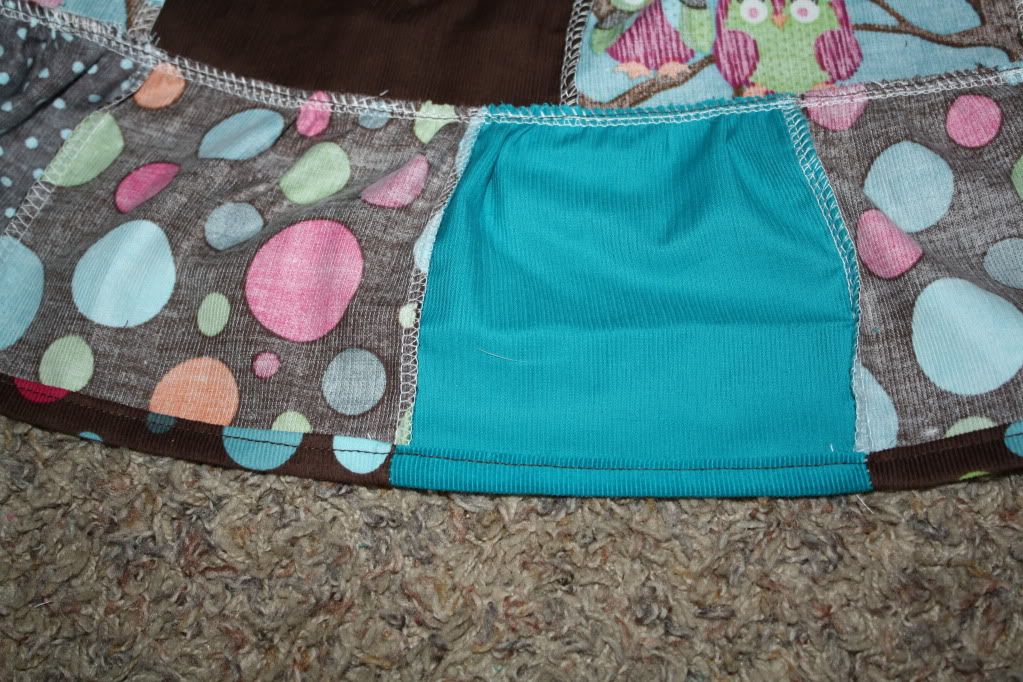
Step 8: Hem your skirt by folding bottom back 1/2" and ironing. Fold back an additional 1/2", iron, and pin. At this point you can now sew 1/8" from the top of the fold around the entire skirt.
Step 9: Starting at the center of the back of our skirt, fold back and press 1/4" down all the way around. Now we fold over an additional 1" down and iron, pinning as we go.
Step 10: Now we can sew an 1/8" from the bottom of our fold all the way around the entire waist being sure to leave a 1 1/2" opening as shown below.
Step 11: Thread our 3/4" elastic through the waist casing making sure that it doesn't twist while doing so. When we reach the end, sew the two elastic ends together again making sure that it is not twisted. Once sewn together, pull the waist and spread the fabric around so it is evenly distributed. We can now sew the 1 1/2" opening close. Also, if we have labels, now would be the time to sew them in.
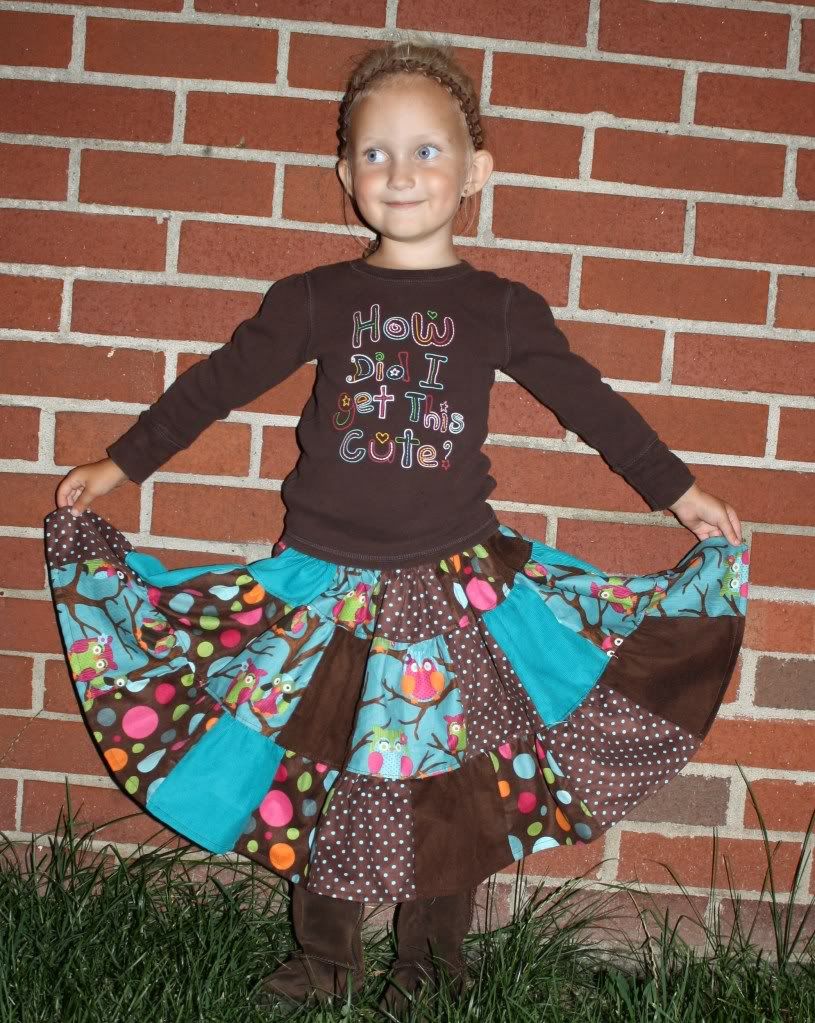
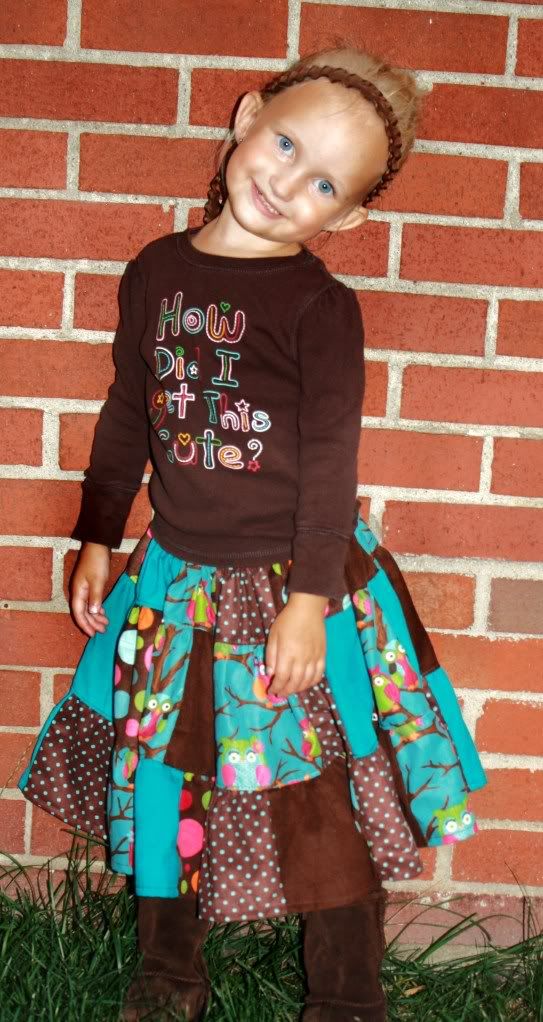
You are now finished!!!

 Reply With Quote


Bookmarks