


I had this lightbulb moment yesterday, and have been asked to share with you how I do it, so here goes!
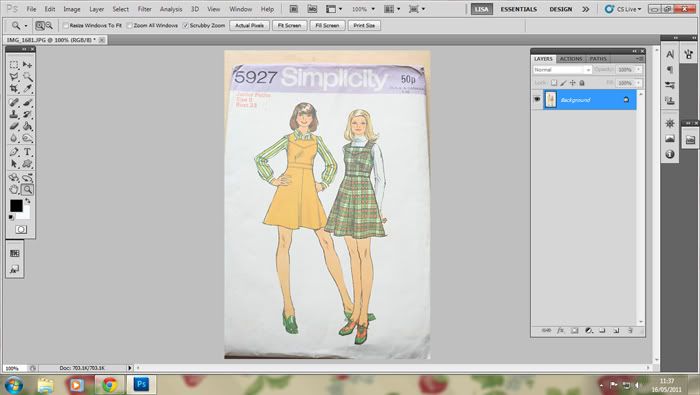
1. Take a photo of your pattern picture, and the upload it into photoshop. I resize mine to 600x400 just for ease of use and file sizes! This will be referred to here as 'Background layer'.
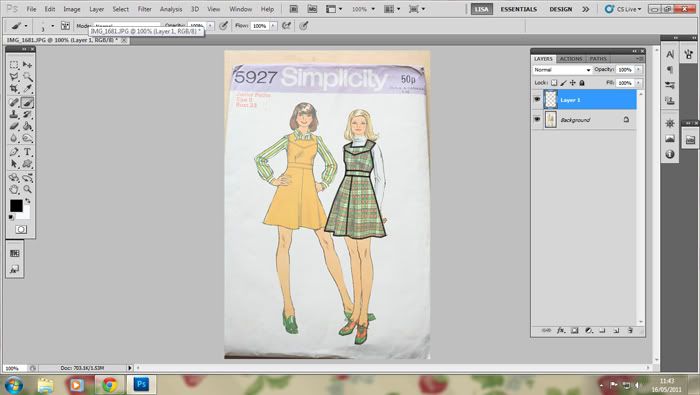
2. Create a new layer (layer>new in menu bar) - this will be referred to here as 'Layer 1'.
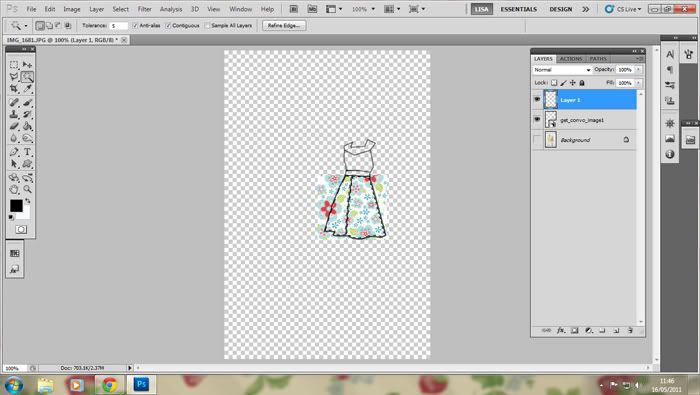
3. Make sure your brush tool is set to 100% hardness and around 3 pixels (if you're using 600x400 image), then using your PEN tool, draw around one section of the pattern. Then right click>stroke path. When the pop up box appears, make sure it's set to brush, and if the little box is checked underneath that, uncheck it. Click OK. Then right click>delete path. Repeat for each section, and it should now look like this -
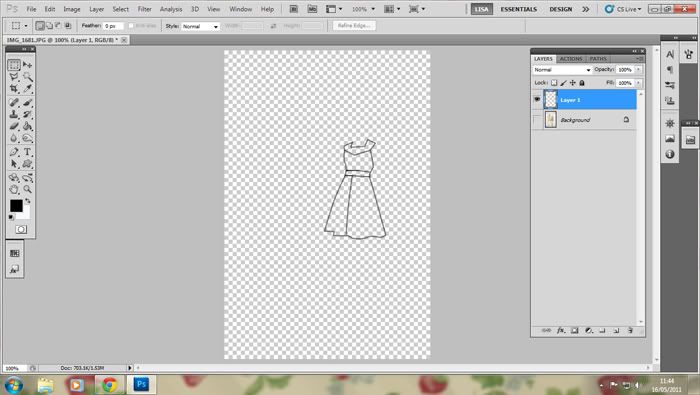
4. Hide the Background layer (click the little 'eye' next to the layer in the layers palette), and you'll be left with this...
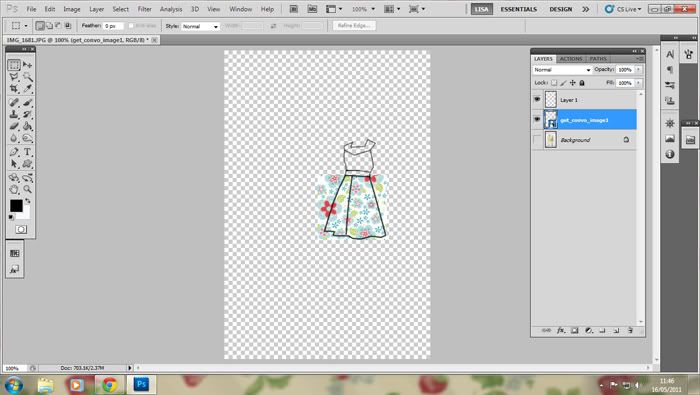
5. Either drag-and-drop or use right click>place to add a fabric pic. Place this layer BEHIND (or below) Layer 1 in the layers palette. Then right click>rasterize layer.
6. Click on Layer 1 in the layers palette so it is highlighted, then using your magic wand tool, click on the section of pattern you want to add the fabric to. You will get a marching ants outline.
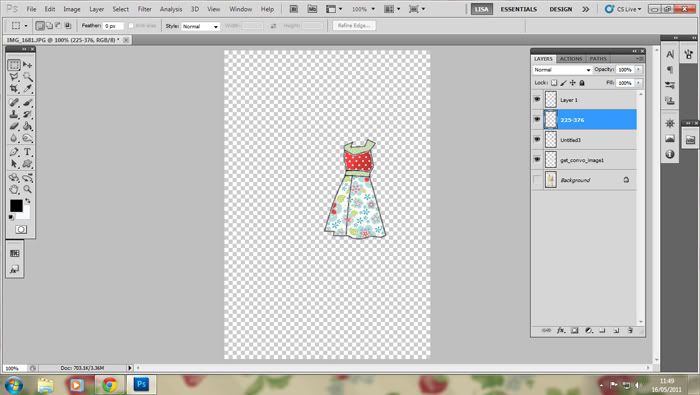
7. Click your fabric layer in the layers palette to highlight it, then go to Select>Inverse in the menu bar, then press Delete on your keyboard.
This is what you should get...
8. Repeat with different fabric layers for different parts of the pattern until you're happy with the result!
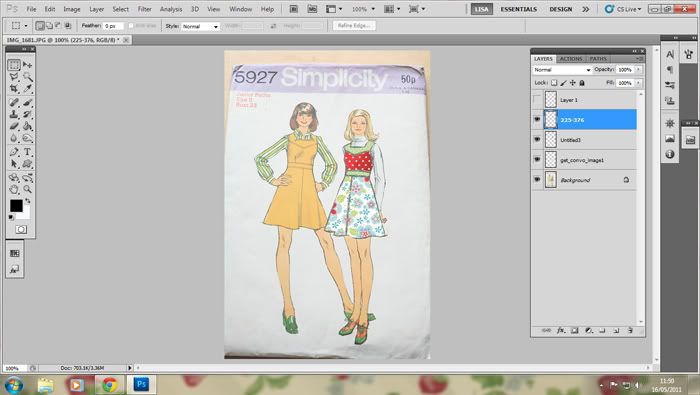
9. Finally, show the Background layer by reclicking the eye icon, and hide Layer 1 by clicking the eye next to that layer, and you're done!
***If you already have a black and white line drawing on your pattern (lucky you!) you can skip steps 2-4, add your fabric layer ON TOP of your background rather than underneath, and just proceed from there, treating your background layer as LAYER 1 above.
Hope that makes sense!


 Reply With Quote
Bookmarks