This is a sew-a-long for felt make-up. There are also pattern pieces included. You can use your machine for almost all of this, but since they are relatively small I find handsewing for most of it makes it look much nicer. I used my machine during most of this tutorial because I was pressed for time.
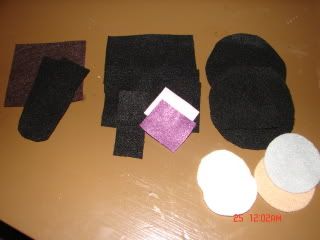
We'll start by cutting out all our pieces. On the pattern pieces it tells you how many to cut out.
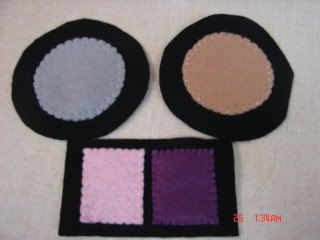
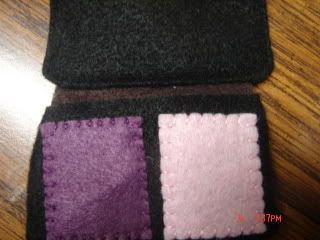
Next you're going to sew on the "mirror" and the "powder" and then the "eyeshadows" You can use your sewing machine or use a whip stitch by hand.
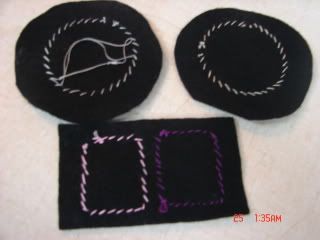
Here's what the backs will look like. You're only sewing the items to one piece of the compact. Ignore my stray string. Yours shouldn't look like that
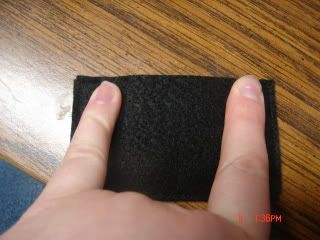
Now you're going to put your bottom eyeshadow compact pieces right sides together (rst) and sew around. At the top of the compact you're going to leave an opening between where my fingers are.
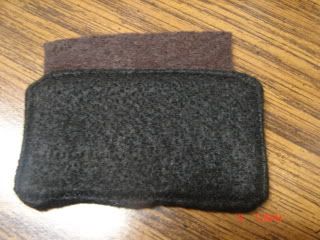
Now we're going to put the top eyeshadow compact pieces rst. Slip the strip into the compact too. Mine is only a different color for visual purposes. Yours will probably be the same color as your compact.
Turn it right side out and topstitch all around.
Now you're going to slip the strip of fabric into the opening you left on the bottom compact piece. Stitch across to attach strip and close opening. Keep sewing after the opening and topstitch all the way around. Your eyeshadow compact is now complete!
Now you're going to repeat the above steps for the powder compact. It's very hard to see I know, but my strip is laying on top of my mirror portion.
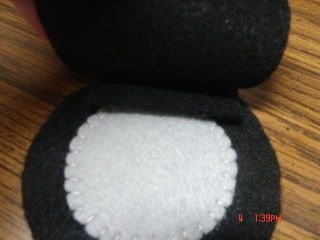
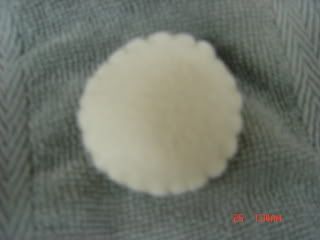
Now you'll make your "powder sponge" I hand sew this together since it's very small. Put your two circles together and start blanket stitching (or whip stitching) around it, once you have about 1" left to sew put a pinch of stuffing in it. You don't want it a ball, but you want it to have some substance to it. Finish sewing.
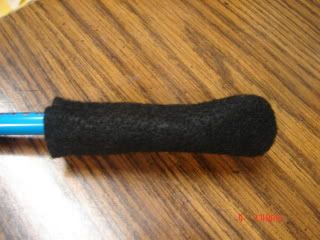
Sew your eyeshadow/blush brush pieces rst. DO NOT sew top, just sew around in a long "U" shape. Turn it right side out and use a pen or turning tool to round out the bottom.
Stuff it with polyfil or other stuffing agent until about 1/2" ish from the top. Set aside for a minute.
\
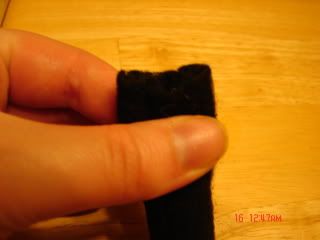
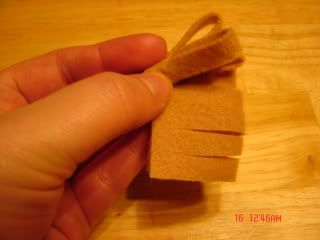
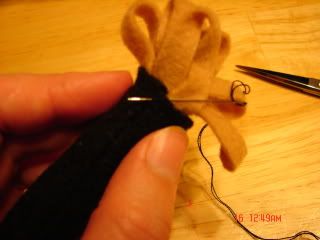
Take your brush "bristles" and cut down the fold leaving about 1/4"-1/2" at the bottom uncut.
Now start at one end and start rolling it up tightly.
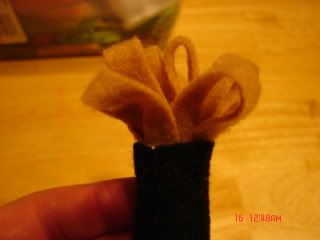
Once it's all rolled up, stuff it into the top of the brush.
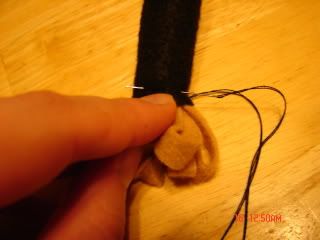
Now you're going to have to get out your needle and thread and hand sew. Make your knot, and then you want to come out from the inside.
You want to sew in fairly deep since you need to catch the bristle in your stitch. Continue all the way around brush.
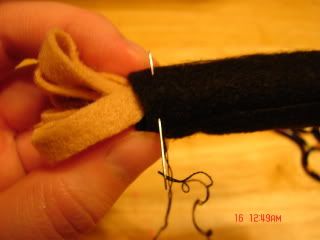
Now we're going to go around again, but this time your going to go under your first stitch. Right above my fingernail is my first stitch. Continue this all the way around. Then tie off.
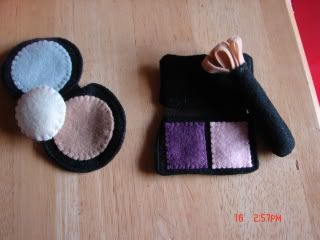
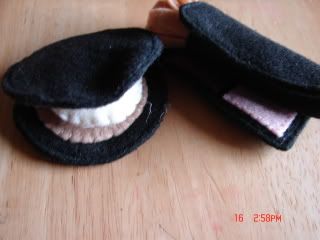
You're all done! Here's all the pieces.
Here they are closed up.
Happy sewing
Last edited by mommytomaddyharley; 11-16-2010 at 07:33 PM.
Tera To view links or images in signatures your post count must be 0 or greater. You currently have 0 posts. Mom to Madelyn, Harley, Emily and Samuel!


\
.gif "a (11)")

 Reply With Quote
Bookmarks