Free Motion Machine Embroidery - dwnld
If you don't have an embroidery machine, you can still do machine embroidery with a regular sewing machine, and it's really not hard.
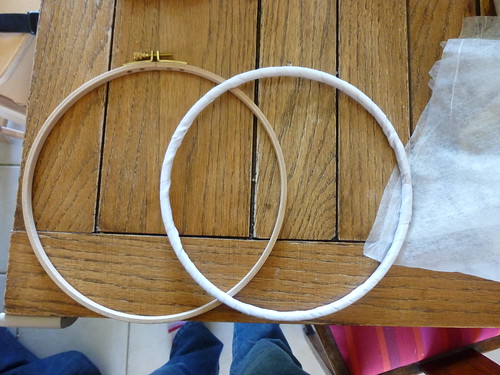
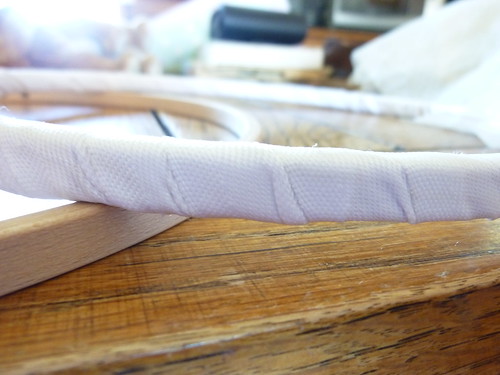
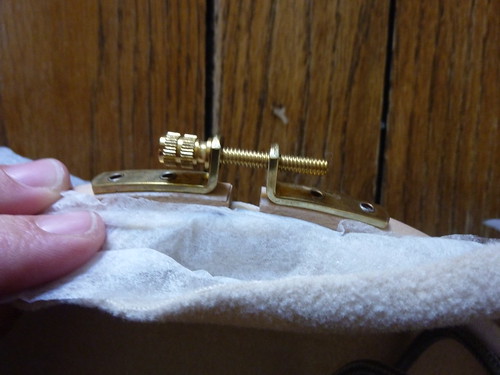
I like to do free motion embroidery in a hoop. I think it is a lot easier than trying to use your hands as a hoop like you do when you free motion quilt. I use a wooden hoop that you use for hand embroidery, and I a wrap the inside hoop with twill tape. This helps it to hold the fabric tighter once it is hooped which is important.
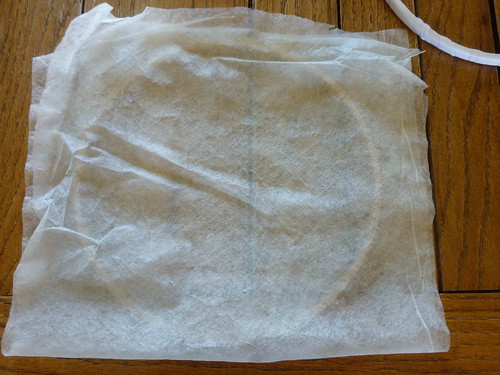
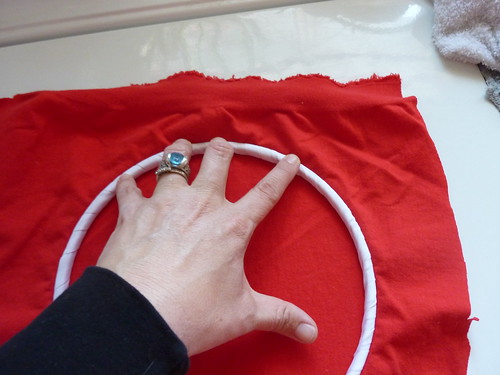
First we are going to get our fabric hooped. To do this, you will first lay the stabilizer on top of the outer hoop (this is the one that you tighten). Next you lay your fabric on top of the stabilizer and insert the inner hoop (this is the one that I have wrapped with twill tape).

Now you want to tighten your fabric. I do this by holding the inner hoop with one hand, and pulling on the fabric with the other till it feels tight. Once you have the fabric in there well tighten the screw on the outer hoop.
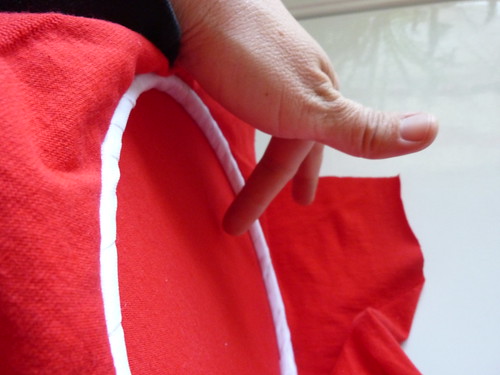
I like to check to make sure it is very tight at this point by thumping it with my finger. If it sounds a bit like a drum it is probably tight enough.
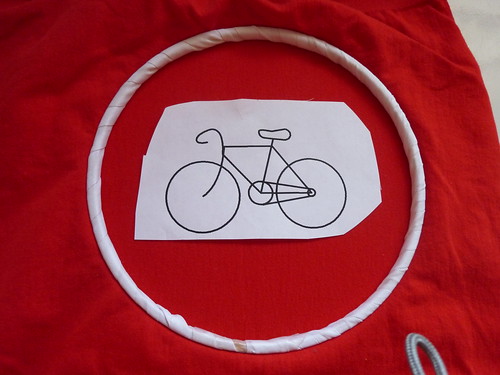
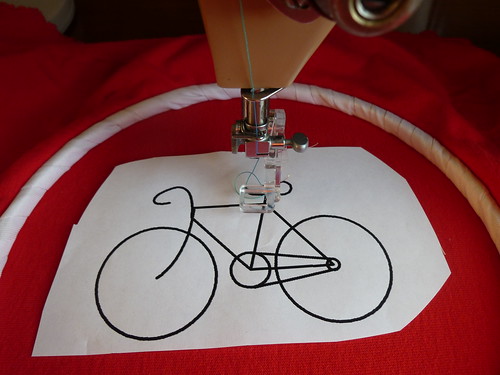
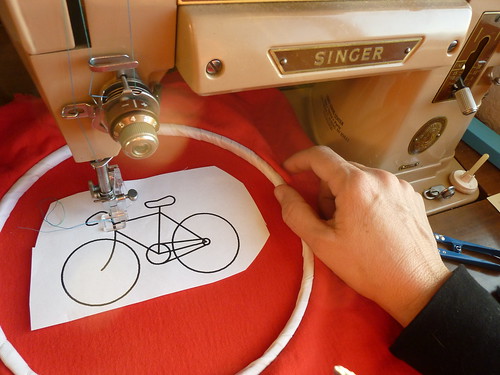
Now I place my design that I want to embroider in the hoop. I usually just print the design on regular paper, cut it to size and place it on my fabric. You could also trace the design directly onto your fabric, but I am too lazy!
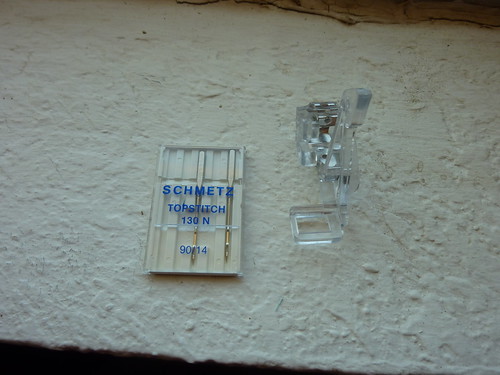
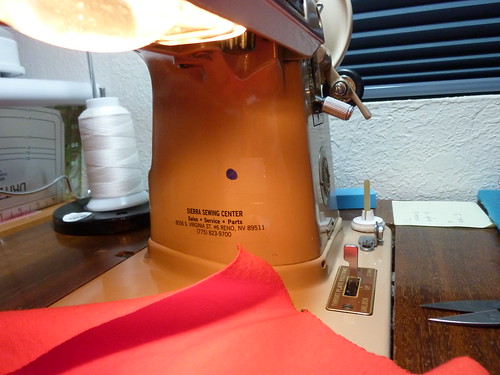
Now you are ready to sew! For this design I am using a straight stitch. You need to have a darning foot (free motion quilting foot) on your machine, and you need to disengage your feed dogs. If you don't know how to do this you should check your sewing machine manual. I will say that I have forgotten to disengage my feed dogs before, and it wasn't a problem, so I wouldn't worry too much about it. I like to use a topstitching needle whenever I do free motion sewing because the larger eye reduce thread breakage. I usually use a size 90.
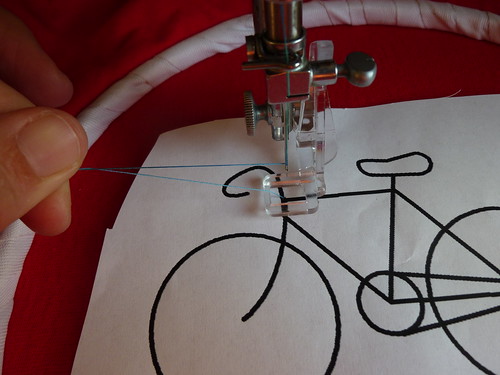
Next you want to put your hoop under the foot. Depending on the height of you hoop you might have to put your needle in after the hoop is under the hoop.
Bring you bobbin thread to the top, and then lower your needle into the fabric. You always want to start sewing with your needle in the fabric.
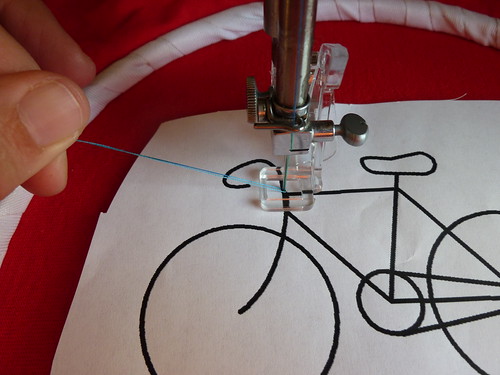
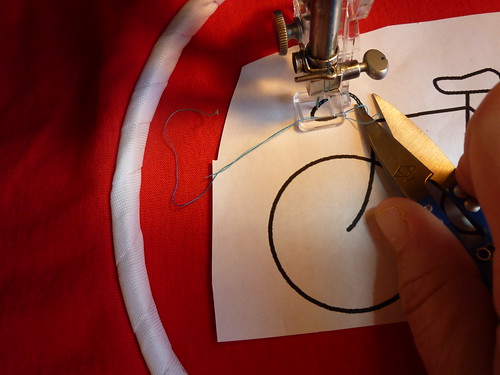
Now you will take several small stitches (do this by moving the hoop very slowly), and then cut your thread tails.
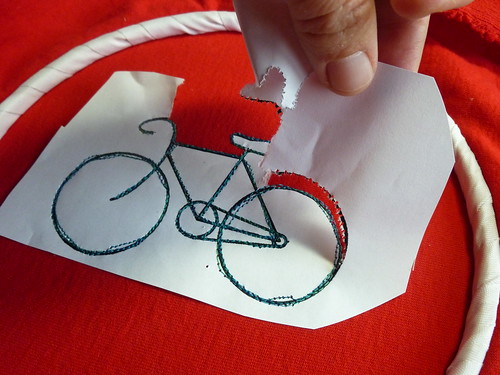
Now you will trace your design. I like to hold onto the hoop by having my hands at 3:00 and 9:00. I move the hoop at a steady speed (so that you stitches will be even) while the machine is going fast. This might take a bit of practice. Whenever you stop make sure you put your needle down into the fabric. I like to got over a design 3-4 times to make it really stand out.
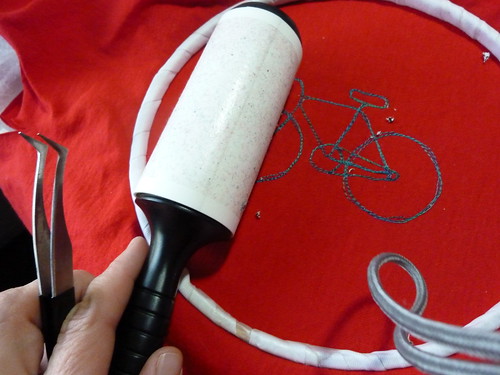
Once you are done sewing your design, you want to tear all your paper off. You might need to use tweezers to get it out. Any really small pieces will come out when you wash it.
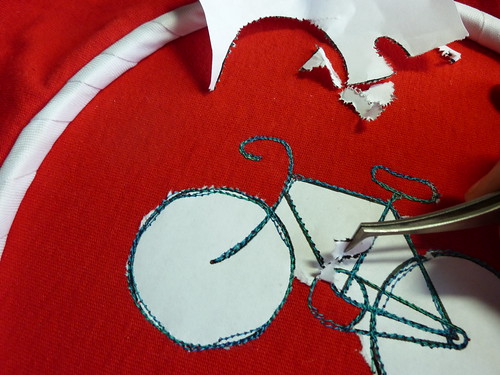
You can use a lint brush to get the smaller pieces up too.
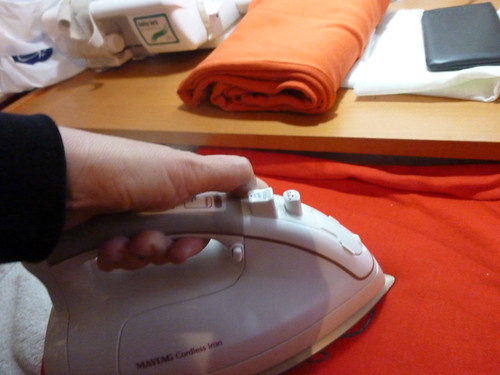
Remove from the hoop and steam with a hot iron.
Your design is done!
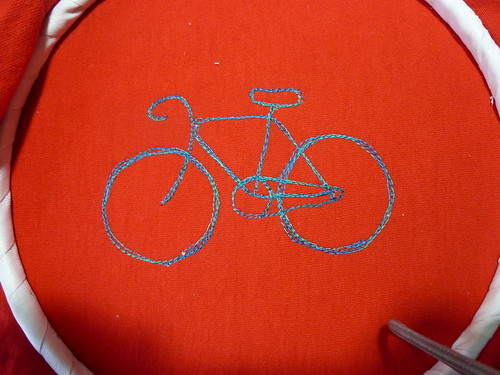
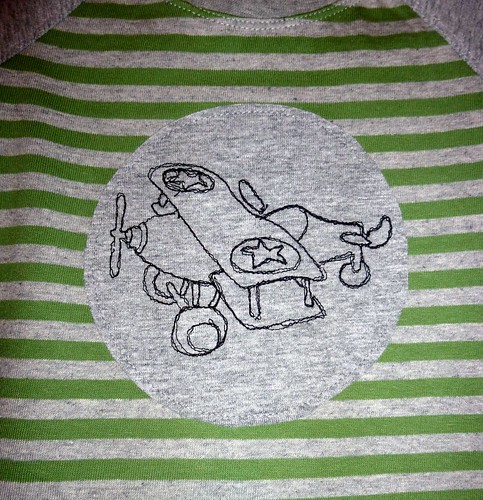
Some other examples:
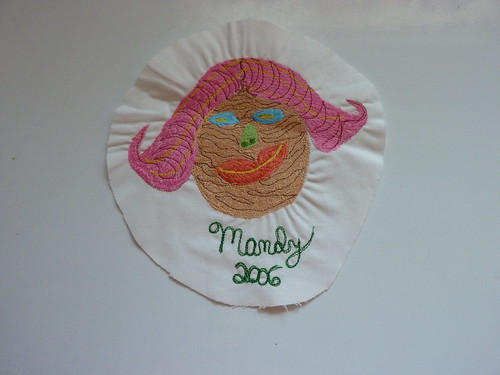
A trash truck and an airplane. These are both larger for shirt fronts.

A backpack and a hiking boot. These are both smaller designs that I used as labels in a jacket that I made for my dh.

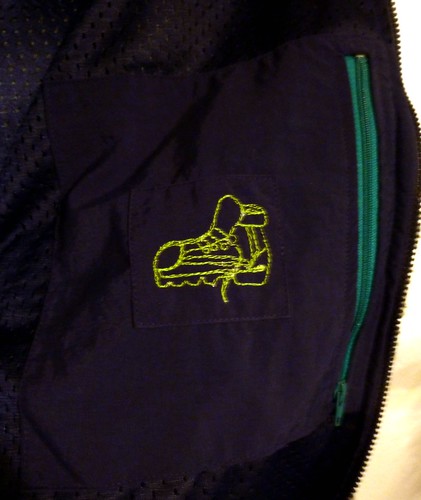
The trash truck and the bike were done using a heavier cotton varigated quilting thread (if you use a heavier thread on top, don't use it in the bobbin). the airplane, backpack, and hiking boot were all done with Gutterman sewing thread.
Okay, this tute is getting really long, but I want to quickly say something about free motion zig zag embroidery. If you want to fill in a design rather than just outline a design you can set your machine up for zig zag. When you do zig zag free motion you only want to move the hoop side to side while slowly moving upwards. I find that it helps to put a dot on my machine and only move the hoop side to side in line with the dot
A couple examples of zig zag free motion embroidery.
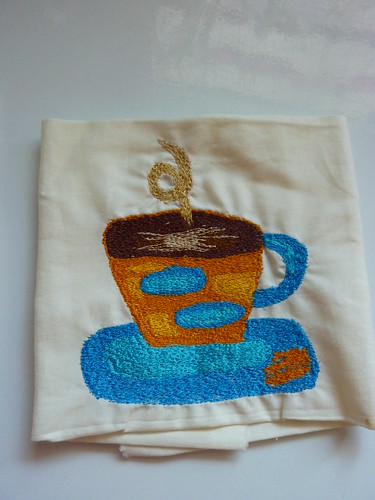
These were both done with a poly embroidery thread.
ETA: A couple trouble shooting ideas if you have tension issues that I used to see a lot when I taught free motion quilting and embroidery. A very common mistake when using the darning foot is to forget to put the foot down. The darning foot looks very similar up vs down, so people often forget to put the foot down. If you do this your underside will look very loose. Another thing is that the tension that your machine should be set at for free motion sewing is very often different than what you set it at for regular sewing. I like to do a sample first just to check my tension. Just because your machine has an automatic tension setting doesn't mean that it will be correct for free motion sewing.
Last edited by ericaeli; 11-09-2010 at 10:42 AM.
Reason: added details about thread, added some trouble shooting.
Erica mama to ds 1/2009
To view links or images in signatures your post count must be 0 or greater. You currently have 0 posts.
To view links or images in signatures your post count must be 0 or greater. You currently have 0 posts.
To view links or images in signatures your post count must be 0 or greater. You currently have 0 posts.
To view links or images in signatures your post count must be 0 or greater. You currently have 0 posts.


 Reply With Quote
Bookmarks