Ribbon trimmed webbing belt - in downloads
This is my first time making a tutorial on here, and I am totally clueless about pdf's, so I hope this is okay.
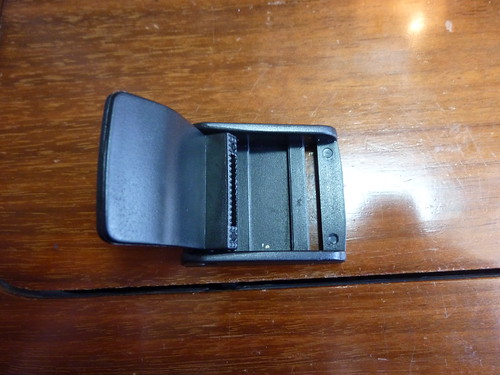
A note on supplies: I got my webbing and cam buckles at my local fabric store, but I just noticed in the Green Pepper Catalogue that they sell 1 inch cam buckles (page 5) and several colors of 1 inch webbing (page 7) for a good price, so you might want to check there.
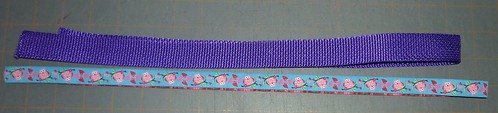
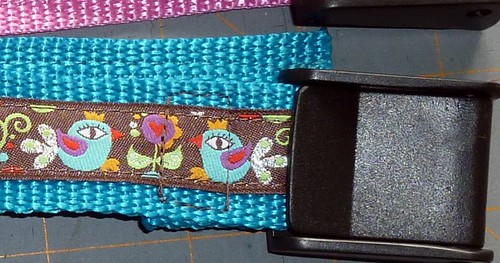
You will need 1 inch webbing 1/2 to 5/8 inch ribbon and a cam buckle to make the belt. To determine how much you need measure your child's waist with pants on, and add about 5-6 inches to that number for the webbing. For the ribbon add an additional 2 inches to overlap the ends of the webbing.
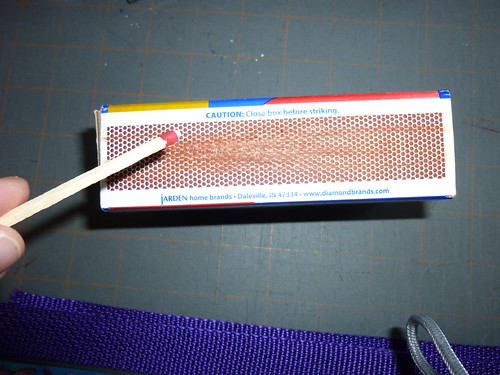
Firstly, you want to burn the ends of your webbing and ribbon to melt the threads, so they don't continue to unravel after you make the belt. I usually use a match for this step, and I do it over the sink just in case. Your ends will look and feel like hard plastic after you melt them. If your webbing and/or your ribbon are cotton (or another natural fiber) don't burn them as they won't melt.
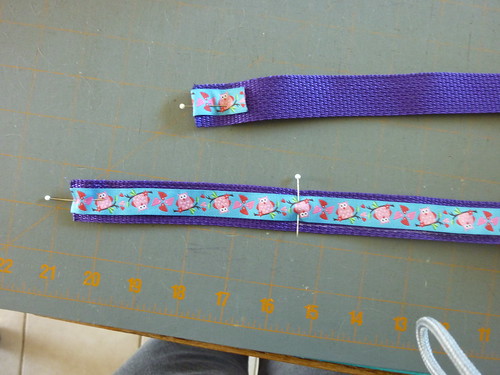
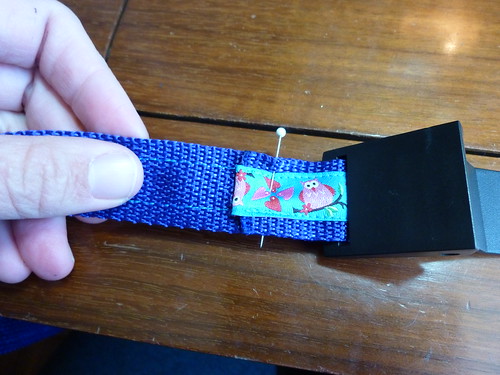
You can mark lines along your webbing to help you place your ribbon if you would like, but I usually just eyeball it.
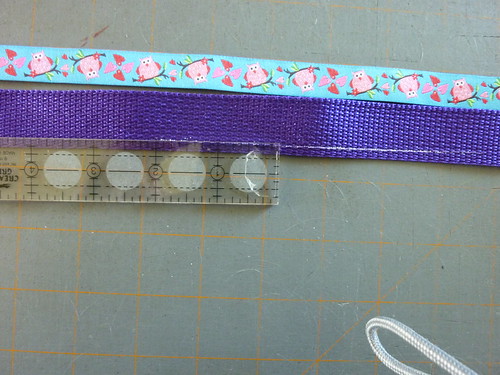
Next you can either pin the ribbon in place, use wonder tape, or use nothing at all. I usually pin it in place. You want the ends of the ribbon to wrap around the end of the webbing on each end to give it a more finished look.

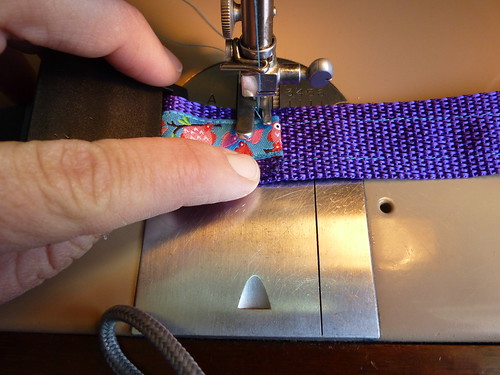
Next you will sew the ribbon down by edge stitching along all the sides and ends. You can use an edge stitch foot for this, or, I like the use, the inside edge of my straight stitch foot as a guide.
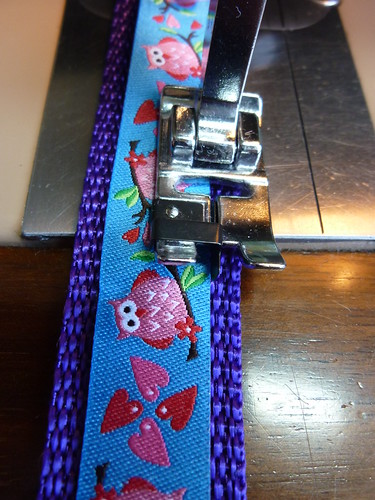
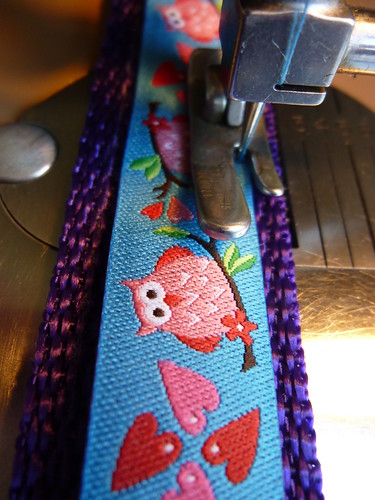
When you sew the edges down, the part you folded under at the beginning and end will also be caught in your sewing.
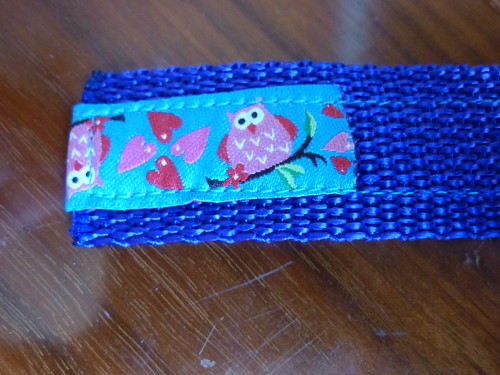
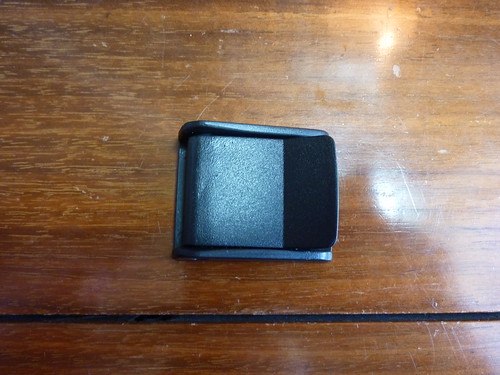
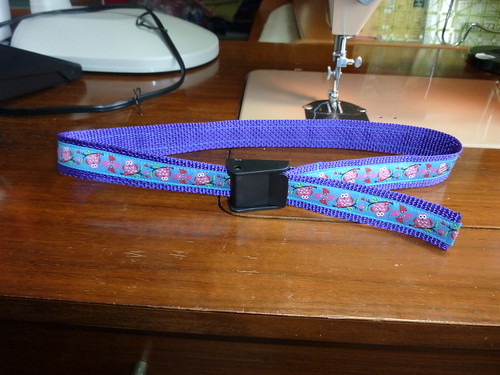
Next you want to open your buckle, thread the webbing though the slot, pin it in place, and sew it.
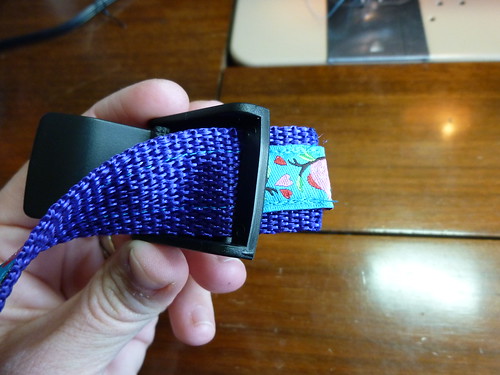
I like to either sew a small rectangle, or sew back and forth a few times to make sure it stays sewn.

You belt is done! Try it on your child, and admire your work.
I haven't tried this, but have been thinking it would be cute to paint the buckles.
ETA: If you can't find the buckles, you could make the same belt using 2 D rings rather than a buckle.
Last edited by ericaeli; 11-02-2010 at 03:16 PM.
Erica mama to ds 1/2009
To view links or images in signatures your post count must be 0 or greater. You currently have 0 posts.
To view links or images in signatures your post count must be 0 or greater. You currently have 0 posts.
To view links or images in signatures your post count must be 0 or greater. You currently have 0 posts.
To view links or images in signatures your post count must be 0 or greater. You currently have 0 posts.


 Reply With Quote
Bookmarks