


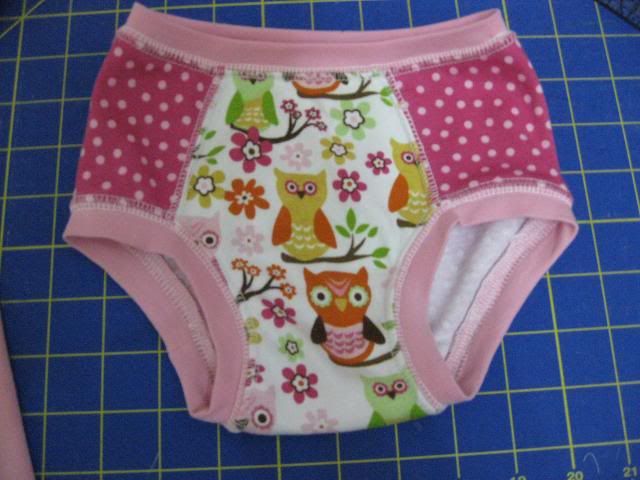
There are a few ways to flatlock using a serger. I wasn't thrilled with how my garment that was just flatlocked looked so I experimented with serging the seams first. Here is how I did it. I am using the TDK undies pattern for this tutorial, but you can use this technique on many different items.
Option 1: When I checked some ready-to-wear that we had, this is how ALL of the pieces were flatlocked. It does not make the seam totally flat on the inside, but it gives you a great decorative stitch. This way works a little more like topstitching than making a seamless feel on the wrong side.
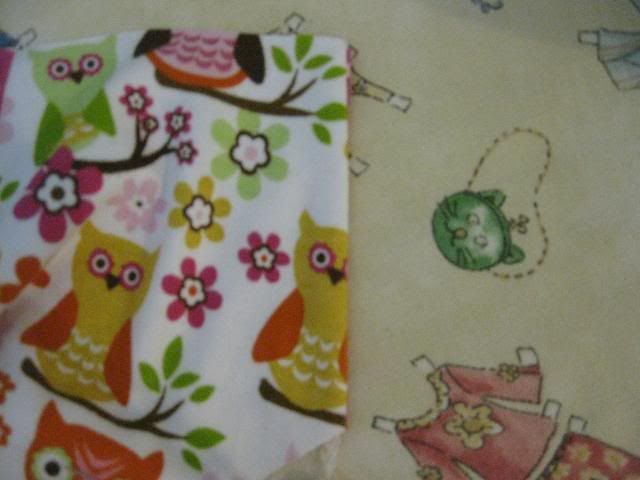
Step 1: Serge your seams like usual (right sides together).
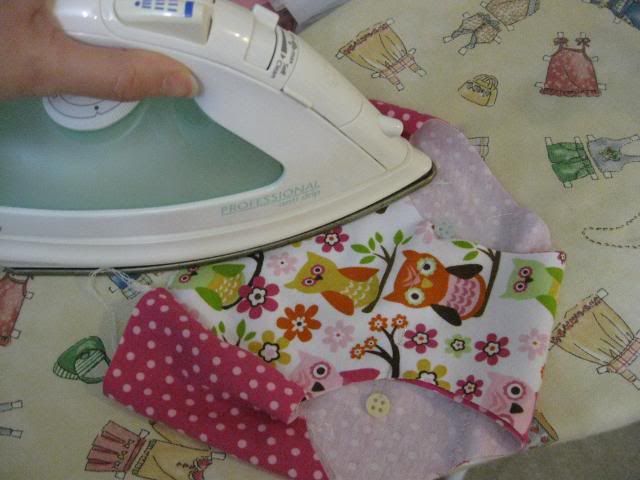
Step 2: Iron serged seams flat.
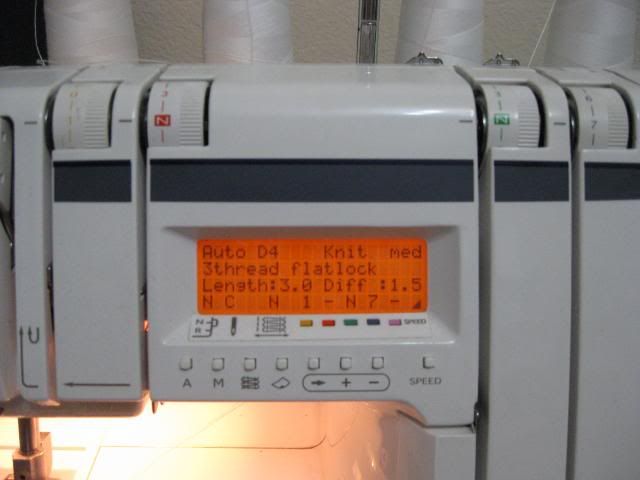
Step 3: Set your machine for flatlock according to your machine's manual. I have a Husky 936. Make sure you make other adjustments to your machine as needed. You may need to change your foot, cover or lower your blade, and/or make other adjustments.
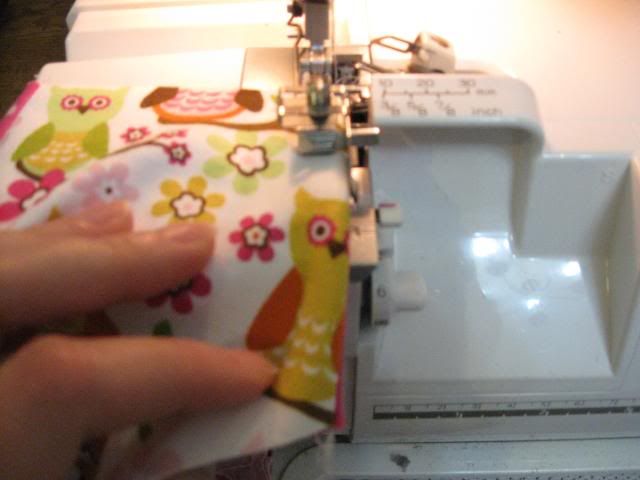
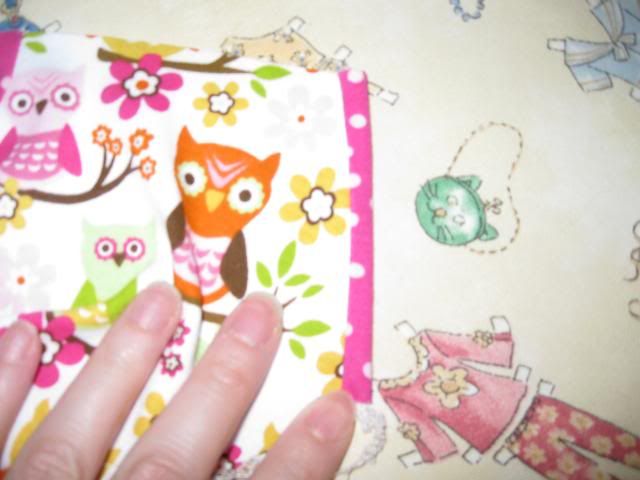
Step 4: Fold fabric to be flatlocked along seam line with wrong sides together.
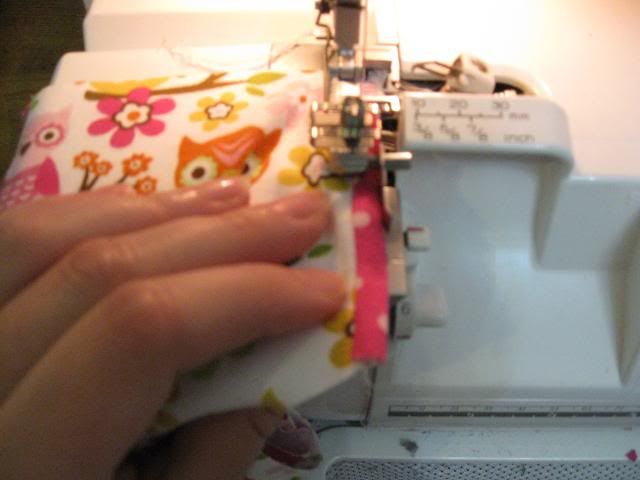
Step 5: Flatlock seam.
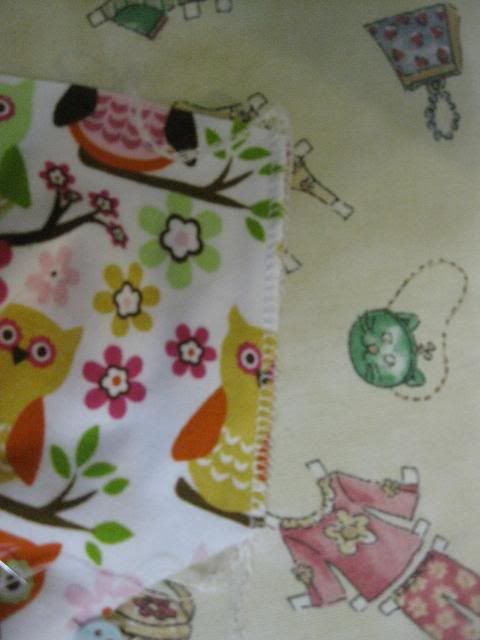
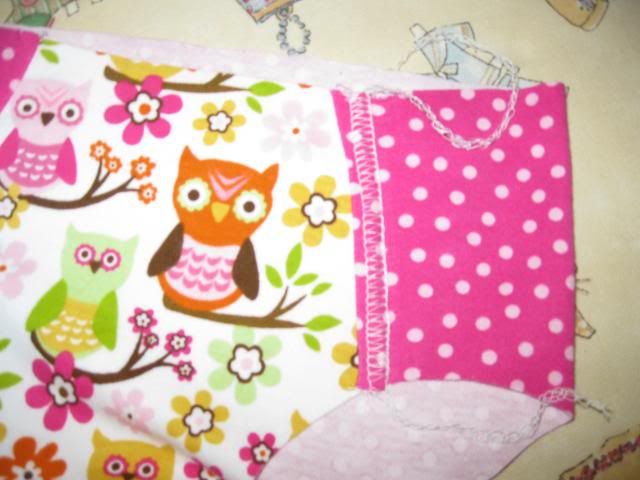
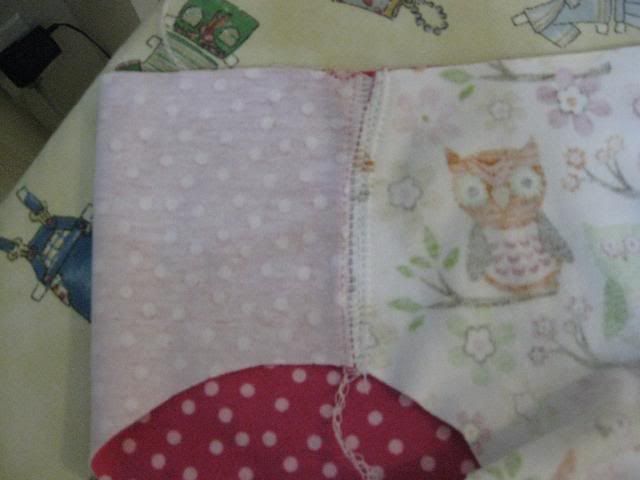
Step 6: Open flatlocked seam flat.
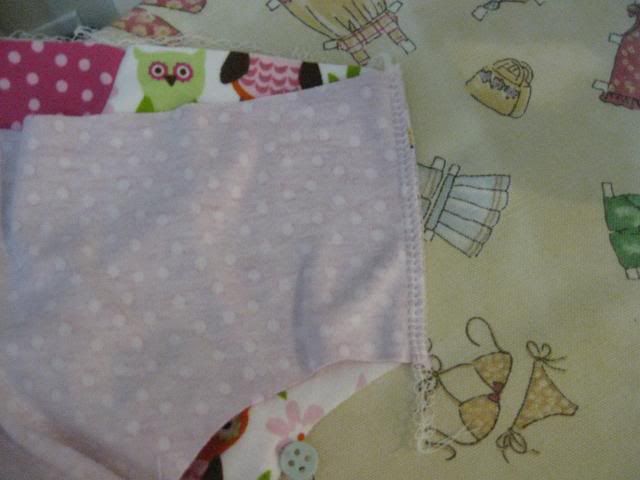
Backside-
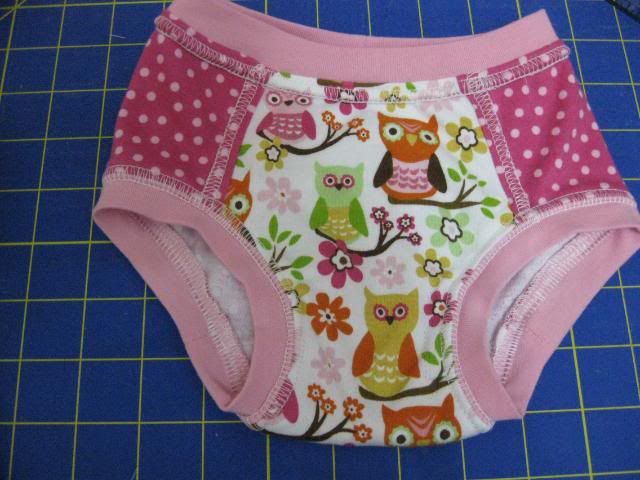
Finished
Option 2: I wanted something that was smooth on the underside despite being serged first. I experimented with another technique.
Follow steps 1-3 in Option 1.
Step 4: Fold fabric over serged seam with wrong sides together. Keep fabric tight against serged seam.
Step 5: Flatlock seam.
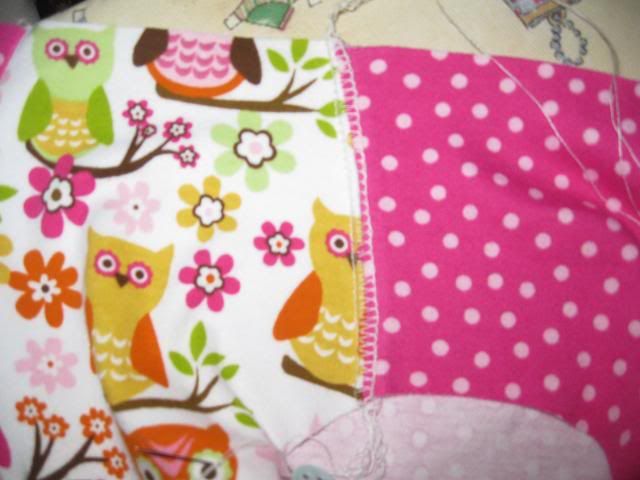
Step 6: Open flatlocked seam flat.
Backside
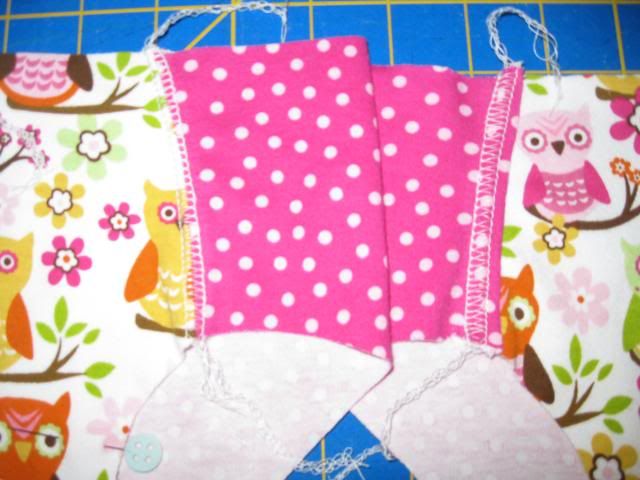
Side by side:
Option 2 works great for the inner seams of the undies, but the seam popped when I tried to flatlock the leg opening. I would suggest going with option 1 for any bindings (shown on leg openings). I am not sure how the waist will hold up to washings.


 Reply With Quote
Bookmarks