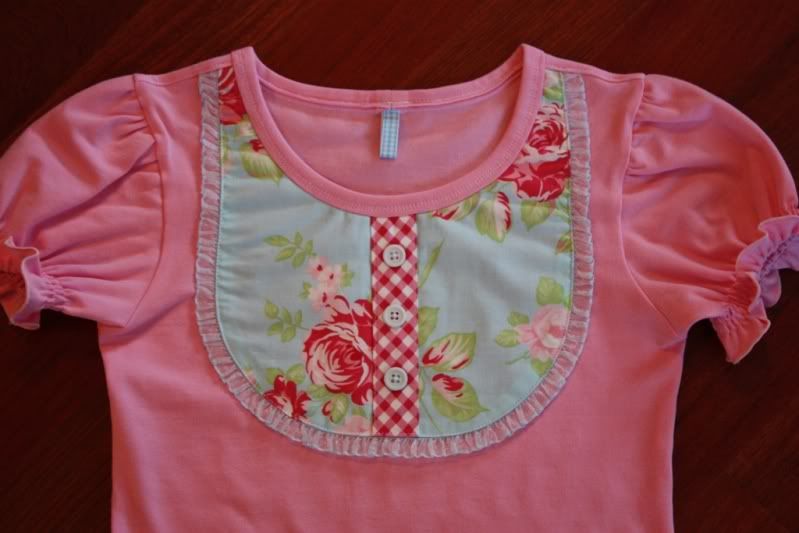
Bib-Front Tee - in downloads
In this sew-along I'll show you how to add a bib-front embellishment to any of your favorite tee-shirt patterns. This boutique-style detail is a great way to incorporate your favorite woven prints in an easy-to-wear knit top.
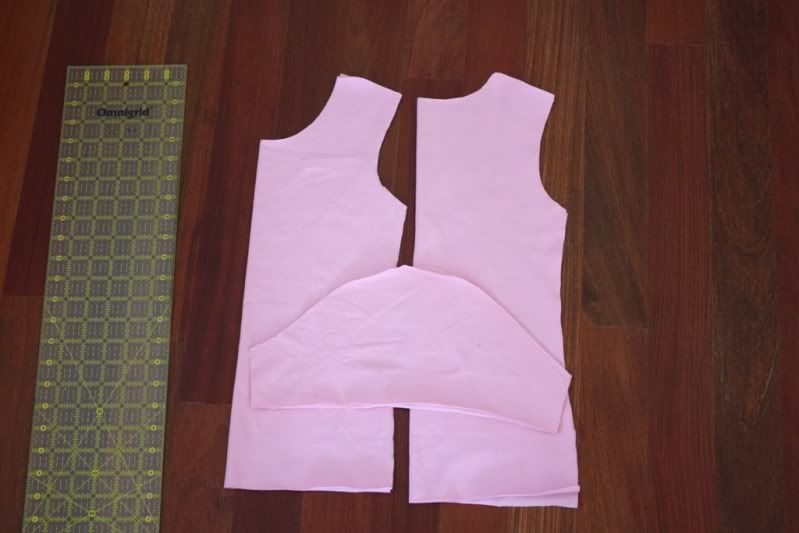
First, you'll cut the pieces for your top; front, back and sleeves. You can make this short or long sleeved. I have chosen a fitted puffed-sleeve style top for this sew-along.
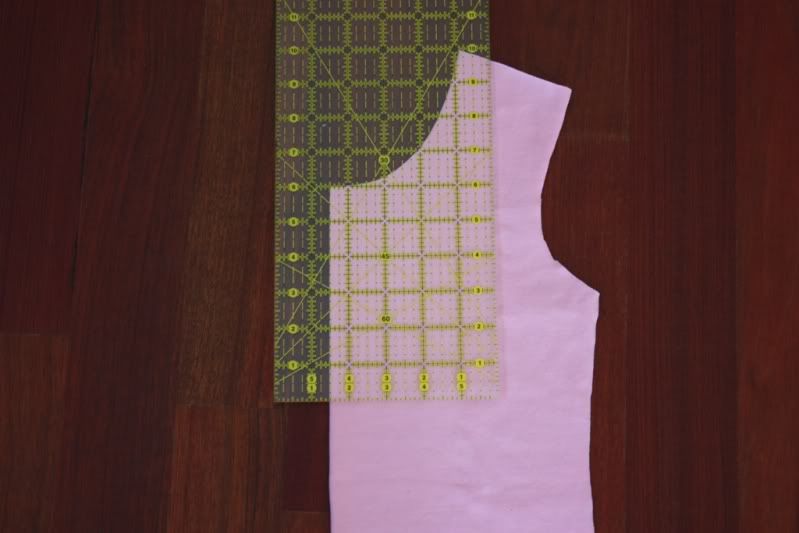
Next, you'll use a measuring device to decide how long and wide you'll want to cut your main fabric. I chose to have my bib 6 inches below the center front neck, and one inch onto the shoulder seam. My measurements are 9 inches wide by 10 inches long (I'm making a size 134 top, obviously this can vary tremendously depending on the size of top you're making).
Next, you'll cut a strip of the accent fabric for the "button placket". You'll need a piece 1.75" wide and as long as your main fabric.

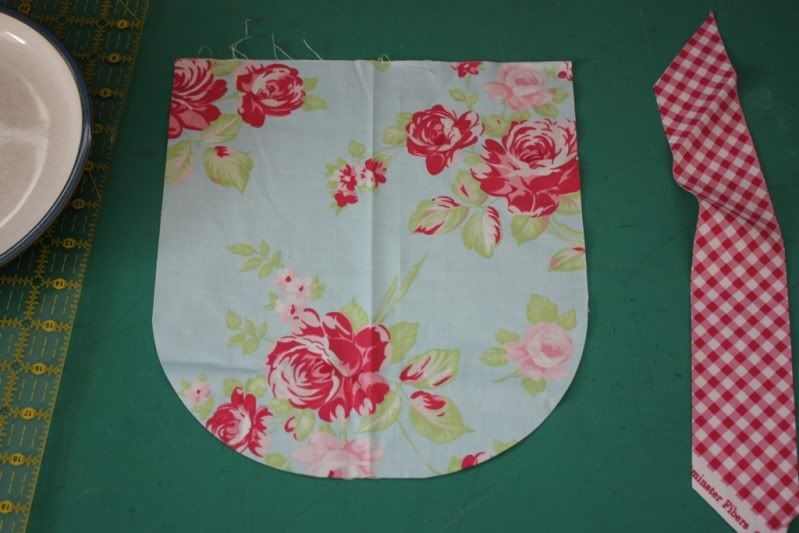
Now, with my main fabric folded on the center front, I'm going to round the edges. I'm using a plate to make a nice curve (after deciding the bowl was too small).
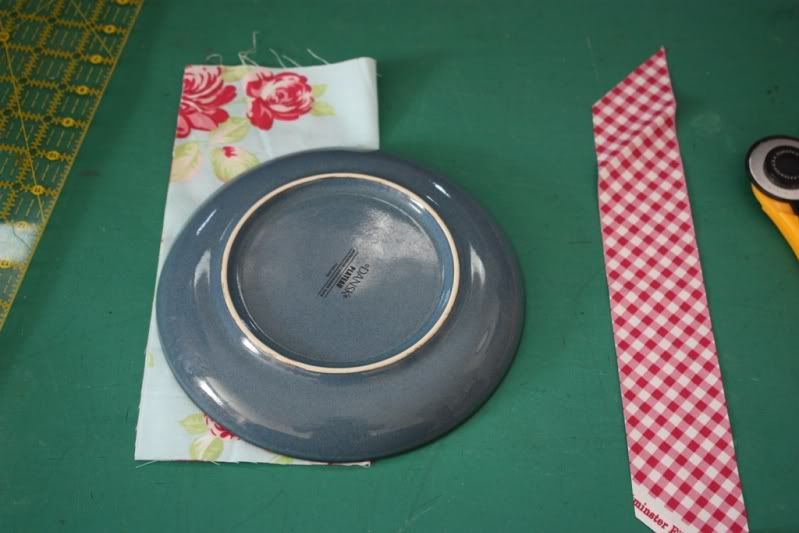
Yes, I like that shape...
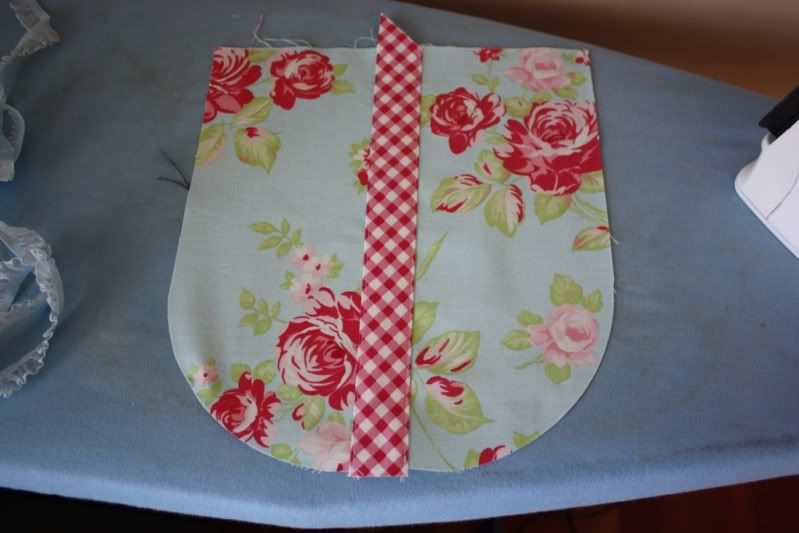
Take your accent fabric to the ironing board, and press back each side 1/4". Line up the button placket on the bib, making sure it's centered.
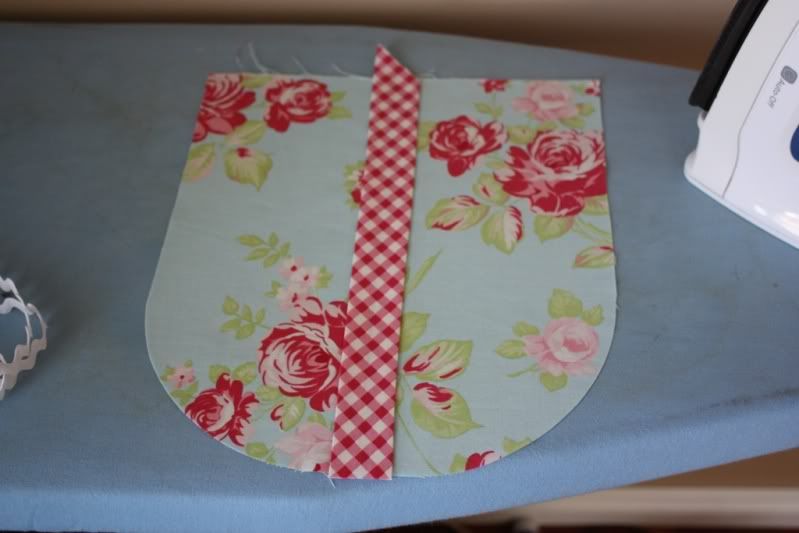
Topstitch the button placket to the bib close to each side.
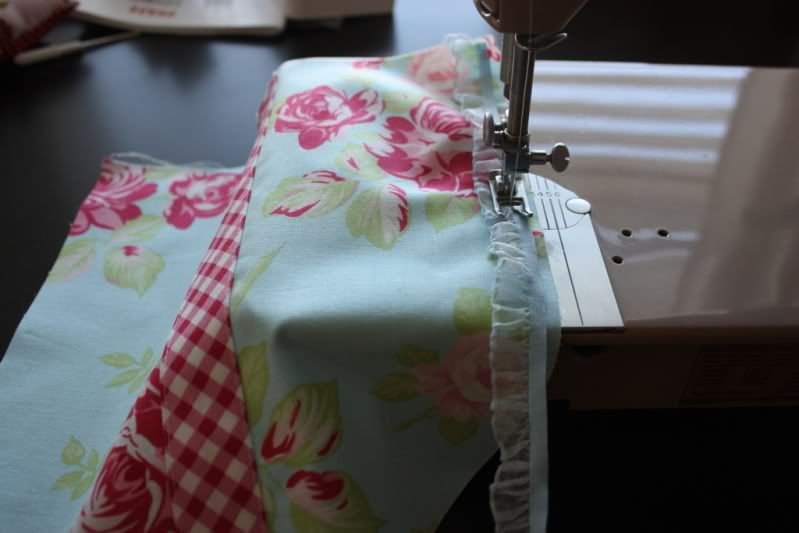
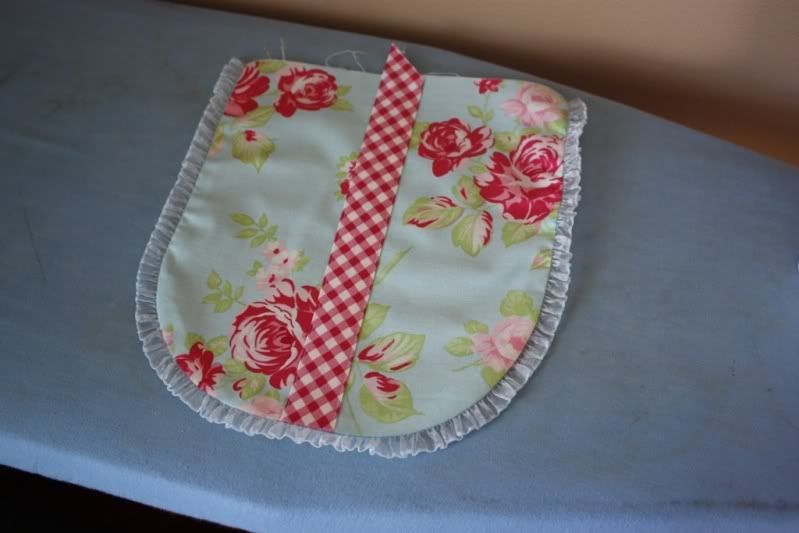
I'm using some ruffled elastic trim to edge my bib. You can use rick-rack or a ruffled strip of fabric in the same way. Sew it along the edge of the bib with the ruffled edge facing to the middle, using a 1/4" seam allowance.
Now, you'll press the raw edges behind the bib.
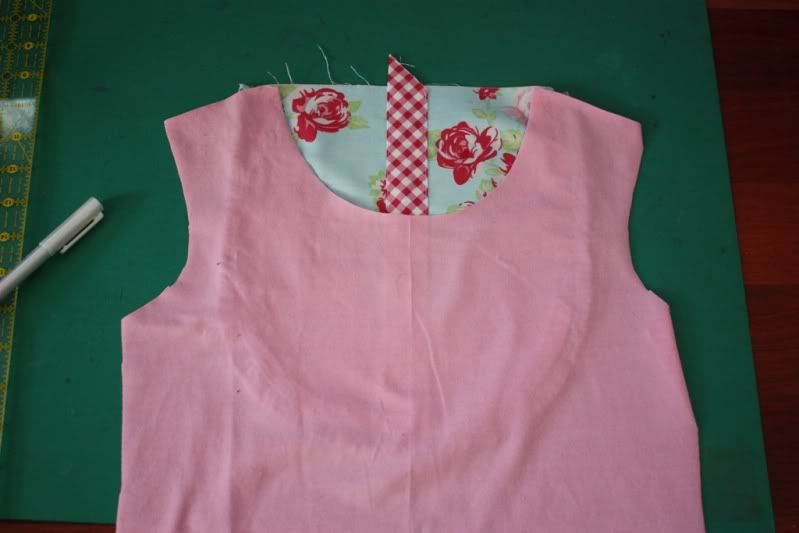
Here I've placed my bib behind the cut front of my tee, and I've traced the shape of the shirt front onto the bib. Cut away the excess fabric from the neckline.
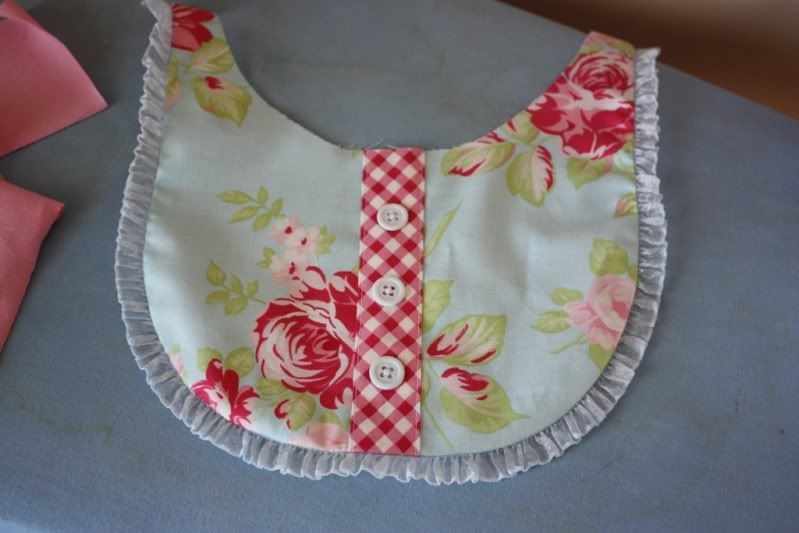
Mark the placements for your buttons and sew them on. When placing buttons, keep in mind that you'll be sewing the neck binding on later, so leave plenty of room for that at the top.
Place the bib centered on the front of the tee, and pin in place at the edges.
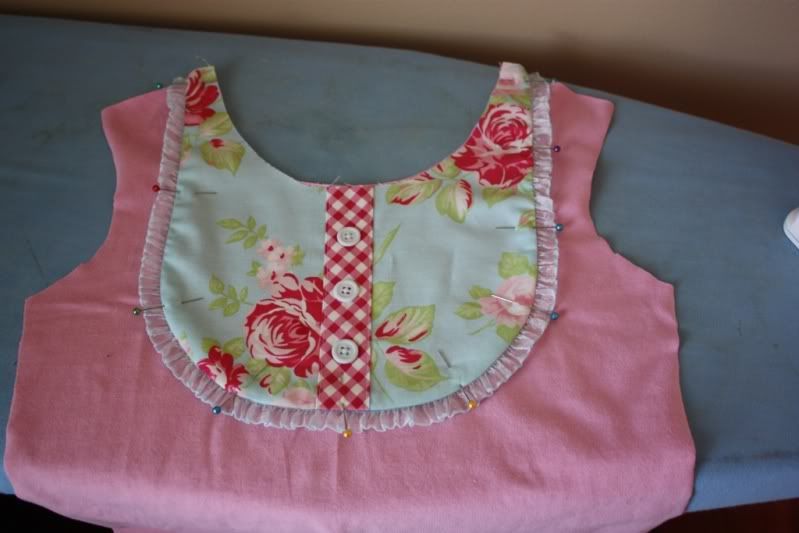
Topstitch along the edge of the bib, and baste the two layers together at the neckline.

Now that your front panel is embellished, you can continue sewing your tee according to the directions. One thing to keep in mind is that the woven on the front of the tee will make it less stretchy, so I recommend trying it on your child to make sure it fits over the head before binding. You may want to make the neckline a bit wider than you normally would for a knit tee, and you may cut your neck binding strip a tad longer to account for the lack of stretch at the front panel.
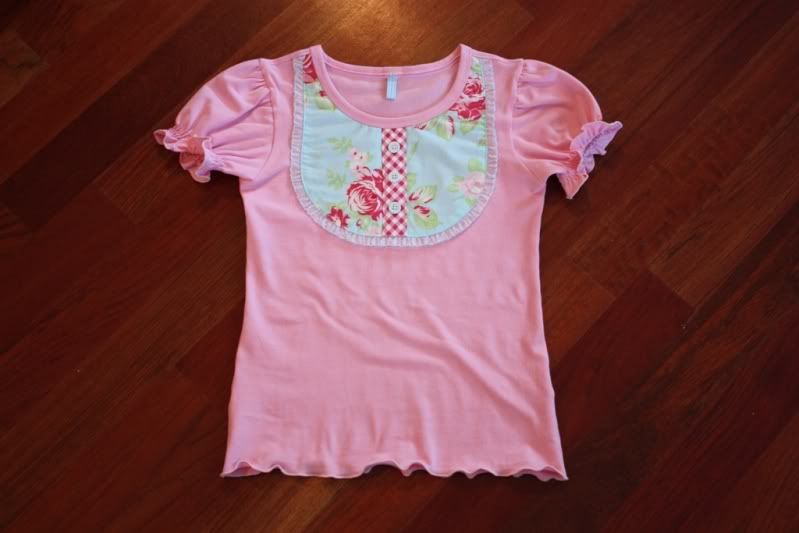
All done!
Last edited by that*darn*kat; 09-13-2010 at 10:53 PM.
Katie.
---my goalie girl---
To view links or images in signatures your post count must be 0 or greater. You currently have 0 posts.


 Reply With Quote
Bookmarks