-
Montessori Inspired Place Mat - in downloads
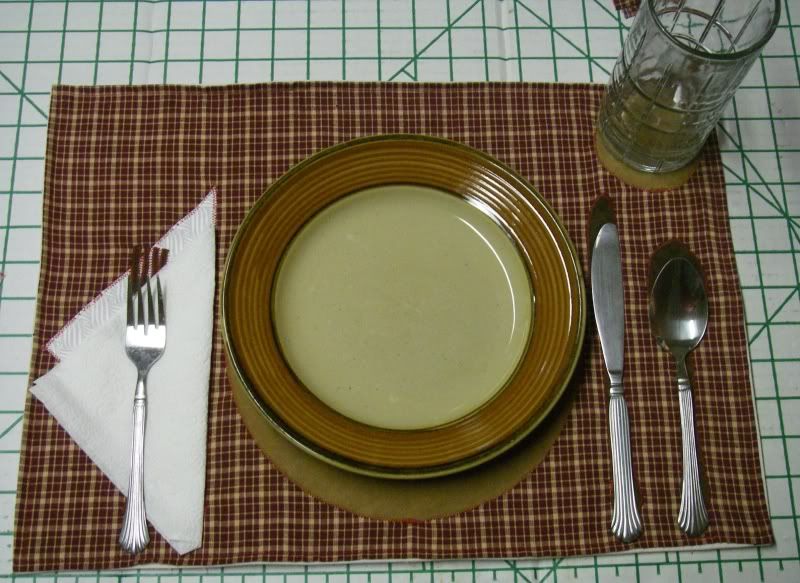
This craft helps instill confidence and fun in young children as they learn how to set the table. The Place Mat is reversible and there is an alternative step on how to add it to an already existing Place Mat.
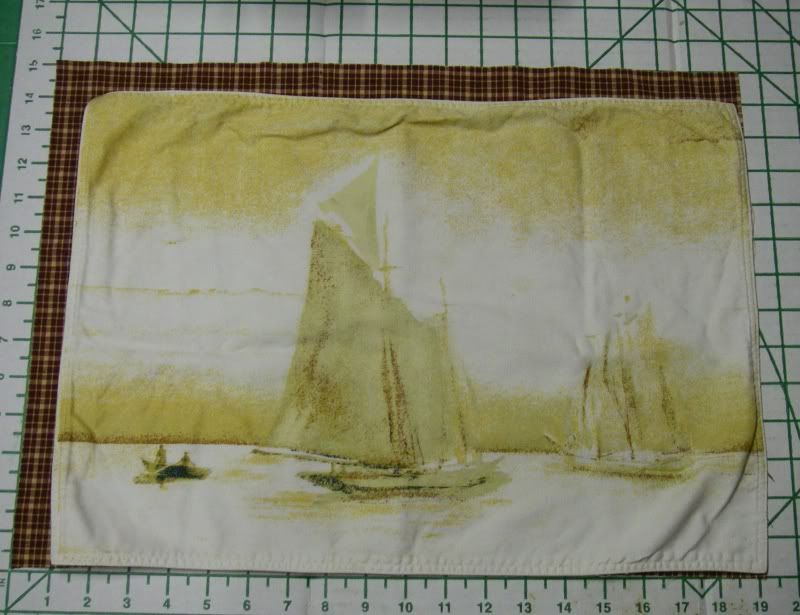
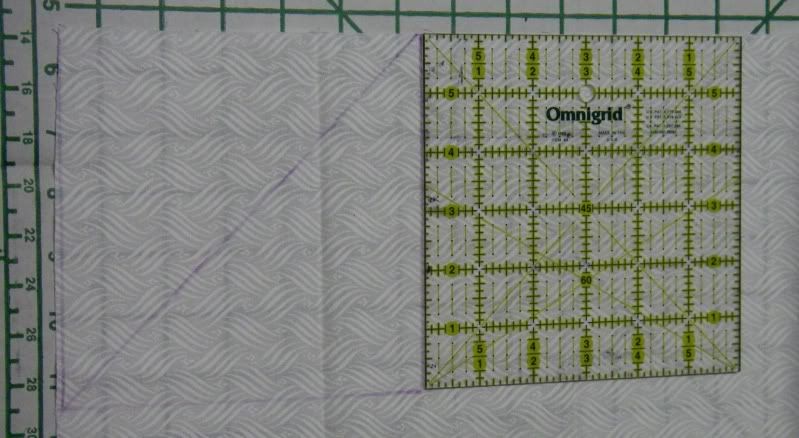
1. Measure and Cut the fabric that you would like the back and front of the Place Mat to be. I used a Place Mat that I had and added 1" to its measurement for seam allowance.
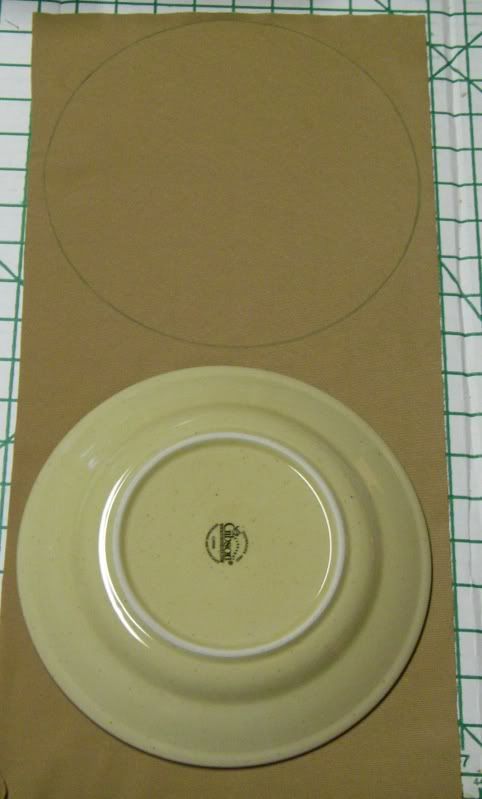
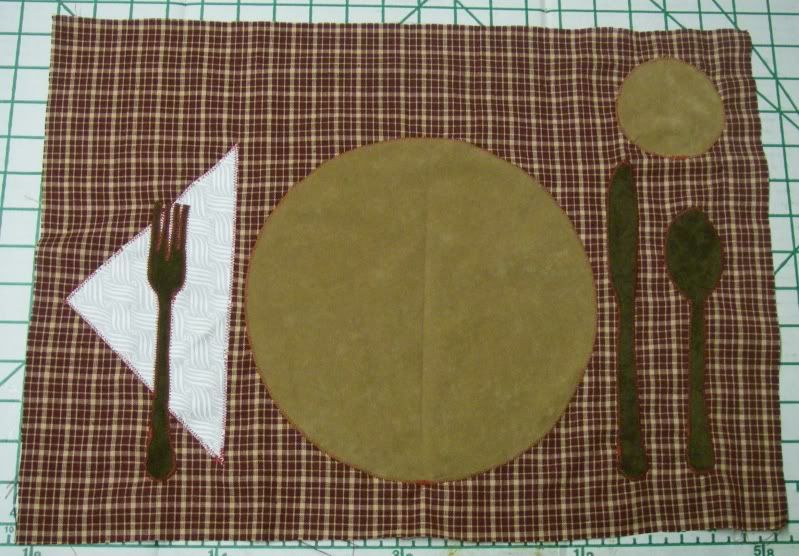
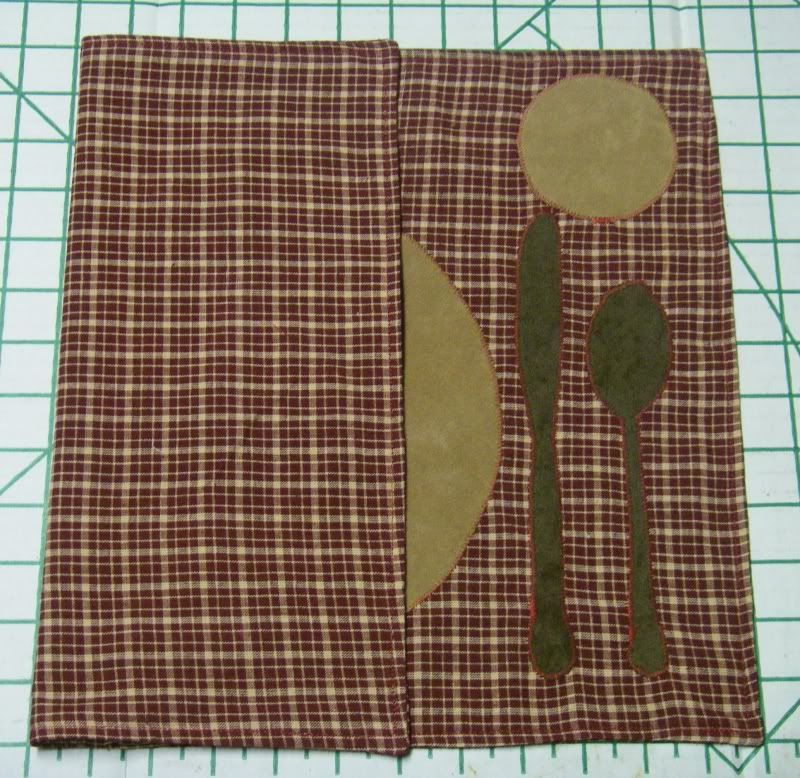
2. Trace a plate on coordinating but different color fabric than the Place Mat. I used a dessert plate. Trace as many as the number of Place Mats you are going to make.
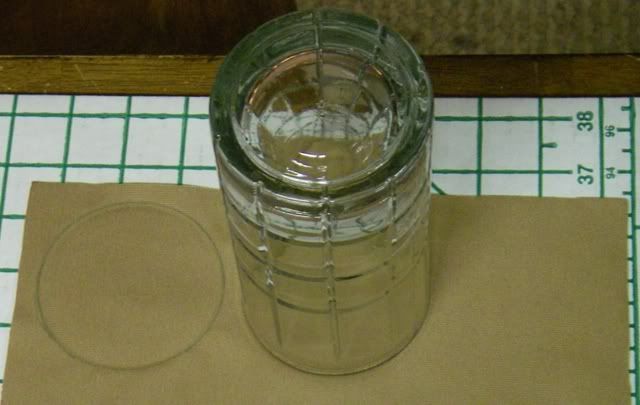
3. Trace a cup on coordinating but different color than the Place Mat. I used the same material as the plate. Trace as many as the number of Place Mats you are going to make.
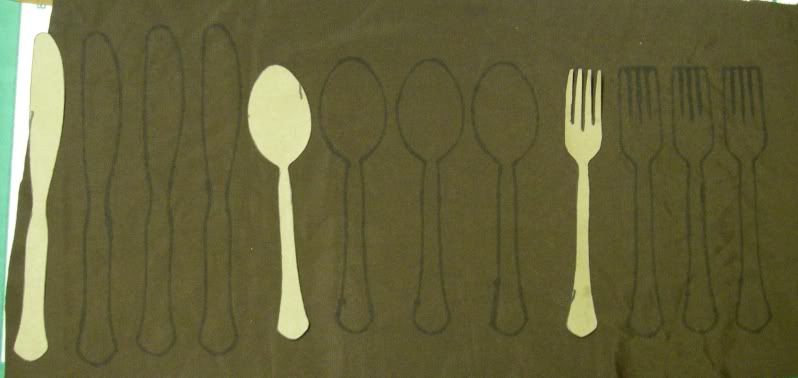
4. Trace a knife, spoon, and fork onto a paper bag or other semi stiff paper to make a template. I found it easiest to trace the spoon and fork upside down. I then turned the fork right side up to trace the tines. Cut templates out.
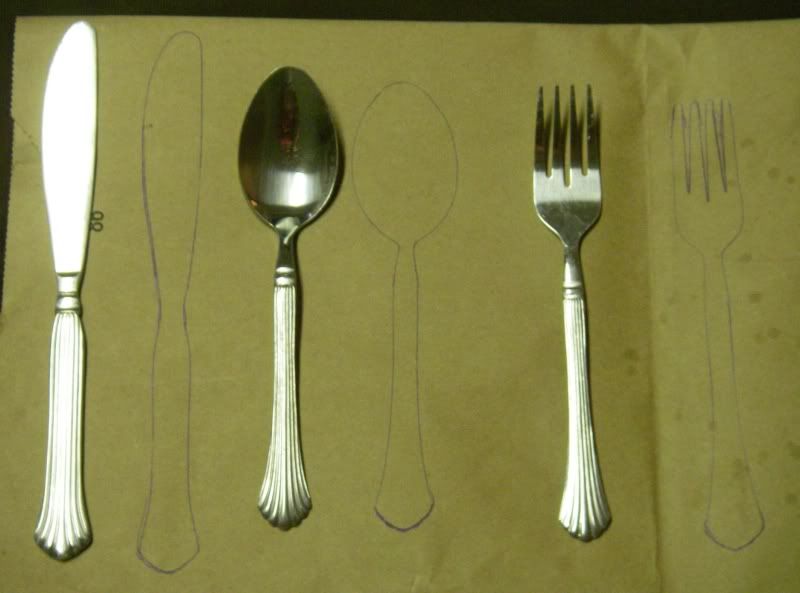
5. Use the template to transfer shapes onto a coordinating but different color than the Place Mat. Make sure that your knife blade of the template is pointing right on the wrong side of the fabric and left on the right side of the fabric, so that when assembled on the Place Mat the blade is pointing towards the plate.
6. Determine what size of napkin you will be using and cut out from a coordinating but different color than the Place Mat and fork. If not using a napkin, then skip this step.
7. Lay out your cut pieces on the right side of 1 piece of Place Mat fabric. Adhere the pieces either using Fusible Web or, if your like me, pin the heck out of them to the Place Mat fabric. Zig Zag stitch around all the pieces to the Place Mat fabric. REMEMBER: Applique the Napkin FIRST and the fork SECOND.
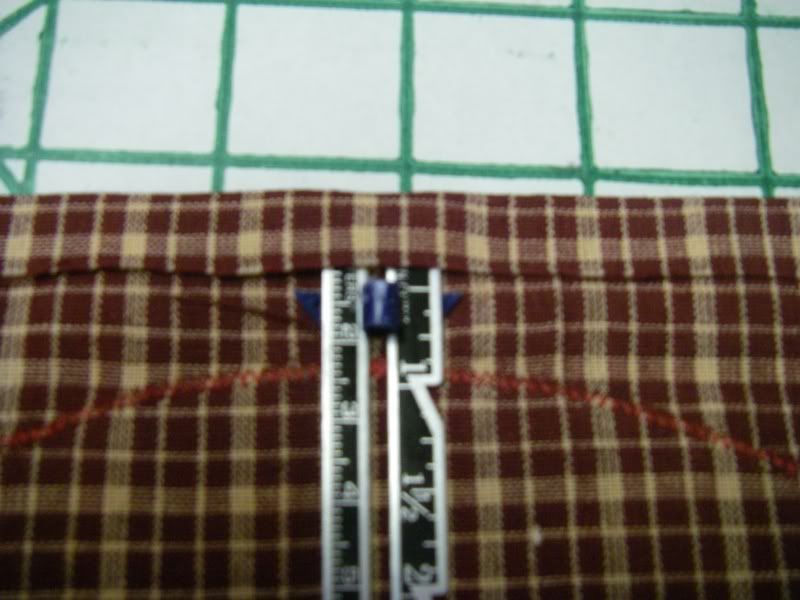
8. Pin Right sides together of Place Mat Fabric. Stitch around outside edge, about 3/8", leaving a opening to turn fabric.
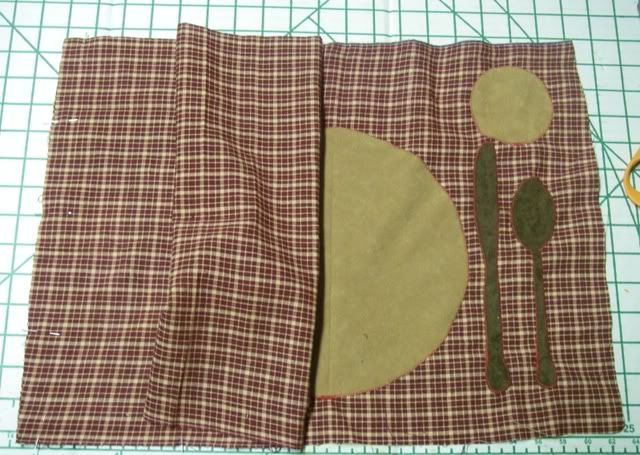
9. After turning, press, and stitch, about 1/4", around edge. This will close the opening and add a bit of reinforcement to the Place Mat.
8 (Alternative). Press down all sides a half inch. Pin Wrong sides together of Place Mat you made and an already existing place mat.
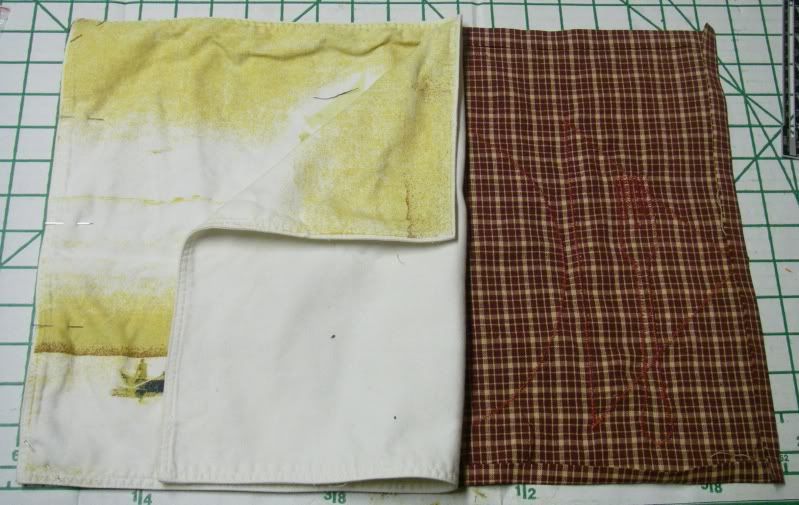
9 (Alternative). Sew around an existing stitch on the existing place mat.
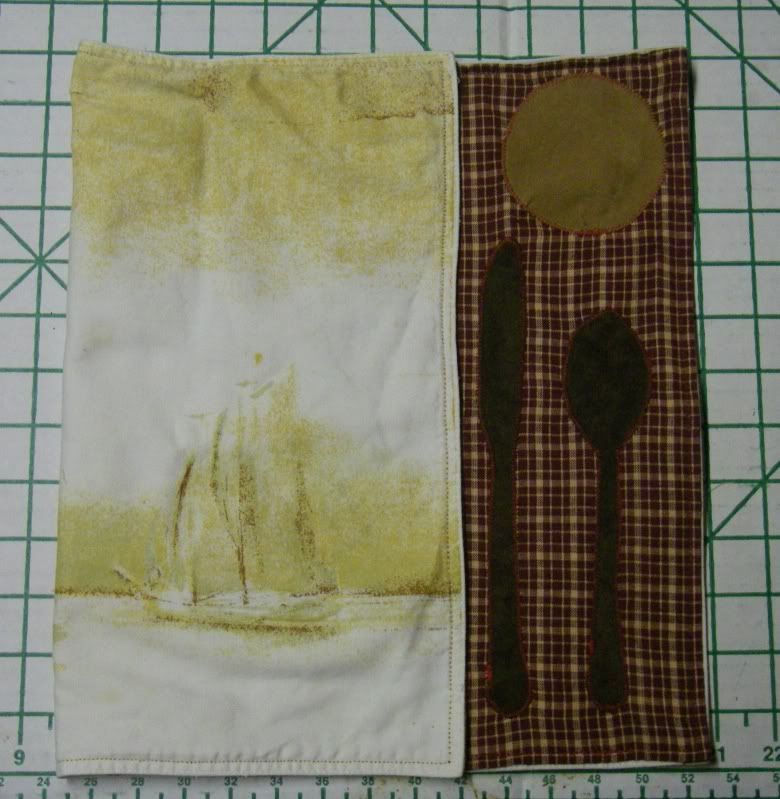
10. Show child how to set the table!
Last edited by boomer_sews; 09-24-2009 at 02:13 PM.
 Posting Permissions
- You may not post new threads
- You may not post replies
- You may not post attachments
- You may not edit your posts
-
Forum Rules


 Reply With Quote
Bookmarks