

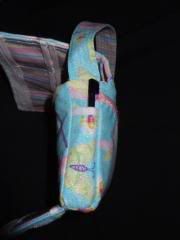
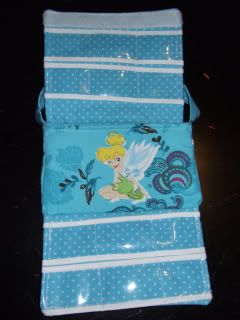
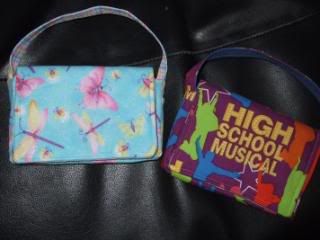
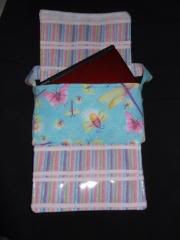
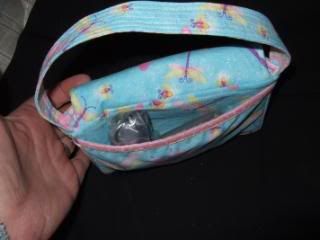
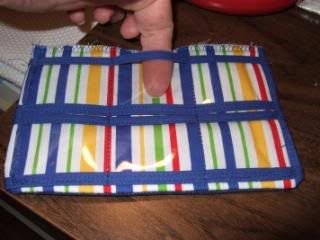
How to sew a compact & padded DS lite or DSi Case with 12 clear plastic game pockets
The small print: This case was completely designed by myself after reviewing many pictures/styles of DS cases. I wanted a case that would house all the parts of a DS lite system and pad and protect the main DS unit. I wanted the games visible so my girls would be able to pick which game they wanted with less handling of the games. And I wanted it to be easy to carry, easy to use and be secure. I could not find a case for purchase with all these requirements. I could not find a tutorial, pattern, or picture of anything that I wanted. A few came close, but not close enough. So, I set out to design and make my own. It was originally for my own girls. But after a few people saw what I did, they wanted them too. I made a few for friends as gifts. I am posting this tutorial so that others, who want the same requirements in a portable gaming case, can enjoy it too. I don't mind if you sell what you make in small quantities. It isn't that easy to make these, so I highly doubt that anyone would want to mass produce these for sale, but please don't. And please respect my rights to my creation, and do not sell this as a pattern or tutorial. It is meant to be free for whomever to use for their home/personal sewing. Thank you for understanding and respecting this. Tricia
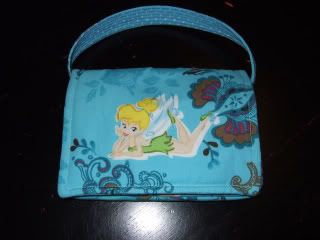
And for me to give credit, where credit is due....this was one of the cases (there were a few similar ones out there) that gave me the basic idea for my design. You can see they are very similar, but I used my own measurements (based on the DS lite system) and designed my flaps and pockets differently.
DS LITE OR DSi CASE (not sure if this works for other portable gaming systems. Let me know if it does! Thanks!)
What you will need:
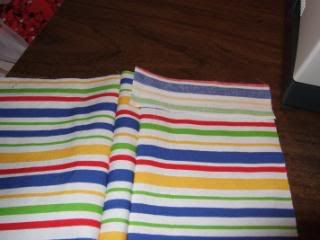
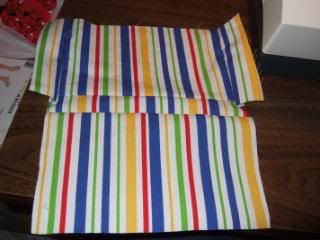
- fabric (outer & coordinating inner fabric)
- fusible interfacing unless using denim, canvas or other stiff fabric for outer fabric
- quilters batting or fusible fleece
- small strip of FOE in coordinating color
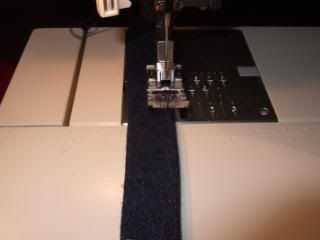
- 1/4 inch double fold bias tape in coordinating color
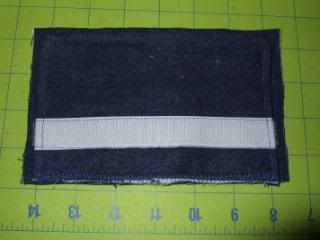
- Velcro strips (1" width)
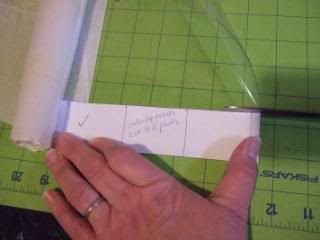
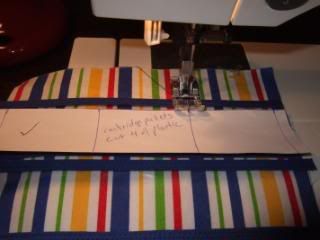
- thick flexible plastic that you can sew through (can be purchased by the yard at any fabric store)
- thread
Pieces:
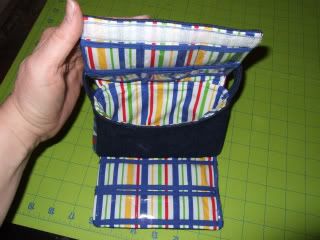
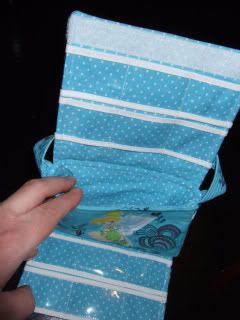
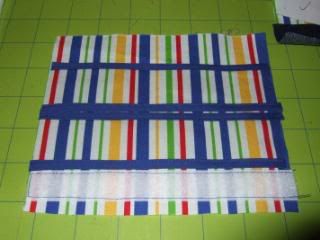
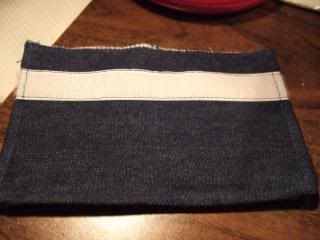
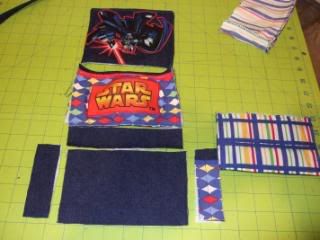
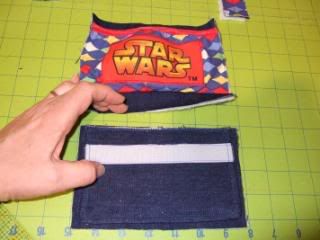
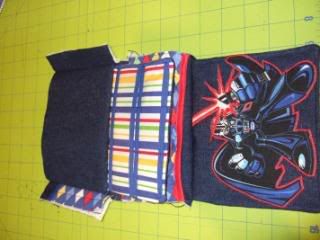
1. large main flap
5.5" x 6.5" of the following:
- 1 of outer fabric
- 1 of inner fabric
- 1 of interfacing
- 1 of quilters batting
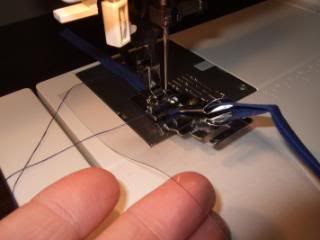
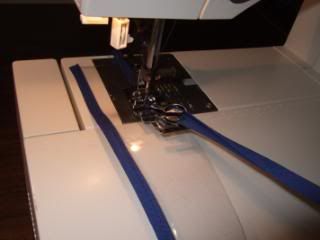
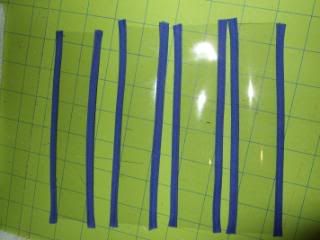
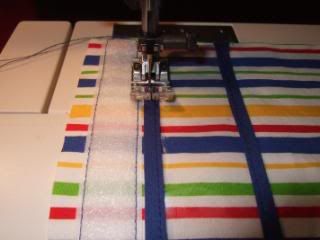
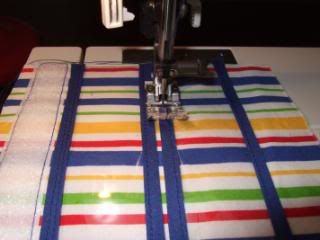
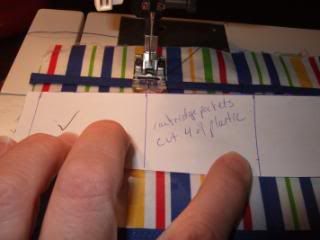
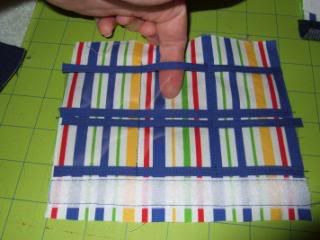
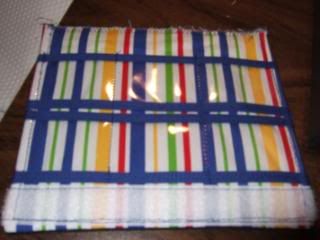
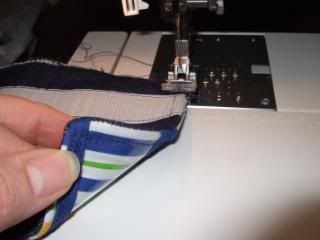
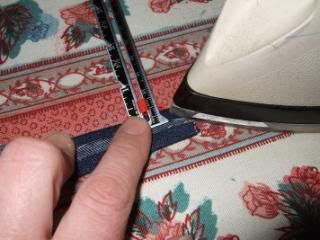
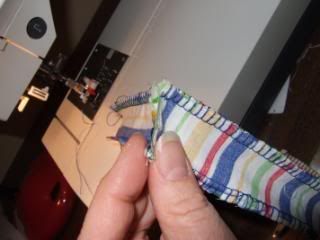
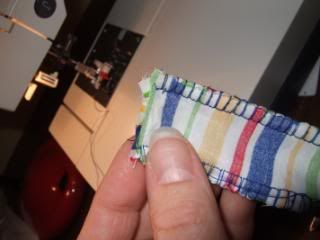
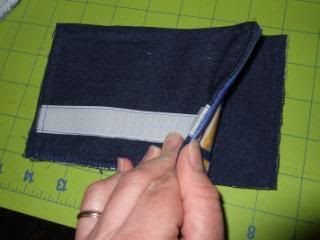
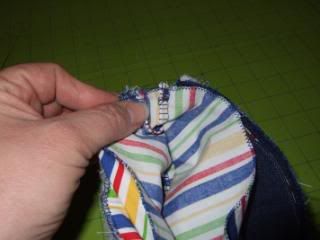
1.5" x 6.5" of clear plastic (cut 2)
1/4" bias tape for ends of plastic (don't cut yet, keep as one length as it is easier to work with this way)
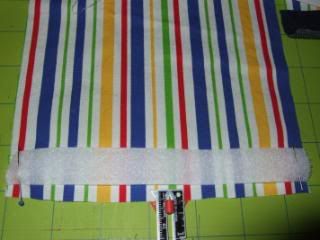
1" wide strip of Velcro 6.5" long (plush side)
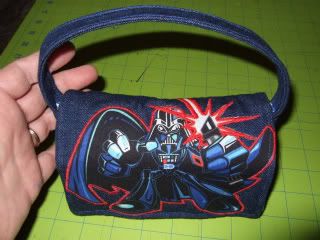
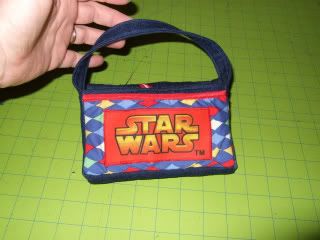
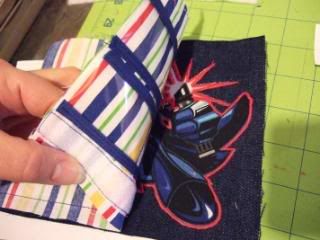
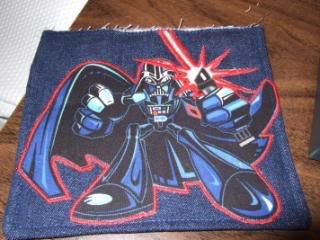
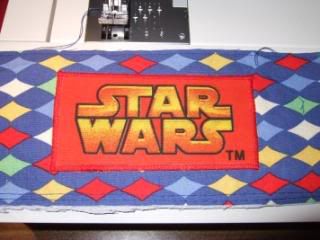
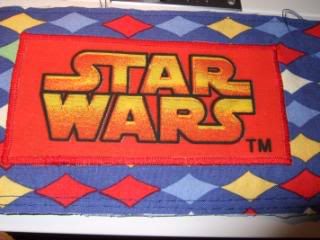
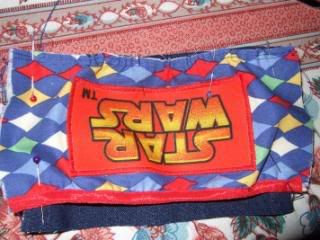
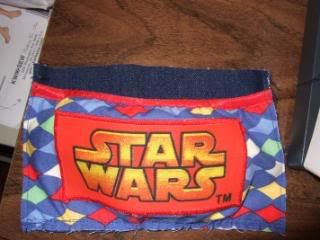
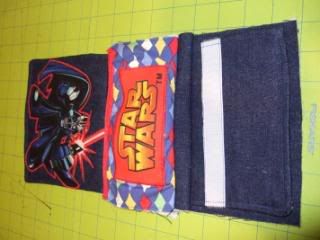
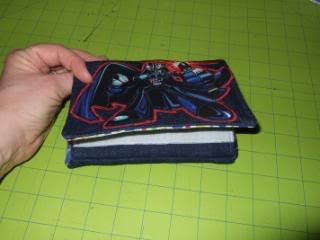
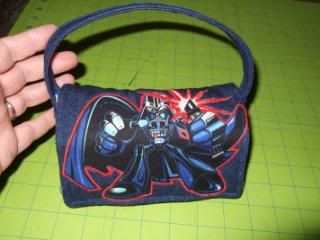
applique? (if desired....see Darth Vader example above)
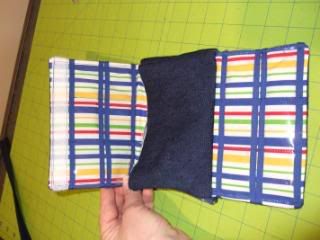
2. smaller inside flap
4" x 6.5" of the following:
- 1 of outer fabric
- 1 of inner fabric
- 1 of interfacing
- 1 of batting
1.5" x 6.5" of clear plastic (cut 2)
1/4" bias tape for ends of plastic (don't cut yet, keep as one length as it is easier to work with this way)
1" wide strip of Velcro 6.5" long (loop/hook side)
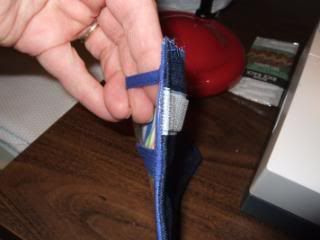
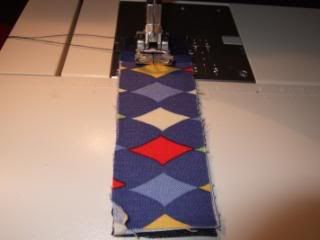
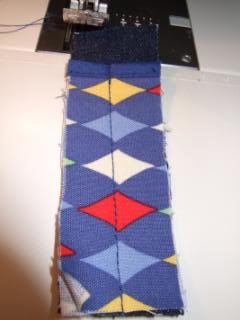
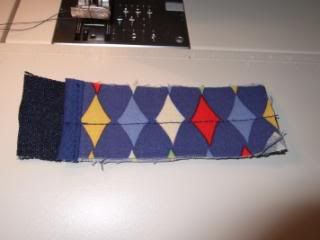
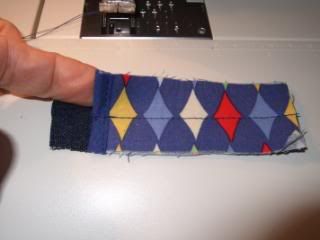
3. strap
1.25" x 11" of the following (this can certainly be lengthen if desired. 11" gives a cute handle-type strap. You could make it into a shoulder strap or handbag strap if you want. The sky is the limit on strap length! That is, of course, if you have enough fabric to reach the sky. LOL.):
- 1 of outer fabric
- 1 of inner fabric
- 1 of interfacing (optional for extra strength)
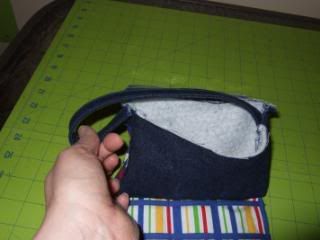
4. inner lining of case (5 sides)
4" x 6.5" of inner lining fabric (cut 2)
1.25" x 6.5" of inner lining fabric (cut 1 for bottom panel)
1.25" x 4" of inner lining fabric (cut 2 for side panels)
5. outer body of the case (5 sides)
4" x 6.5" of the following:
- 2 of outer fabric
- 2 of interfacing
- 2 of batting
1.25" x 6.5" of the following for bottom panel:
- 1 of outer fabric
- 1 of interfacing
- 1 of batting
1.25" x 4" of the following for side panels:
- 2 of outer fabric
- 2 of interfacing
- 2 of batting
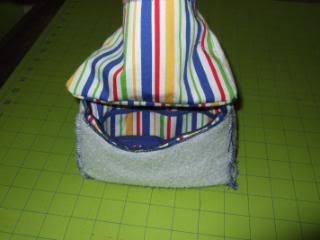
5a. outer gathered pocket with FOE binding on top
3.5" x 8" of pocket fabric (cut 2)
6" length of FOE (cut 1)
5b. outer side stylus pocket (for 2 stylus)
1.25" x 3.25" of outer fabric (cut 2)
small piece of 1/4 bias tape
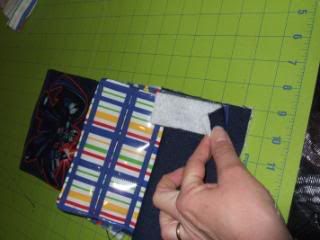
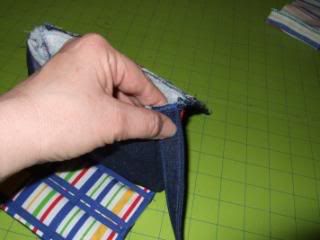
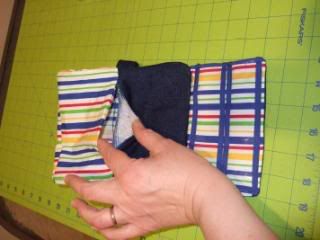
5c. putting it all together
Are you scared yet?? LOL. I hope it will all make sense in the following sections.
1/4 inch seam allowance included in above measurements.
REMEMBER: you won't need the interfacing if you are using heavy fabrics such as denim, canvas, home dec, etc. You will need interfacing if you are using lighter fabrics, such as quilter's cotton. You will need the quilters batting regardless. This is what gives the case its pillowy protection factor. I used thinner stuff, but you can use whatever your heart desires. However, the really thick stuff might be harder to turn right side out later on. You could substitute batting for fusible fleece, which would make the whole process easier. I just don't have any, so used batting. I did think it would be ideal to use flannel for the inner lining. Thought it might polish the DS every time it was pulled out and put back in the case. But it may be more likely to collect things that might scratch the unit. I never tried it. Just a thought. If you try it, let us know how you like it..gif "a (11)")

 Reply With Quote
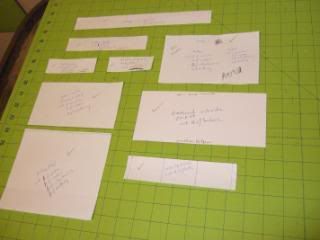


 But, I've gotten tons of compliments!


Bookmarks