Re: In progress: DS case w clear plastic game slo
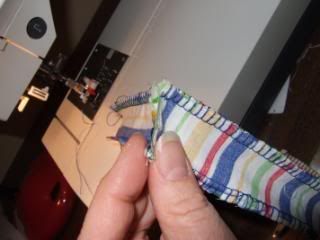
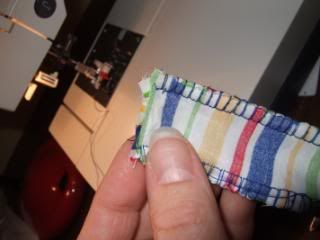
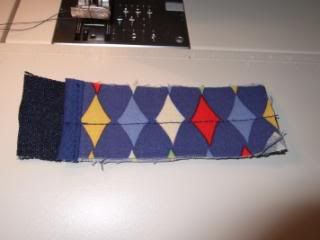
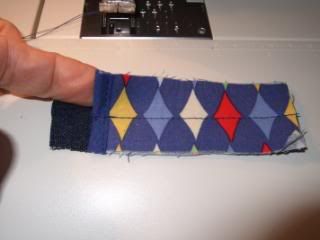
You should now have 2 flaps and a strap. We are getting closer!
LINING
Lay out your pieces to get an idea of how this goes together. It is the same technique as bags/purses this shape. If you have made these before, you will find this easy.
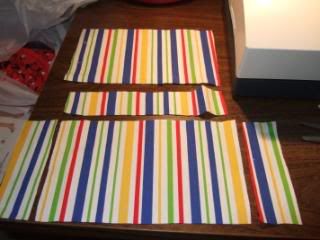
There is likely more than one way to do this, maybe even an easier way, but I will describe how I did it.
I sew the front & back pieces to the bottom first, right sides together.
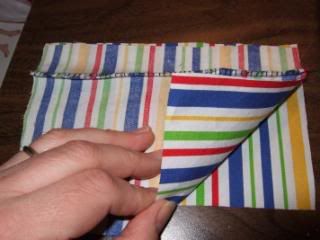
Then I sew the side pieces onto one of the larger rectangles, right sides together.
Then I sew the bottom to the sides, right sides together.
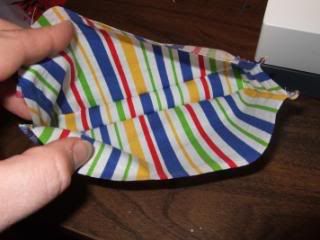
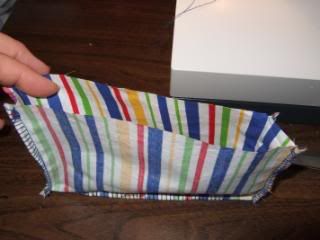
You should now have a fabric box that is inside out.
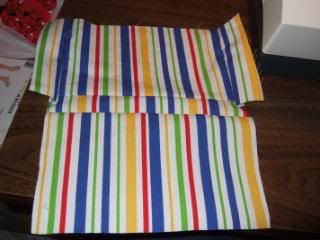
Put this aside for later.
OUTER GATHERED POCKET FOR CORDS
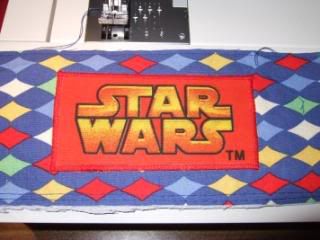
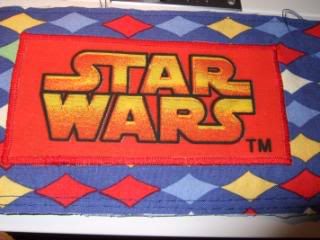
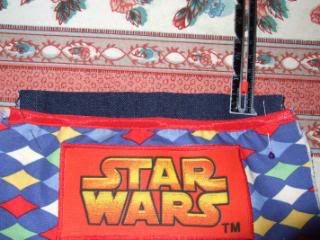
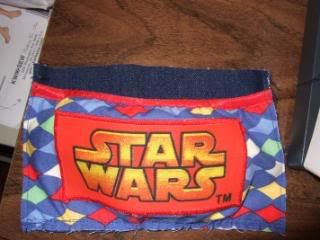
When the case is all packaged up and shut, this pocket will be visible. Feel free to embellish your outer pocket fabric piece however you see fit. This one has a Star Wars applique. Baste the front and back fabric pieces wrong sides together at the top with a single line of stitches about 1/8 inch from the top. Then increase your stitch length and decrease your tension to create gathering stitches on the bottom. Here I have 2 rows of stitching at the bottom for gathering.
You want your FOE along the top to be fairly snug. This will hold the cords in place when they are inside the gathered pocket. If it is too lose, the cords will fall out when the case is carried. It is better to be a little too snug than a little too lose. You may need to play with your FOE to see how much you actually want to sew on to get that tightness you need when it is stretched. This is about right for the FOE that I used (about 5.5" long when relaxed). It is shown here against the main outer body piece that it will be sewn onto.
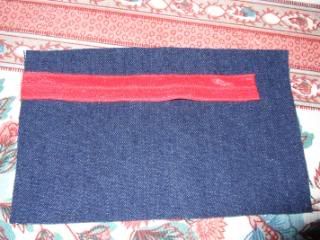
Sew your FOE onto the top of the pocket. Start by sewing several stitches to anchor it, then stretch it across to the other side while you continue to sew. I sew the backside (the side that will be inside the pocket) first. Then I fold over and sew the outer side (side that will be visible) down as close to the edge as possible.

Place your FOE bound pocket on top of your outer body piece. Match the bottom edges, leaving room for seam allowance at the top. Pin each side of the FOE bound pocket into place.
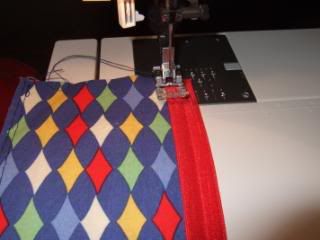
Gather the bottom edge by pulling the threads. Once it fits the outer body piece, pin in place and even out your gathers. Baste along the bottom about 1/8 inch.
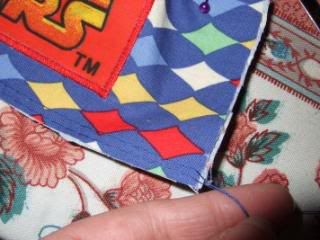
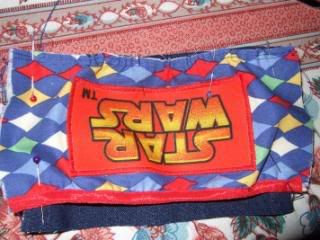
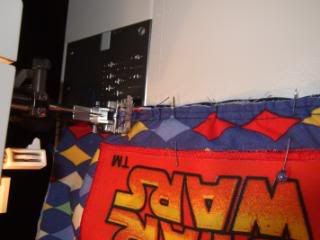
Baste the sides about 1/8 inch to prevent the FOE from slipping until everything is put together.
You are now done your gathered pocket. Put it aside for later.
SIDE STYLUS POCKET
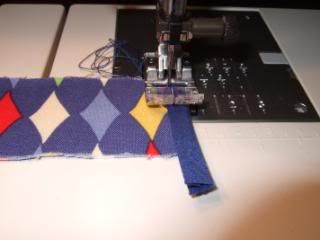
Place 2 stylus pocket pieces wrong sides together. Stitch bias tape to top to cover end. It is much easier to use a longer bias strip than you need and just cut off the excess after you sew it. Be sure to sew through all 4 layers (bias - fabric - fabric - bias)
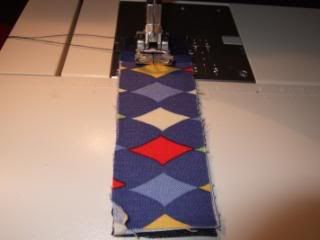
Place this bound piece on top of the right side of the outer body side panel piece. Match the bottom edges up. The bias will be offset from the top and this is how you want it. Sew down the center.
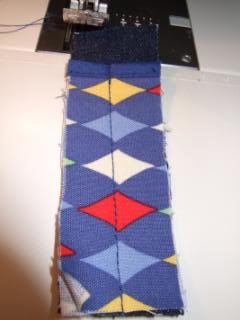
It should now look like this:
Set this aside for later.
Now you are all set to put it all together!! Yippee!!
Last edited by breylormom; 07-19-2009 at 11:09 AM.
Tricia: wife to wonderful DH and mother to 2 princesses.
To view links or images in signatures your post count must be 0 or greater. You currently have 0 posts.


 Reply With Quote
Bookmarks