

Are we ready to finish this up?
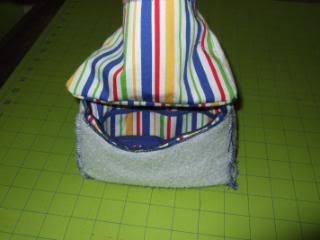
Turn your main piece inside out and your lining right side out (opposite of how it will end up). On your main piece, stuff the flaps and strap in as much as possible and keep them away from the top, except for the raw basted edges that will be incorporated into the lining. Stuff the lining into the main piece to place right sides together. Something like this:
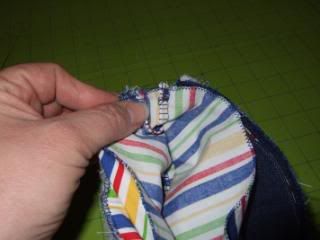
With right sides together, match up side to side and front to front and back to back. Pin or baste.
Stitch the lining in place using 1/4 inch seam allowance. Leave about 2" - 3" along one side to allow you to turn it right side out again.
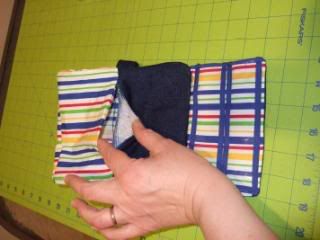
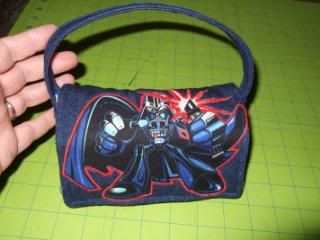
After squishing everything through this 2" hole (the annoying part) and turning it right sides out, push the lining down into the proper postition. Hand sew the hole closed using ladder stitch closed. Top stitch around the opening to keep the lining in place and to look nice. And ta da.......you are done! Congrats!!
Now was that so hard!! LOL.
If you liked this tutorial, donate $5 to your favorite charity!.gif "a (11)")

 Reply With Quote
Bookmarks