Re: In progress: DS case w clear plastic game slo
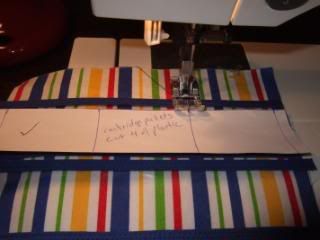
To make it easier for myself (less thinking involved), I made patterns out of cardboard. Here are the pattern pieces. I wrote how much of everything I needed right on the pattern pieces. That way, when I made it again, I wouldn't have to think that much. .gif "a (11)")
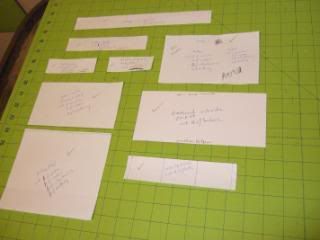
And all my pieces cut out:

I used a heavy denim for this particular case, so will not go over the use of interfacing in this tutorial. However, it is a simple concept. Simply iron on your interfacing to the outside fabric pieces before starting. So you would do this now before continuing on with the process.
Iron all your fabric pieces before you start. With the plastic sewn on, it can be very difficult and dangerous to iron later on.
Next you will want to prepare your plastic pieces. Sew the 1/4 inch double fold bias tape to the long side of each plastic piece. You will want to do both sides of all 4 pieces.
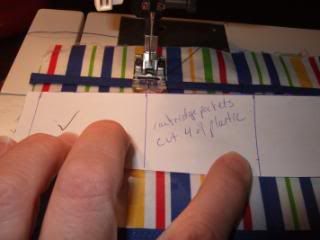
On my pattern template I marked 1/4 inch on both ends and 2 lines equally spaced in the center. This is your stitching line in the steps to come.
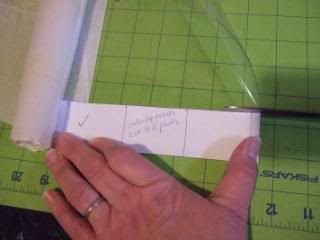
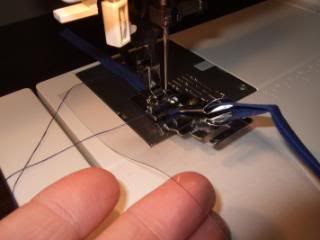
I used a bias binder, but you don't have to if you are careful. Sandwich the plastic between the folds of the bias tape to protect the sharp ends of the plastic. Stitch as close to the edge of the bias tape as you can going through all 3 layers at same time (bias - plastic - bias). I chain stitch the 4 pieces in one continuous strip of bias to save time and make it easier. At the end, you simply cut your plastic pieces apart into the 4 again. Then do the opposite side in the same manner.
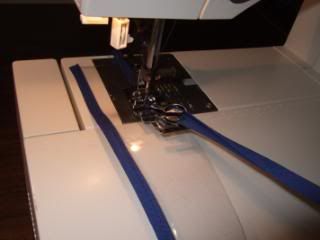
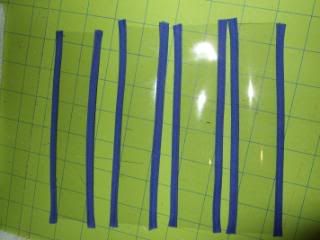
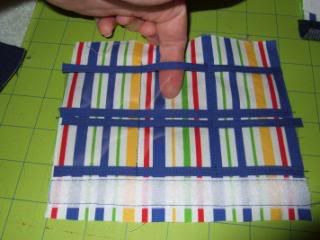
And here is what your plastic pieces should look like now.
LARGER MAIN FLAP
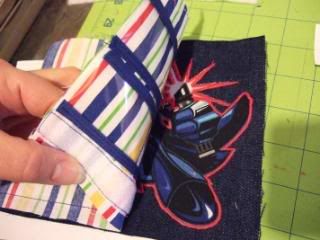
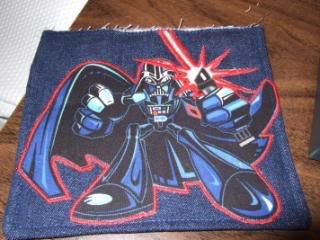
Now is the time to embroider, applique, or embellish how you see fit on your outer fabric of the main flap. I did a Darth Vader applique on this one for a Star Wars fan.
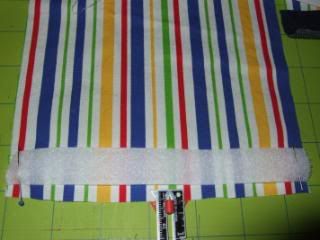
Take your inside main flap piece and sew the fuzzy side of the Velcro strip to one end (across the 6.5" width). Leave slightly more than 1/4 inch seam allowance on the very end.
Then take one of the bound plastic pieces and put that right up against the edge of the Velcro. Stitch along the bias tape only on the Velcro side.
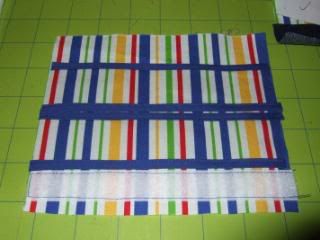
Repeat with the other plastic piece, by placing this piece every so slightly (1/16th inch?) away from the other bound plastic.
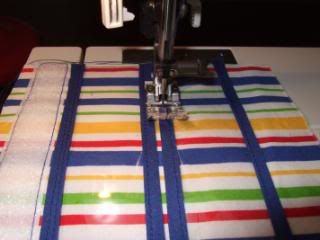
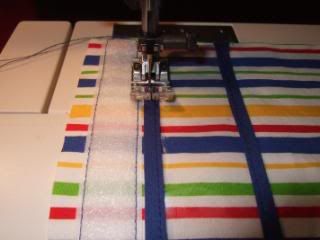
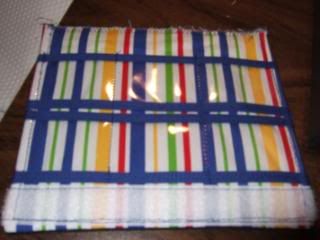
Use your template with stitching line guide to sew across both plastic pieces. These will be the little pockets for the games.
You should now have 6 little pockets. Although the 4 end pockets will still be open on the sides. This will be incorporated into your seams when you sew on the outer fabric piece. It will make sense very shortly.

Make a fabric sandwich. Your outer and inner fabrics should be right sides together. The batting should be under the outer fabric. Be sure to line up top to top and bottom to bottom. The Velcro strip is on the bottom.
Stitch along the side, bottom, then side of the sandwich. Go very slowly over the plastic. If your machine is like mine, going too fast will catch the thread on the plastic and skip stitches. You will be leaving the top open to turn right side out. Turn right side out. Top stitch around the same three sides. If you need to iron (I don't), be very careful not to melt your plastic. You can zigzag, overlock stitch or serge the top side closed now to make it less confusing later on. Your main flap is done and should look like this. Set it aside for later.
Last edited by breylormom; 07-19-2009 at 11:07 AM.
Tricia: wife to wonderful DH and mother to 2 princesses.
To view links or images in signatures your post count must be 0 or greater. You currently have 0 posts.


 Reply With Quote
Bookmarks