-
TUTORIAL: Buttonhole Attachment 101
There a number of Sewing Mamas who are using older machines so I thought I'd post a tutorial on using a buttonhole attachment.
I will be demonstrating on a Singer 301a however, the same or VERY similar versions of this buttonholer go on most any of the older Singer models. The look may be different but the how-to is pretty much the same.
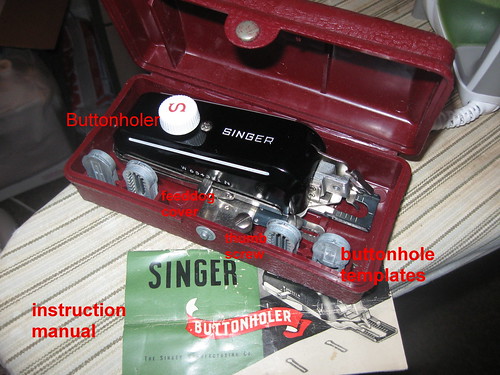
This is my particular buttonhole set. If your set is missing ANY of these parts they can easily be found on eBay. If you are looking to buy a buttonholer and it is missing any of these parts, skip it and find a set that is complete.
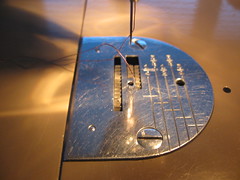
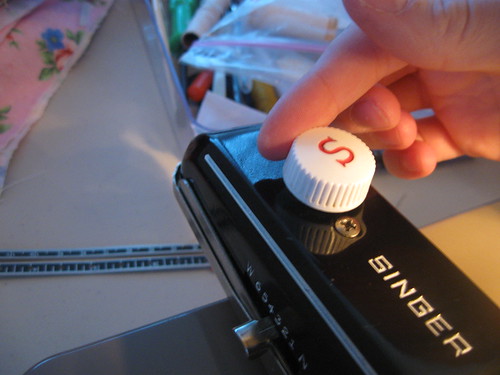
First lower or cover your feeddogs, depending on your machine.
My machine has a knob next to the bobbin case that turns to lower the feeddogs

If your feeddogs don't manually lower there is a cover AND screw that comes with your set. It screws on like so:
OR your machine might have the option to lift the throat plate by way of a lever:


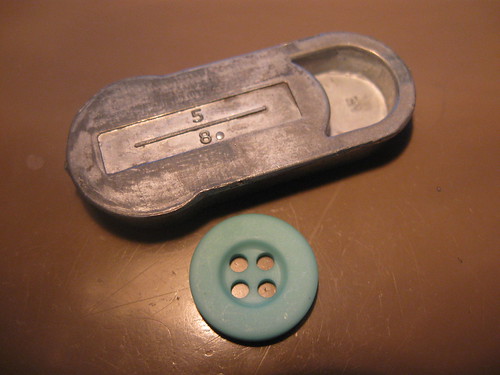
Now choose your buttonhole template size. Look at your templates and find one that best fits your button. My button fits the 5/8" template.
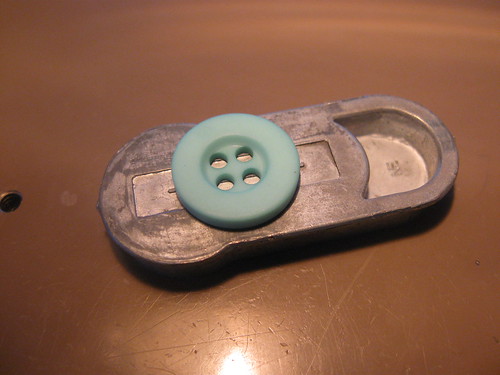
Excellent! Now insert the template into the slot on the underside of your buttonholer. You may have to wiggle it around a bit to get it to slide in. Then close the lid.

Take off your presser foot and thumb screw and lay them aside. Don't lose them!
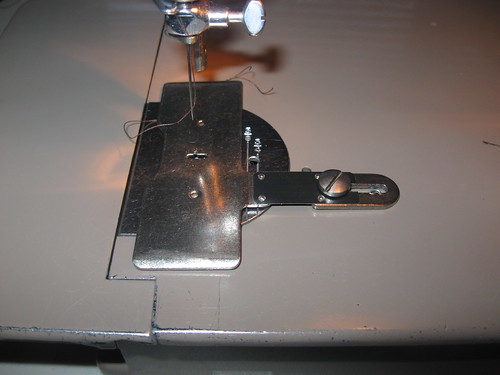
To attach your buttonholer start but placing the fork on the needle thumbscrew bar. (I'm sure there is a more technical name.)
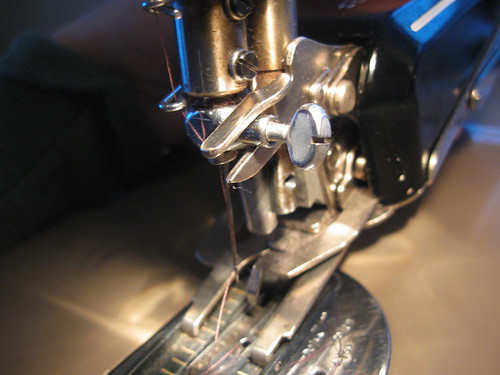
Then using the long screw that came with your set, screw the attachment to the presser foot bar. Clear as mud?
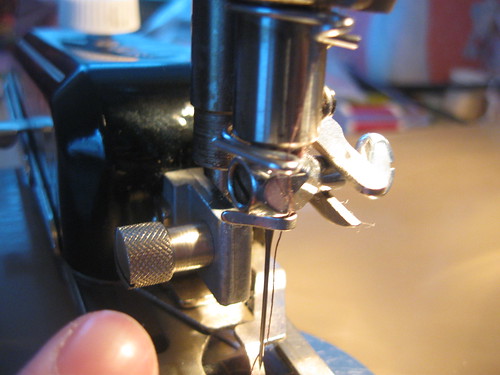
Next, choose the width of your stitch. I keep mine anywhere from 3-5 and it suits my needs. Try it out on yours and see what you prefer.

Then, using the knob on the top of the attachment, twist it until the needle is at the very top, center of the guide. You will do this step EVERY single time you start a buttonhole. This will start your hole in the same place every time. Very, very important.
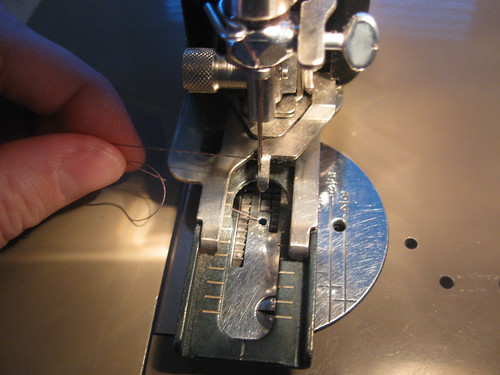
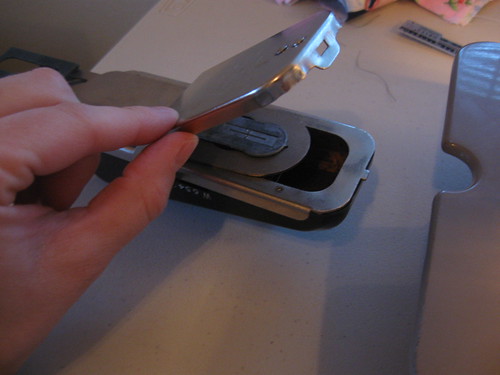
Carefully place your garment under the presser foot/guage and place the end of your marking directly under the needle. Gently lower your your foot and sink the needle in the fabric. Be careful to check that your marked line is sitting straight in the guide. If you don't you'll have a crooked buttonhole.
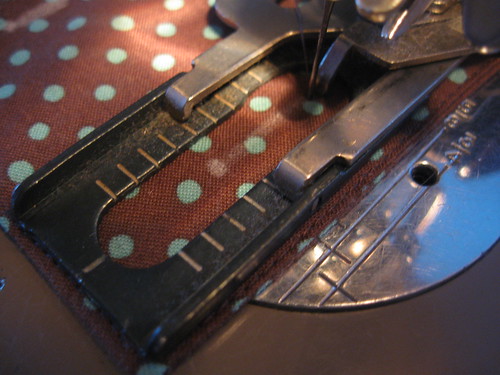
Now, if you can, watch this blurry little clip of my buttonholer in action. Click on the photo to watch the clip. If you can't watch it, read below.

Alright, so if you couldn't watch the video: If the foot and needle are lowered and you're sure that the needle is at the top position, press your pedal and let her go. Circle the buttonhole twice to ensure a strong buttonhole.
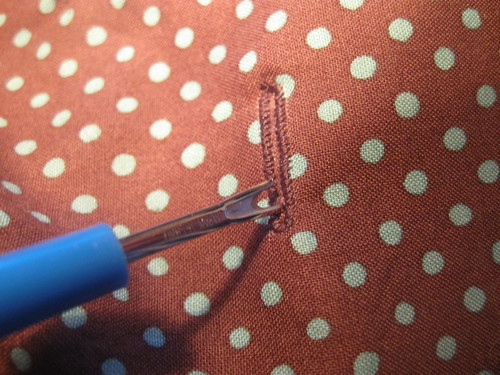
Remove from machine, snip threads. Using your seam ripper gently poke into the center and GENTLY cut the opening open. **I don't open my buttonholes until I'm done with all of them and have sewn on my buttons. This way if I need to pick out a buttonhole and re-position I can. Once the buttonhole is cut open there is very little, if anything, you can do to change it.**
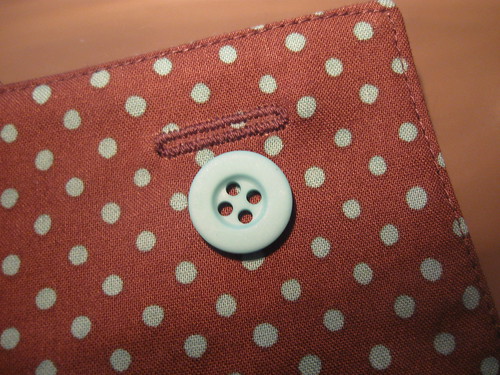
And voila! Beautiful, consistent, strong buttonholes every single time.
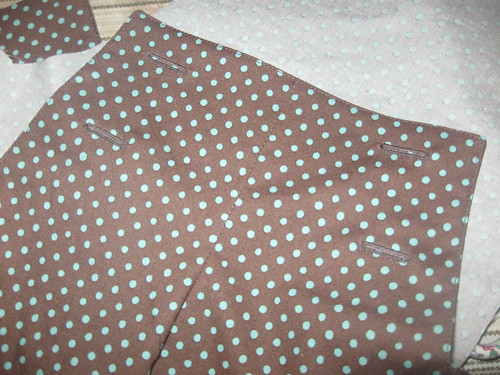
You can do it, too!
To see the photos by themselves without instruction, click HERE.
Last edited by KarenK; 01-23-2009 at 08:42 PM.
 Posting Permissions
- You may not post new threads
- You may not post replies
- You may not post attachments
- You may not edit your posts
-
Forum Rules


 Reply With Quote
Bookmarks