-
How to Silk Screen in 10 Easy(ish) Steps
This post goes out to all of you who made "Learn to Silk Screen" your new year's resolution. I intended to get it done in time for Meg's tutorials contest, but I drank too much Bailey's and went to bed early. But a day late and a dollar short, here we go:
1. Take your screen and prepare it. This is photo emulsion silk screening, and we are using the photo emulsion chemicals (which come with their own mixing directions and keep in your fridge for 6 months).
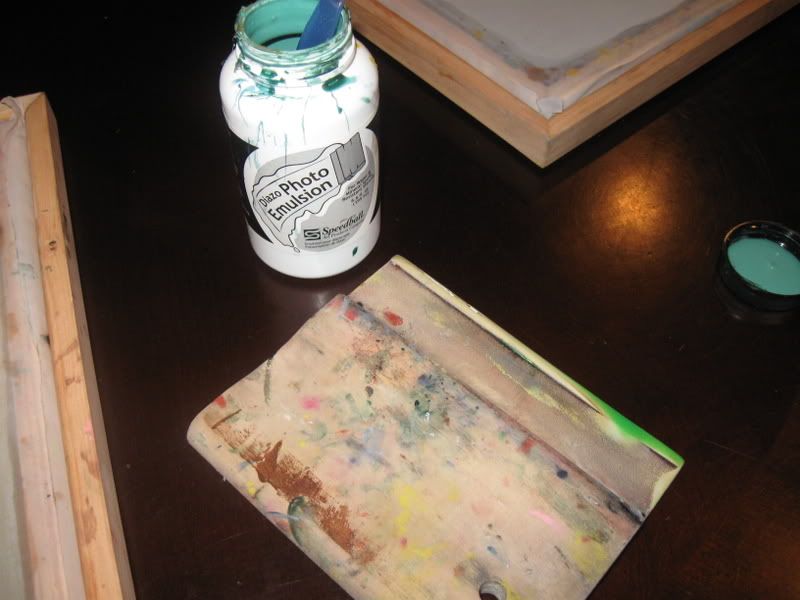
Use a squee gee to apply a thin layer of the chemical to the screen.
I have not been successful at getting my old images fully off the screens, but they don't seem to affect future use, so I don't really worry about it. But that's what you're seeing here.
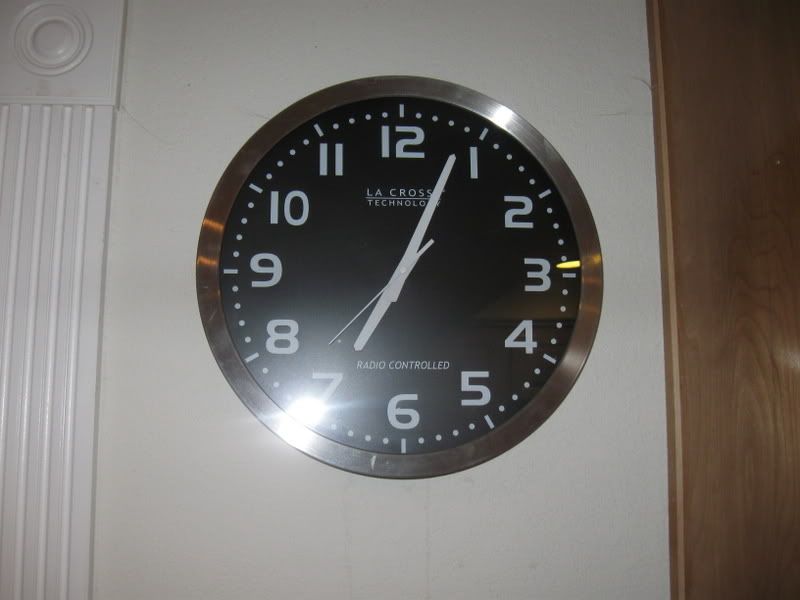
2. Wait until the chemical dries.

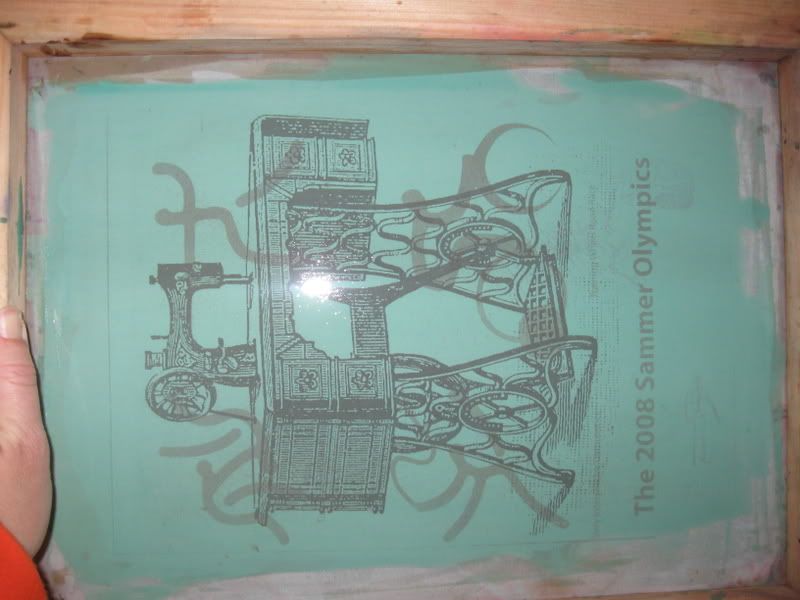
3. Meanwhile, using the government's liberal small personal use policy, you will have copied the image you want onto a transparency (that you did rightfully purchase yourself). Or you can go to Kinko's. The image must be in half-tones--no colors, no shades of grey. Just black and clear. But any amount of detail is fine (this is the big difference from freezer paper stenciling).
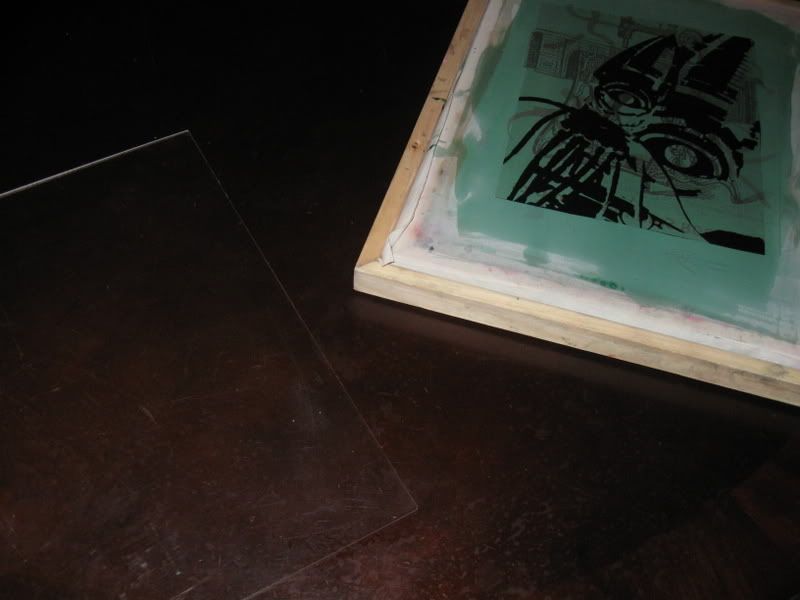
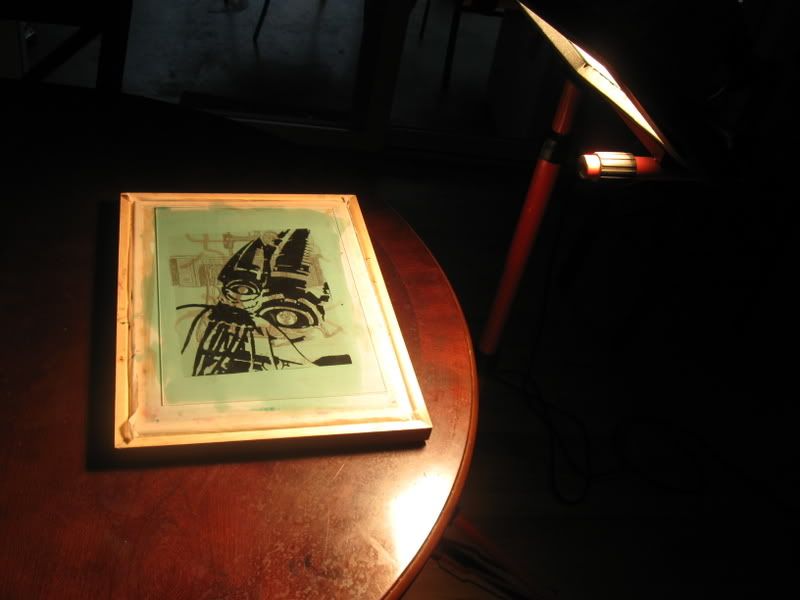
ALso pictured there is a thin piece of plexiglass you will need to weight the image down.
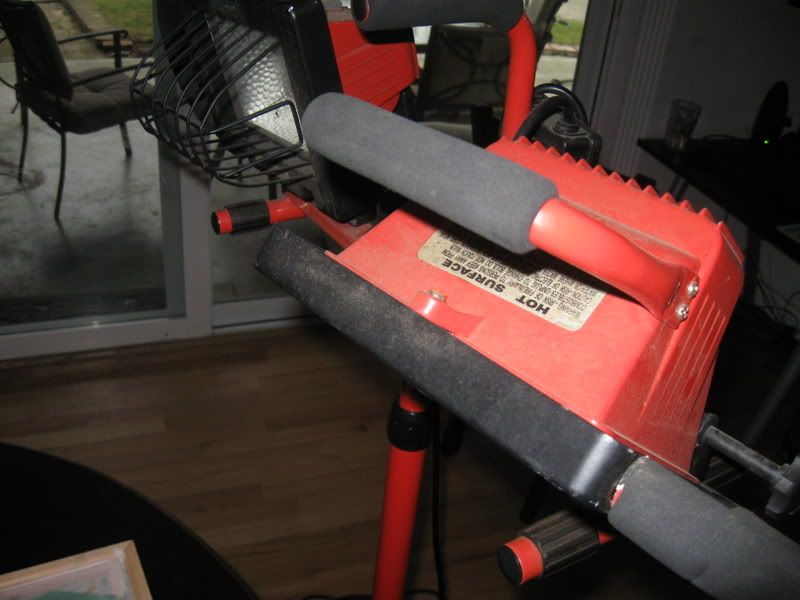
4. Place your transparency on top of the dry, prepared silk screen. We happened to own a big shop-style halogen lamp, so that's what I use. Meg's done something crazy like go out in the sun to expose. But the halogen seems more predictable, so get a halogen lamp. Turn the lamp on high and expose the silk screen. You will need to engage in some trial and error to determine how long to expose with your light source. For me, with this set-up, it's 20 min.
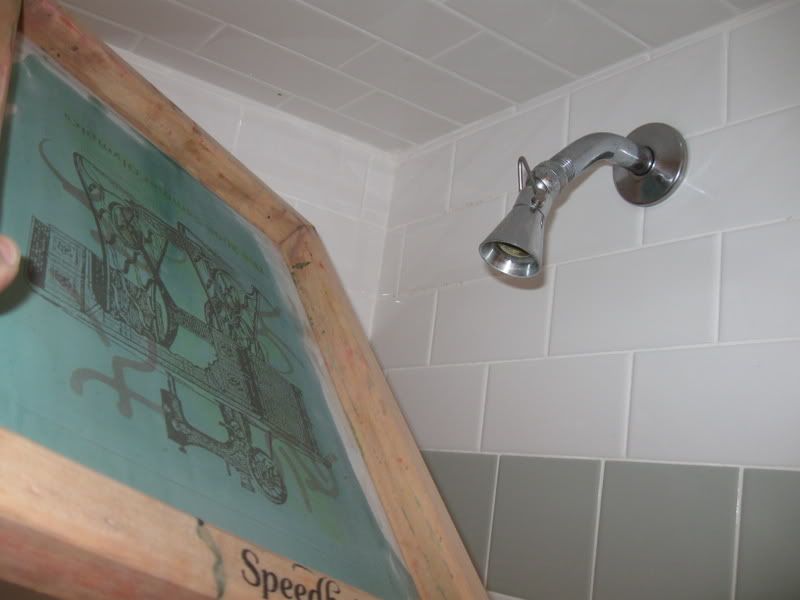
5. Flush out the screen with luke warm water.
6. OK, we're ready to print. Fabric, squee gee again, fabric ink. The ink is thicker than fabric paint, FYI.
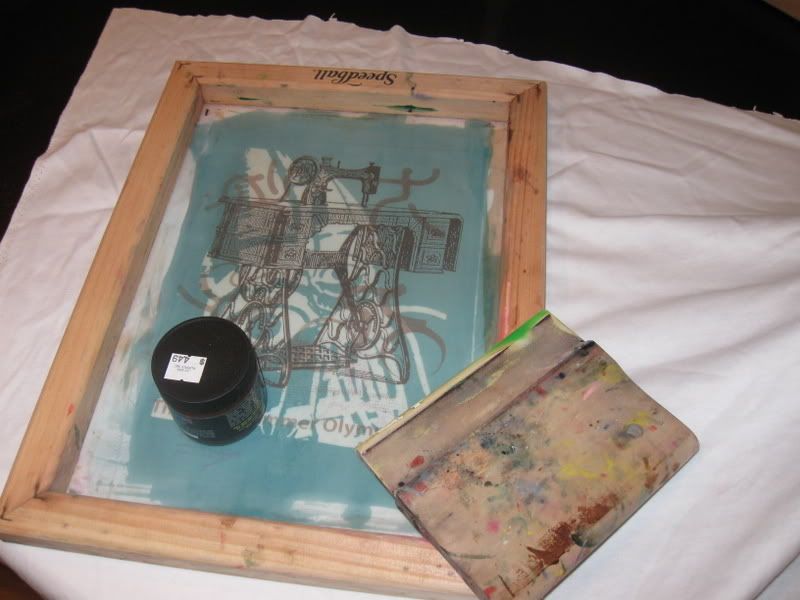
7. Apply the ink.
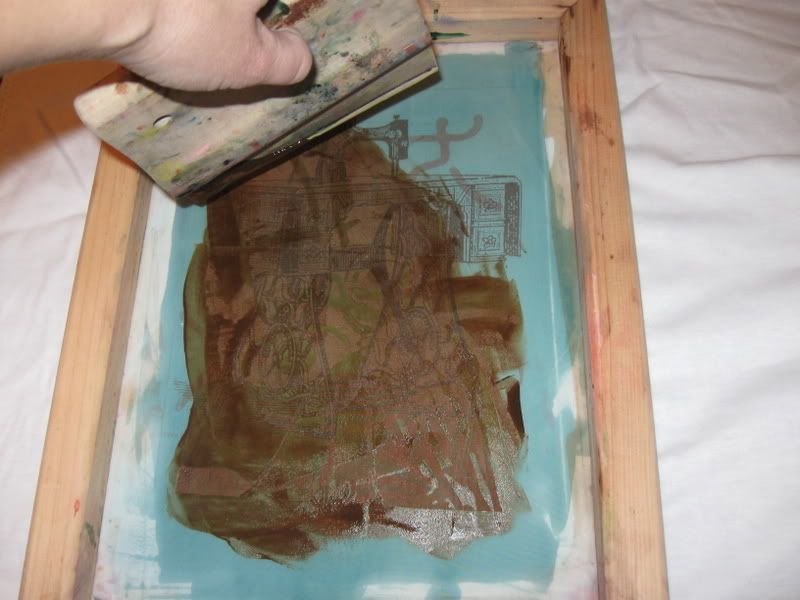
8. Cross your fingers, hold your breath, say a prayer, off comes the screen.
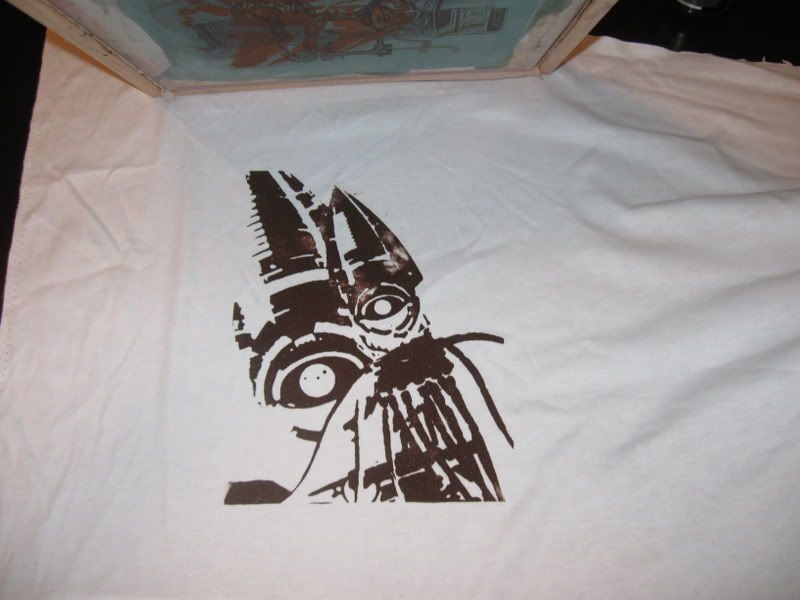
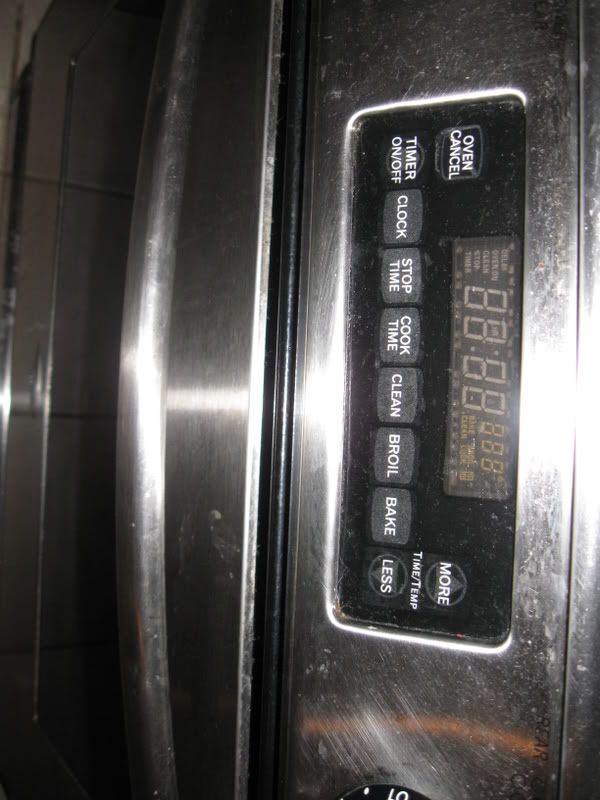
9. Voila! Into the oven it goes to be heat-set. Or you can iron it, but with the iron it can scorch, and the oven is so easy. Heat to 400, then turn off, put fabric in, leave for 10 min.
10. Done and all sewn up! (if you really paid attention, you could see I was doing two different silk screen images throughout this tutorial. There's an efficiency to doing several at once, what with all the supply-getting-out and clean-up).
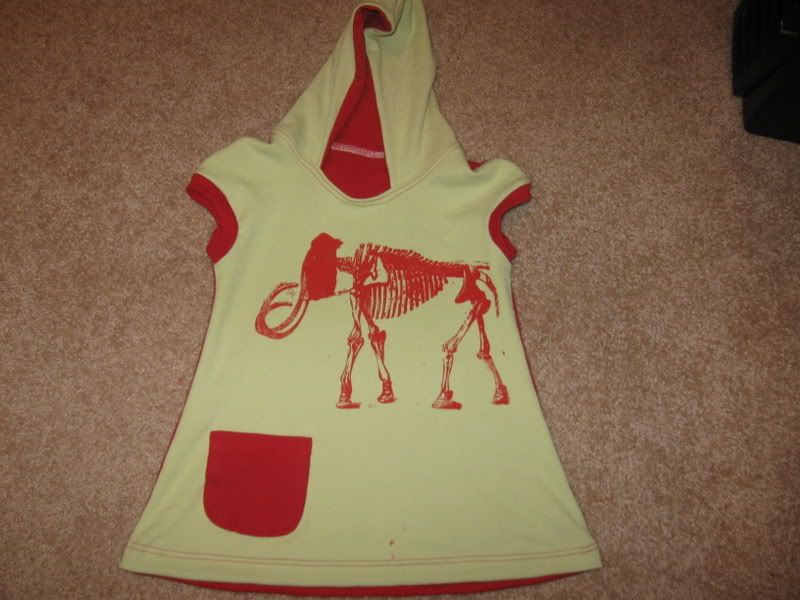
This is the Farbenmix Amelie pattern some of you were considering getting. Cute, right?
Now go forth and silk screen!
 Posting Permissions
- You may not post new threads
- You may not post replies
- You may not post attachments
- You may not edit your posts
-
Forum Rules


 Reply With Quote
Bookmarks