Quick fix for kids’ winter gear!

Here’s a quick and easy way to keep track of your child’s snowpants, because having a name on the label means nothing to a little kid just trying to get on the closest pair of black snowpants as quickly as he can to go outside. You know, the black snowpants that look like every other pair in the school?
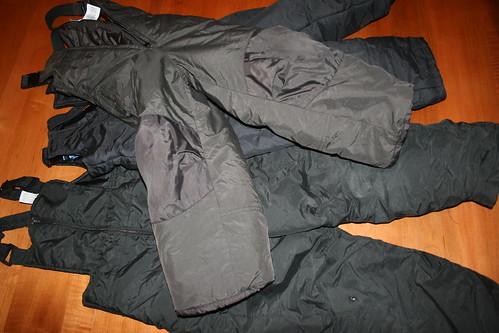
Oh, yeah, those.
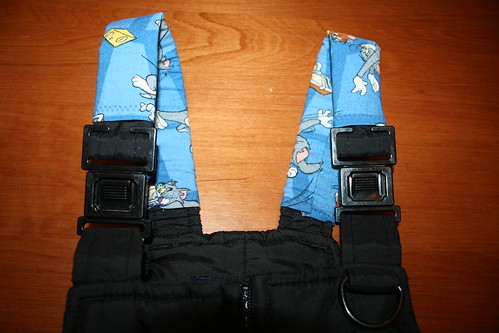
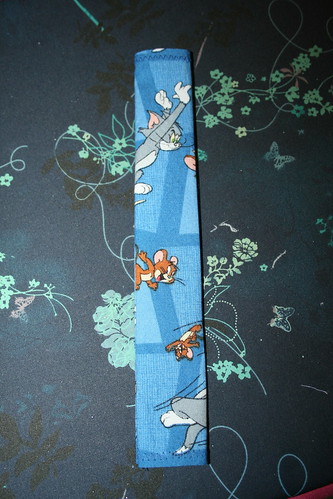
Snowpants strap covers!
These are super quick and easy if the shoulder strap can come completely off the closure. These can:
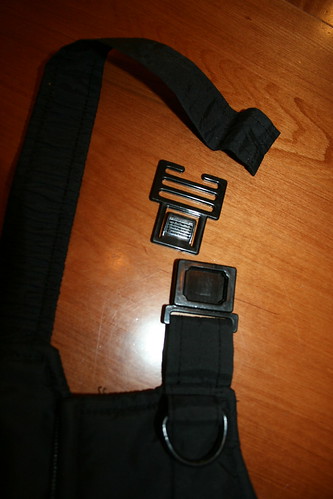
These are sewn to keep the strap attached to the closure,
and this is nice for a ton of reasons, but will add extra work for us, see bottom of post at the **.
We’ll talk about the first type first. The pair we’re working with has a strap that’s 1.25″ wide*.
Fun fabrics are great for this –
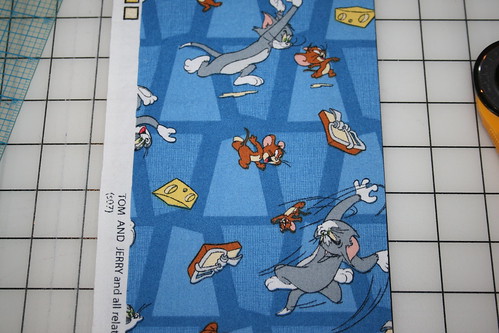
To make two strap covers you will need:
2 pieces of cotton woven (or quilter’s) fabric, each 3″ wide by 8″. You can make them longer or shorter if you like.
These are sewn with a 1/4″ seam allowance. If you want a wider seam allowance, increase the 3″ width by 2 times your additional amount. (If you want to instead sew with 1/2″ seam allowance, you’re adding 1/4″ more to each sewn side, so cut your pieces 3.5″ x 8″.)
* If your snowpants have a wider strap, simply measure the width, add the seam allowance and double the result.
(width+seam allowance)*2=width of cut fabric
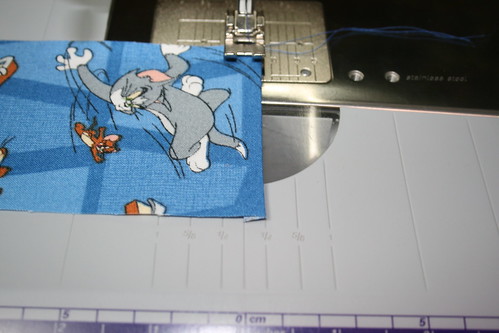
Step 1
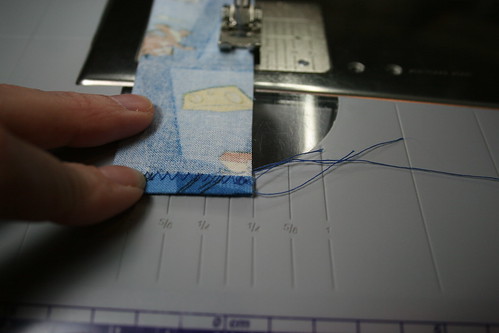
Hem the short sides. Press wrong sides together 1/4″.

Zigzag the hem so it goes just over the cut edge. (You can do this on the wrong side instead of the right side if you like.)
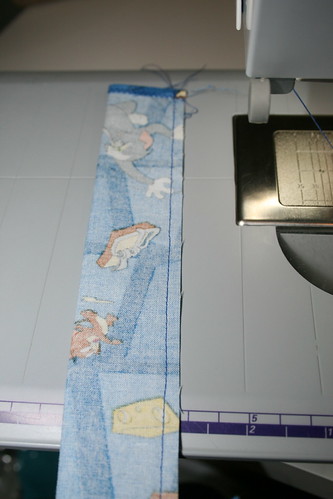
Step 2
Zigzag opposite end.
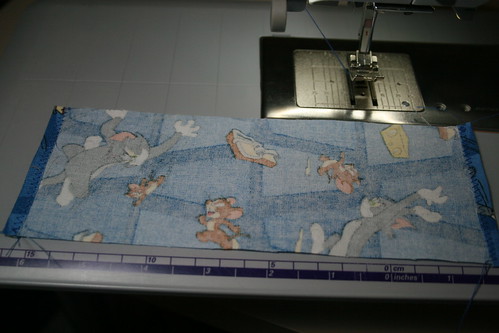
Step 3
Fold the piece in half the long way, right sides together. I like to press this because then I don’t need to pin it.
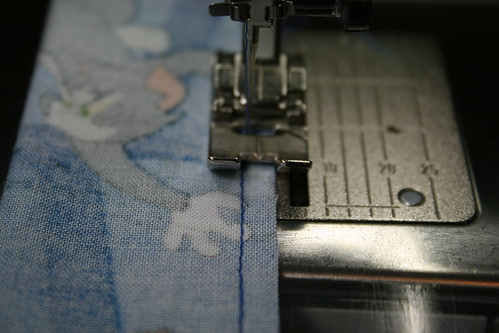
Step 4
Stitch together with 1/4″ seam allowance.
How nice!
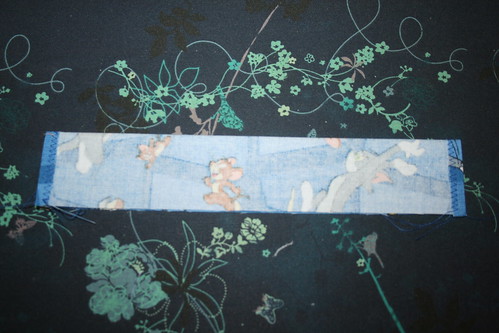
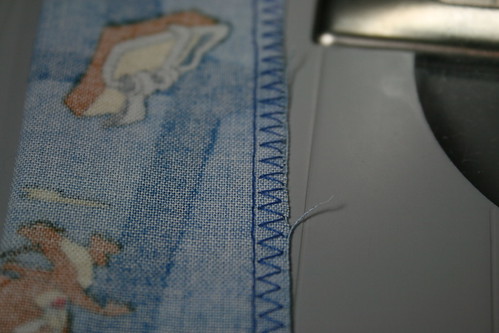
Step 5
Zig zag in the seam allowance to keep it from fraying. I find if I line up my straight stitching so it’s just barely visible where the presser foot sticks up on the left, it stitches in just the right place.
Then you have this:
Step 6
Trim threads. Turn it right side out.
Slide your strap into the tube you’ve just made, that’s it!
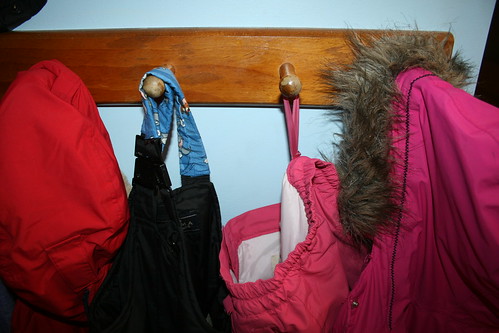
Bonus Tip!
If your child wears the snowpants without the bib overalls, sew a ribbon loop to the inside at the waist so they can be easily hung on a hook. This keeps things tidy and helps them dry faster than when they are left in a pile.
~o~o~o~o~o~o~o~o~o~o~o~o~o~o~o~o~o~o~o~o~o~o~o~o~o~o~o~o~o~o~o~
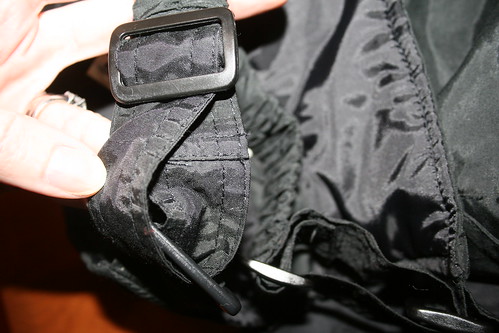
** If your snowpants have a strap that’s sewn together to keep it from coming off the closure, you have a few options.
Option 1:
Grab your seam ripper and use it to free the strap so you can take it off the closure. When your strap cover is completed and on the snowpants, re-sew the part you seam ripped. (This will make the neatest cover and is also the quickest. Just make sure you’ll be able to sew it back together before you seam rip it! I strongly recommend only removing one strap at a time so you can see how it goes back on.)
Option 2:
Make your strap cover wide enough to go over the closure. To do this, take your measuring tape and measure all the way around the widest part of the closure. Double your seam allowance and add that to your measurement. The result is your fabric width. (This will result in a cover that may be a little slide-y.)
Option 3:
Instead of making a tube, use Velcro-like closures in a manner similar to the way we made our luggage handle covers, skipping the interfacing to avoid its added stiffness. (This will take the longest.)
Happy Sewing!
Kelly


