New Needles for the New Year
- At January 05, 2013
- By Kelly
- In Needles and Notions, Organization
 3
3
Needles don’t last forever. (Well, except the ones that fall off the Christmas tree. It seems we are still vacuuming up those little buggers in July!)
How long has the needle been in your sewing machine?
Did it come with the machine? Do you just keep using the same one until you run over a pin and it breaks? Or until things just keep going horribly wrong with your stitches and you start swapping out everything – needles, thread, bobbin?
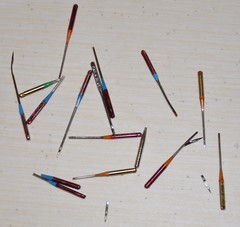 Image: Broken Needles by amboo who?
Your sewing projects will look better and go more smoothly if you use a new needle after 8-12 hours of sewing or every 2-3 projects. And if you hit a pin, button, or other object while sewing, replace that needle right away, even if it looks okay. A damaged or worn out needle leads to damaged fabric and a ruined project. You’re putting a lot of time into your sewing, don’t let the needle foil your efforts.
Why don’t we change needles when we should?
Reason #1: Keeping track of how long a needle has been used is not easy!
Since I use both my sewing machine and my serger for most projects, 2-3 projects doesn’t equate to 8-12 hours use on both machines. This is my current solution:
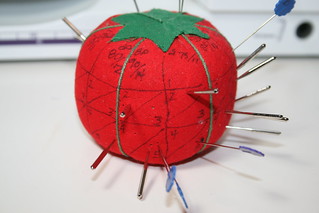
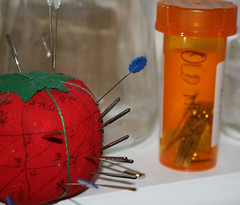
Not pretty, but functional. The tomato is split so each column has five sections. Each time I finish a project or use the needle for about two hours, I put the needle in the next spot. The pins are marked and hold the spot for the needles currently in use. If I finish the project and need the needle for something else in the same machine, I’ll just move the pin to the next spot. The blue pins in the #5 spot for the 90/14 ball point needles are holding the space for the needles currently in my serger. When I’m done with them, I’ll retire that set of needles since this is their fifth use. When they’re done, I put them in an old prescription pill container.
The blue pins each have an “I” written on them in permanent marker because they are placeholders for the needles in my Imagine serger. The sewing machine pin has a “B” on it for Bernina. And so on…

There are a couple things that make this setup work well, besides the ability to keep track of length of use. First, I know which needles are sharps and which are ball points. Second, I don’t have to try to read the itty bitty writing on them to see what size they are. But, it’s not pretty.
Reason #2: Needles are expensive!
My favorite place to buy needles is CTSUSA.com because their prices are great and they offer free shipping on needles. My sewing machine, a Bernina uses 15×1/HAx1 household machine needles. CTSUSA.com
currently has these for $11.95 for 100 needles in some of the most common sizes. Yep, less than twelve cents a needle. The cost of needles is no longer an excuse not to change them.
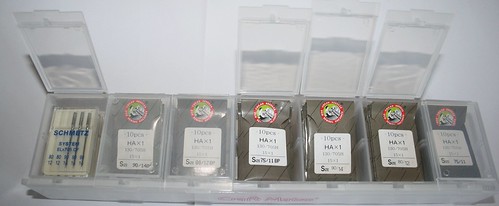
But 100 needles? Where do you put them? I happened upon this cute little storage box in the craft section. It was probably intended for beads or something similar, but it’s the perfect size for needle packs. Needle packs are small, if I tossed them in a drawer, they would be all over and I’d be opening a new pack all the time. This keeps them organized.
Do you have a great way to keep track of your needle use? I’d love to see it, especially if it looks nicer than my sharpie tomato!
Happy Sewing!
Kelly
This post contains affiliate links.
Pattern Organization
- At January 03, 2013
- By Kelly
- In Organization, Patterns
- 9
At the end of each year, retailers leap to provide us with more containers and shelves, binders and bins to hold our great plans of a more organized space. And honestly? I LOVE them all!
I can lose hours of time rearranging and organizing things. New magazine holders to store my pattern magazines? Yes, please! More shelves? More cute cups for my seam rippers, crochet hooks and scissors? Yes, yes!
Today I’m going to share my system for organizing my sewing patterns. My pattern collection and fabric stash seem to be having a contest to see which can multiply faster. It has become obvious that I have been cheering on both sides for a long, long time.
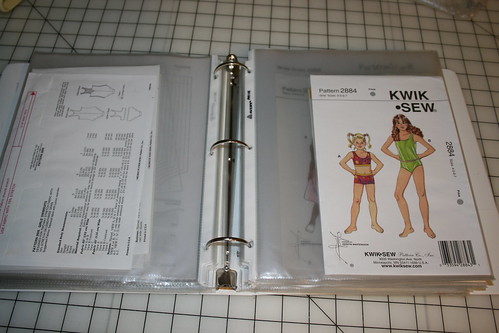
I keep my pattern envelopes separate from the actual patterns. The envelopes go into a sheet protector in a binder.
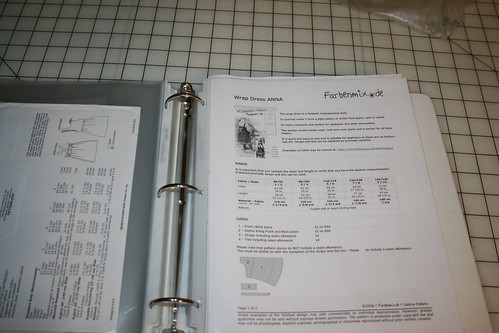
If the pattern doesn’t come in an envelope, I either make a copy of the front or print the first page of the pdf that goes with it, like this Farbenmix pattern:
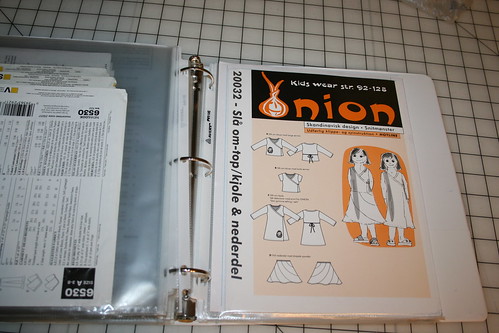
Here’s another:
There are binders for different categories of patterns, for example, kids’ clothes, craft patterns, women’s clothes, and so on. I like this method of sorting because when I’m trying to decide which pattern to use, they are all together. It’s also helpful because I can let my daughter flip through and decide what she wants. Once a decision is made, the yardage and notion requirements are right there, so I can either write it down or just grab the envelope and take it to the store if there’s something I need.
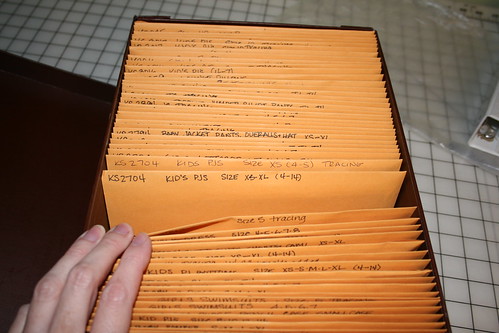
The patterns that came in the envelopes go into a 6×9 manila envelope, which just happens to fit perfectly in these dvd storage boxes I picked up from the craft store some years back. (Caution: not all dvd storage boxes are big enough to fit this size envelope, so check dimensions before purchasing.)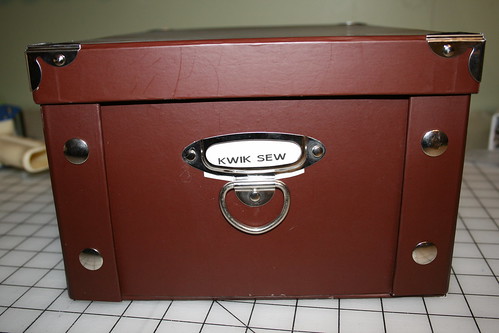
The boxes are categorized by pattern manufacturer, though another option would be to match the categories of the binders. I have a box for Kwik Sew, a box for independent designers, a box for all my Butterick/McCall’s/Vogue, and so on.
Depending on the size and number of pieces in the pattern, I’ll either put the tracings in with the original pattern, or use a different envelope for each size tracing. Here’s a Kwik Sew pattern where you can see the original and then the size tracing stored in the envelope behind it.
Here’s one where you can see my notes from when I used this pattern.
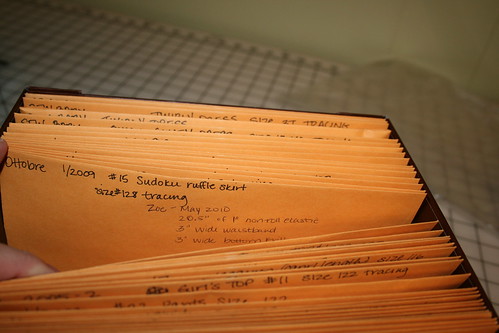
For pattern magazines like Ottobre, I have these magazine holders from IKEA. It’s making me all twitchy to see those mismatched containers, and I’ll have to remedy that later.

If you like organizing things and haven’t done your pattern collection yet, this should get you off to a good start. If you don’t like organizing but realize that you’ve now bought the same pattern multiple times because you couldn’t find your copy, dig in and do a little at a time. You can do a lot in just 15 minutes. Organize for 15 minutes and then reward yourself with sewing time!
How’s your pattern collection look?
Happy Organizing!
Kelly


