Satin Stitch Applique Tutorial in downloads
Here is how I do the satin stitch applique.

What you will need:
-Fabrics of your choice
-Heat N Bond lite
-pencil
-scissors
-stabilizer
-iron
-and sewing machine, of course .gif)
First take the piece of fabric you'd like to make the applique out of and iron the Heat n Bond Lite onto the back. I usually lay my piece out and cut around it, then turn it over and iron it on.
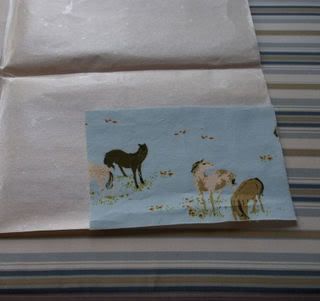
Cut out the shapes you want to applique. In this case I am doing 3 pieces (2 for the front of a shirt and one for the back) Here the pencil comes in handy to draw an exact shape on the paper backing, and you can also trace something on the paper part before ironing it to the fabric too...just remember the shape will be reversed when you put it on your item.
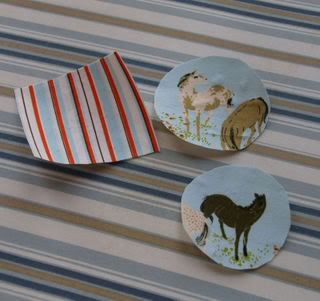
Tip: don't cut out the exact shapes until after you iron on the Heat N Bond Lite, it makes it so much easier to cut it out afterwards and not have to line up exact shapes.
Peel off the paper backing and position it to where you like it. Then iron them on.
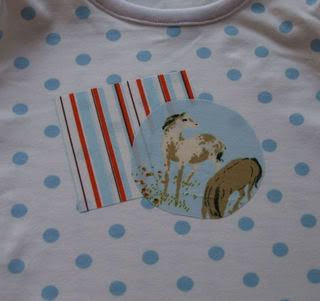
Tip: When you have one overlapping the other, sometimes it's good to cut away the excess so that only the edge overlaps. This is great for when you use lighter fabrics and can see through them and also keeps it so it's not so bulky.
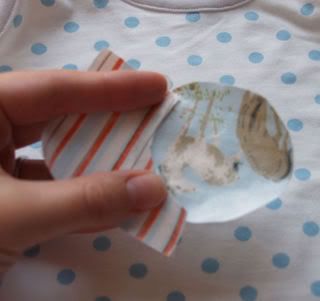
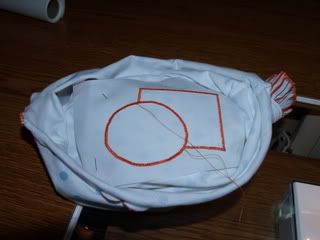
Next I cut a piece of stabilizer and place it under all of the fabrics (I use a tearaway kind) Pin around the edges to hold it in place.
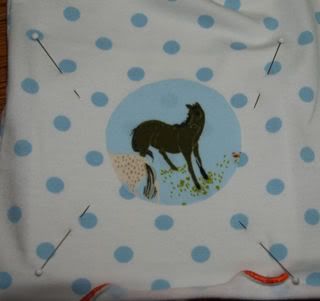
Now it's time to sew!
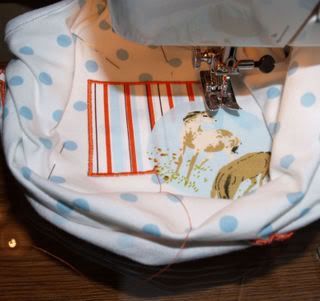
The satin stitch is just the zigzag stitch. You can make it as wide and as long a stitch as you like. (for these I used a stitch width of 2.5 and length of almost 0, I like mine tight together) I know all machines are not the same so play on a scrap and see what you like. I start on the outside edge and put my needle right next to the edge of the applique.
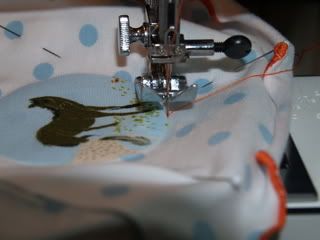
When I stitch on a curve, I go a couple of stitches and, with my needle in the fabric, I lift my presser foot and slightly turn the fabric, then repeat. Tip:for an outside cuve (like I'm doing) stop your needle on the outside when turning...for an inside curve, stop your needle on the inside.
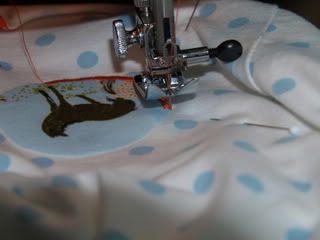
Tip: for straight square type stitches-when you get to a corner you want to go a couple of stitches past the edge and then turn. (sorry the pic is kinda hard to see)
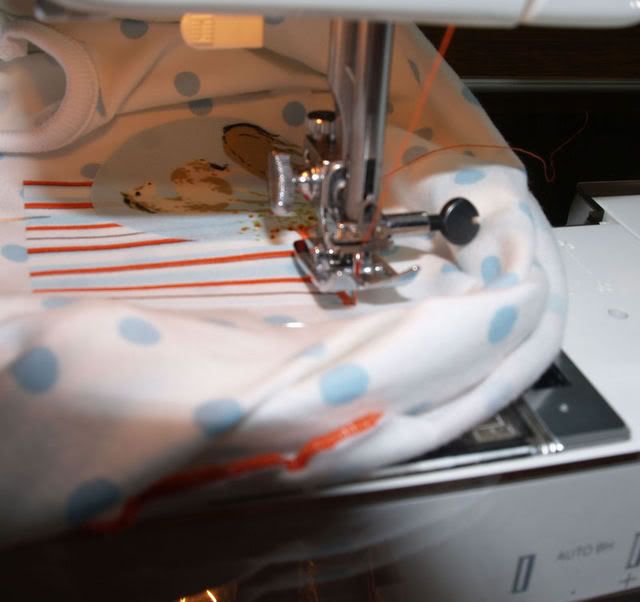
Tip:when working with more than one piece, I always start stitching the one that is underneath if possible. That makes it so the edges get covered by the last one you stitch.
And last I take the pins out and tear away the paper stabilizer.
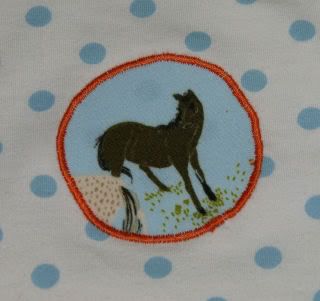
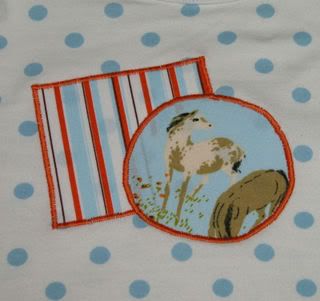
All done!
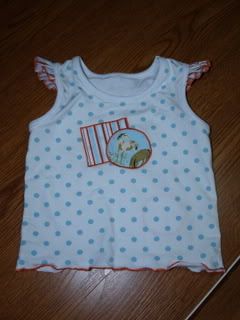
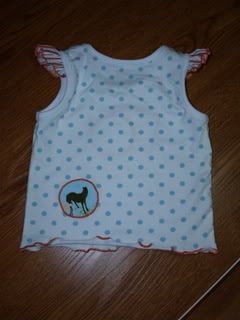
Krista~ Mommy to Kyra 7-31-05 & Logan 12-30-08
To view links or images in signatures your post count must be 0 or greater. You currently have 0 posts.


.gif)


 Reply With Quote
Bookmarks